Getting started
with Talos.
Your passwords, codes, and private files, together in an encrypted vault. Learn to set up Talos, organize your information, and make its features part of your everyday routine.

CHAPTER 11 13
AutoFill & passkeys
Set up Password AutoFill and create or use passkeys in websites and apps.
In this chapter 8 topics
Use Talos to fill saved passwords and create or use passkeys in participating websites and apps. Talos integrates with the system’s credential-provider interface so you can sign in without opening each record manually.
Step 1 — Enable AutoFill for Your Vault
- Open and unlock your vault.
- Choose Menu (…) > Settings.
- Find Vault Settings for the selected vault.
- Enable Autofill with eligible Premium access.
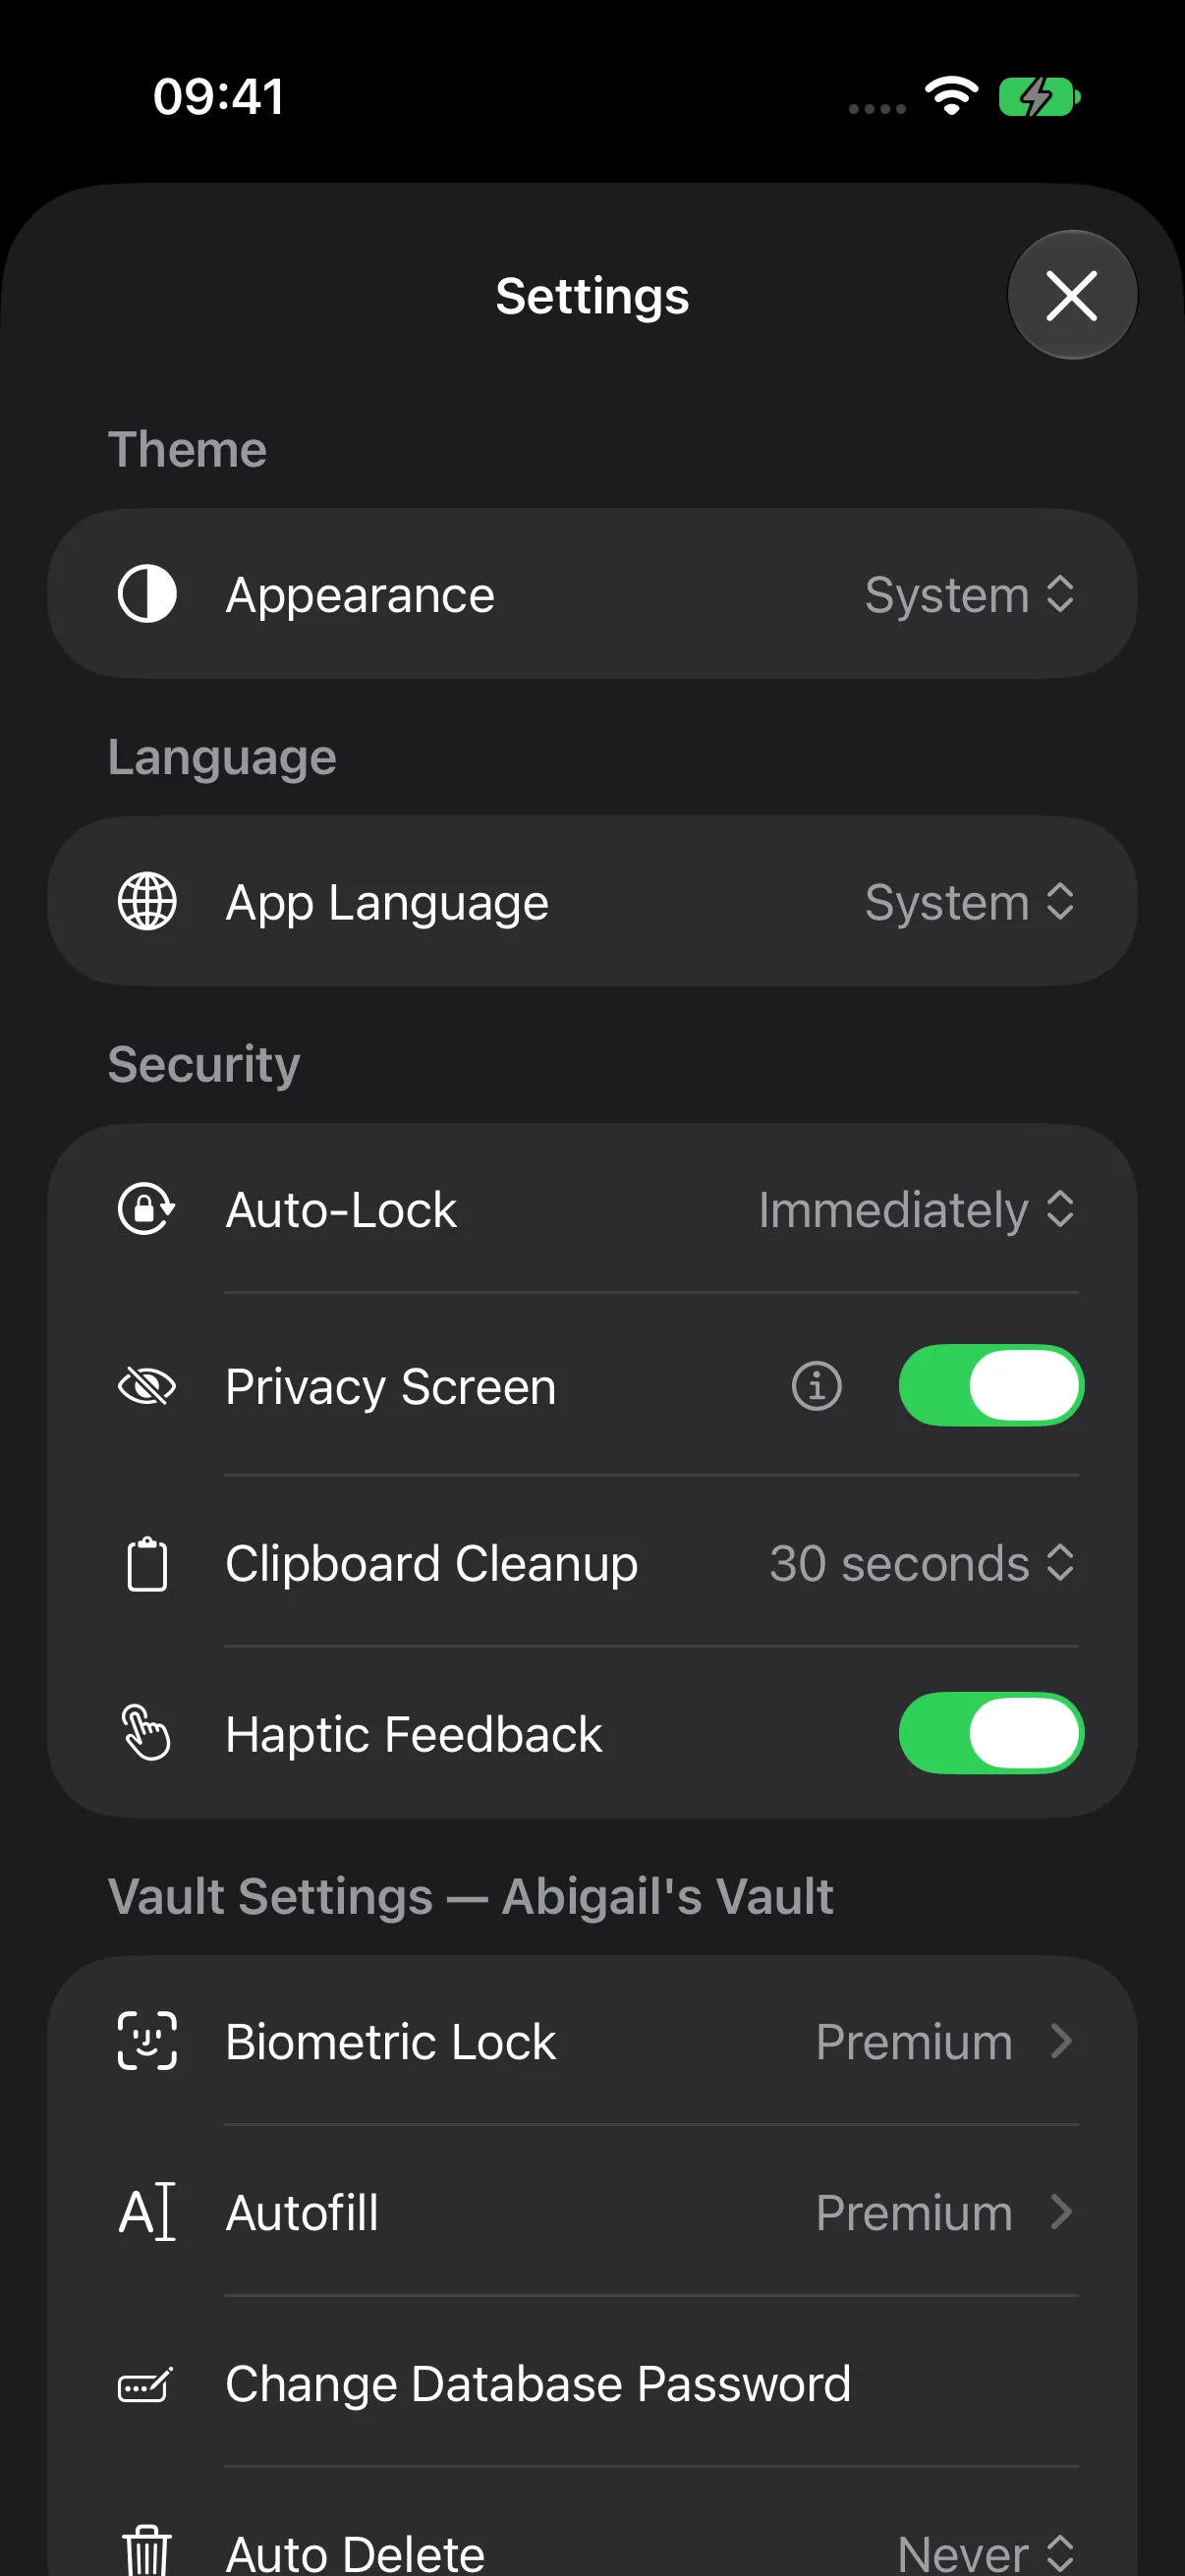
Enable AutoFill for each participating vault you want to use.
Step 2 — Enable Talos in Device Settings
Open your iPhone or iPad’s Settings and find the password AutoFill or credential-provider settings. Enable Talos as a provider for passwords and passkeys. The settings name and location depend on your system version.
Return to the website or app after enabling the provider.
Step 3 — Fill a Saved Password
- Open the website or app’s sign-in form.
- Tap the username or password field and open the system’s password suggestions.
- Choose Talos and select the saved login.
- Complete the requested authorization.
- Continue signing in with the filled credentials.
Save an accurate website address in each login’s URL field to help Talos match it to the requesting service. You can also select the appropriate record from the credential list.
For example, save the account’s username, password, and website in Northstar Mail, following Create Your First Entry.
What Is a Passkey?
A passkey is a sign-in credential based on a public and private key pair. The service registers the public part; Talos stores the private-key material as protected data in your encrypted KDBX record. The system coordinates registration and sign-in with the website or app.
| Credential | How to add it |
|---|---|
| Password | Save the account’s username, password, and website in a login entry. |
| Passkey | Start passkey creation in the service and choose Talos through the system prompt. |
Create a Passkey
- Sign in to a service that offers passkeys.
- Open its account or security settings and choose its passkey creation action.
- Select Talos as the provider in the system flow.
- Choose an eligible vault destination or an existing account entry.
- Complete the requested authorization and confirm creation.
Talos saves the registered passkey with the selected vault record. Follow the service’s completion message to finish setup.
Sign In with a Passkey
- Open the service and choose its passkey sign-in action.
- Select Talos and the registered account when requested.
- Complete the system authorization to finish signing in.
Use the same service and account for which the passkey was created.
Keep AutoFill Ready
| Setting or prompt | Action |
|---|---|
| Premium access | Keep eligible access active for participating vaults. |
| Talos Autofill | Enable it in the selected vault’s Settings. |
| System provider | Enable Talos in the device’s credential-provider settings. |
| Website matching | Keep the login’s URL and account information current. |
| Master Password Check | Open Talos and enter the vault’s master password when the check is due, then return to the sign-in flow. |
| Authorization | Complete the biometric or other requested vault authorization. |
A linked Decoy Vault uses password-based access for its primary/decoy pair. Use a separate eligible vault for system AutoFill and passkeys.
Next Steps
Continue to Security & Database Management, or return to Category Protection.