Getting started
with Talos.
Your passwords, codes, and private files, together in an encrypted vault. Learn to set up Talos, organize your information, and make its features part of your everyday routine.

CHAPTER 12 13
Security & backups
Review HIBP and Security Center findings, manage vault access, and keep backups.
In this chapter 22 topics
- HIBP Password Breach Checks
- Check One Saved Password
- How Talos Checks Your Password
- Enable HIBP in Security Checks
- Refresh Your Findings
- Review Security Center
- Follow a Recommendation
- Open Security Details
- Your Vault’s Security Controls
- Open Settings
- Lock and Unlock Your Vault
- Auto-Lock and Privacy
- Your Master Password
- Change the Database Password
- Set Up Biometric Lock
- Master Password Check
- Manage Your Databases
- Local Storage and iCloud
- Make an Encrypted Backup
- Export as KDBX4
- Open a Backup
- Next Steps
Review your vault with HIBP and Security Center, configure how Talos locks and unlocks, and keep encrypted backups ready when you need them.
HIBP Password Breach Checks
Check saved passwords against Have I Been Pwned? (HIBP) to find matches in its Pwned Passwords breach database. Talos brings the result directly into your workflow so you can review a password and update the account when needed.
HIBP checks are optional and off by default. You can check one entry on demand or enable HIBP participation in your security analysis.
Check One Saved Password
- Open a saved login containing a password, such as the Netflix example.
- Choose Menu (…) > Manual HIBP Check.
- Review the online-check notice and tap Continue to start, or Cancel to return to the entry.
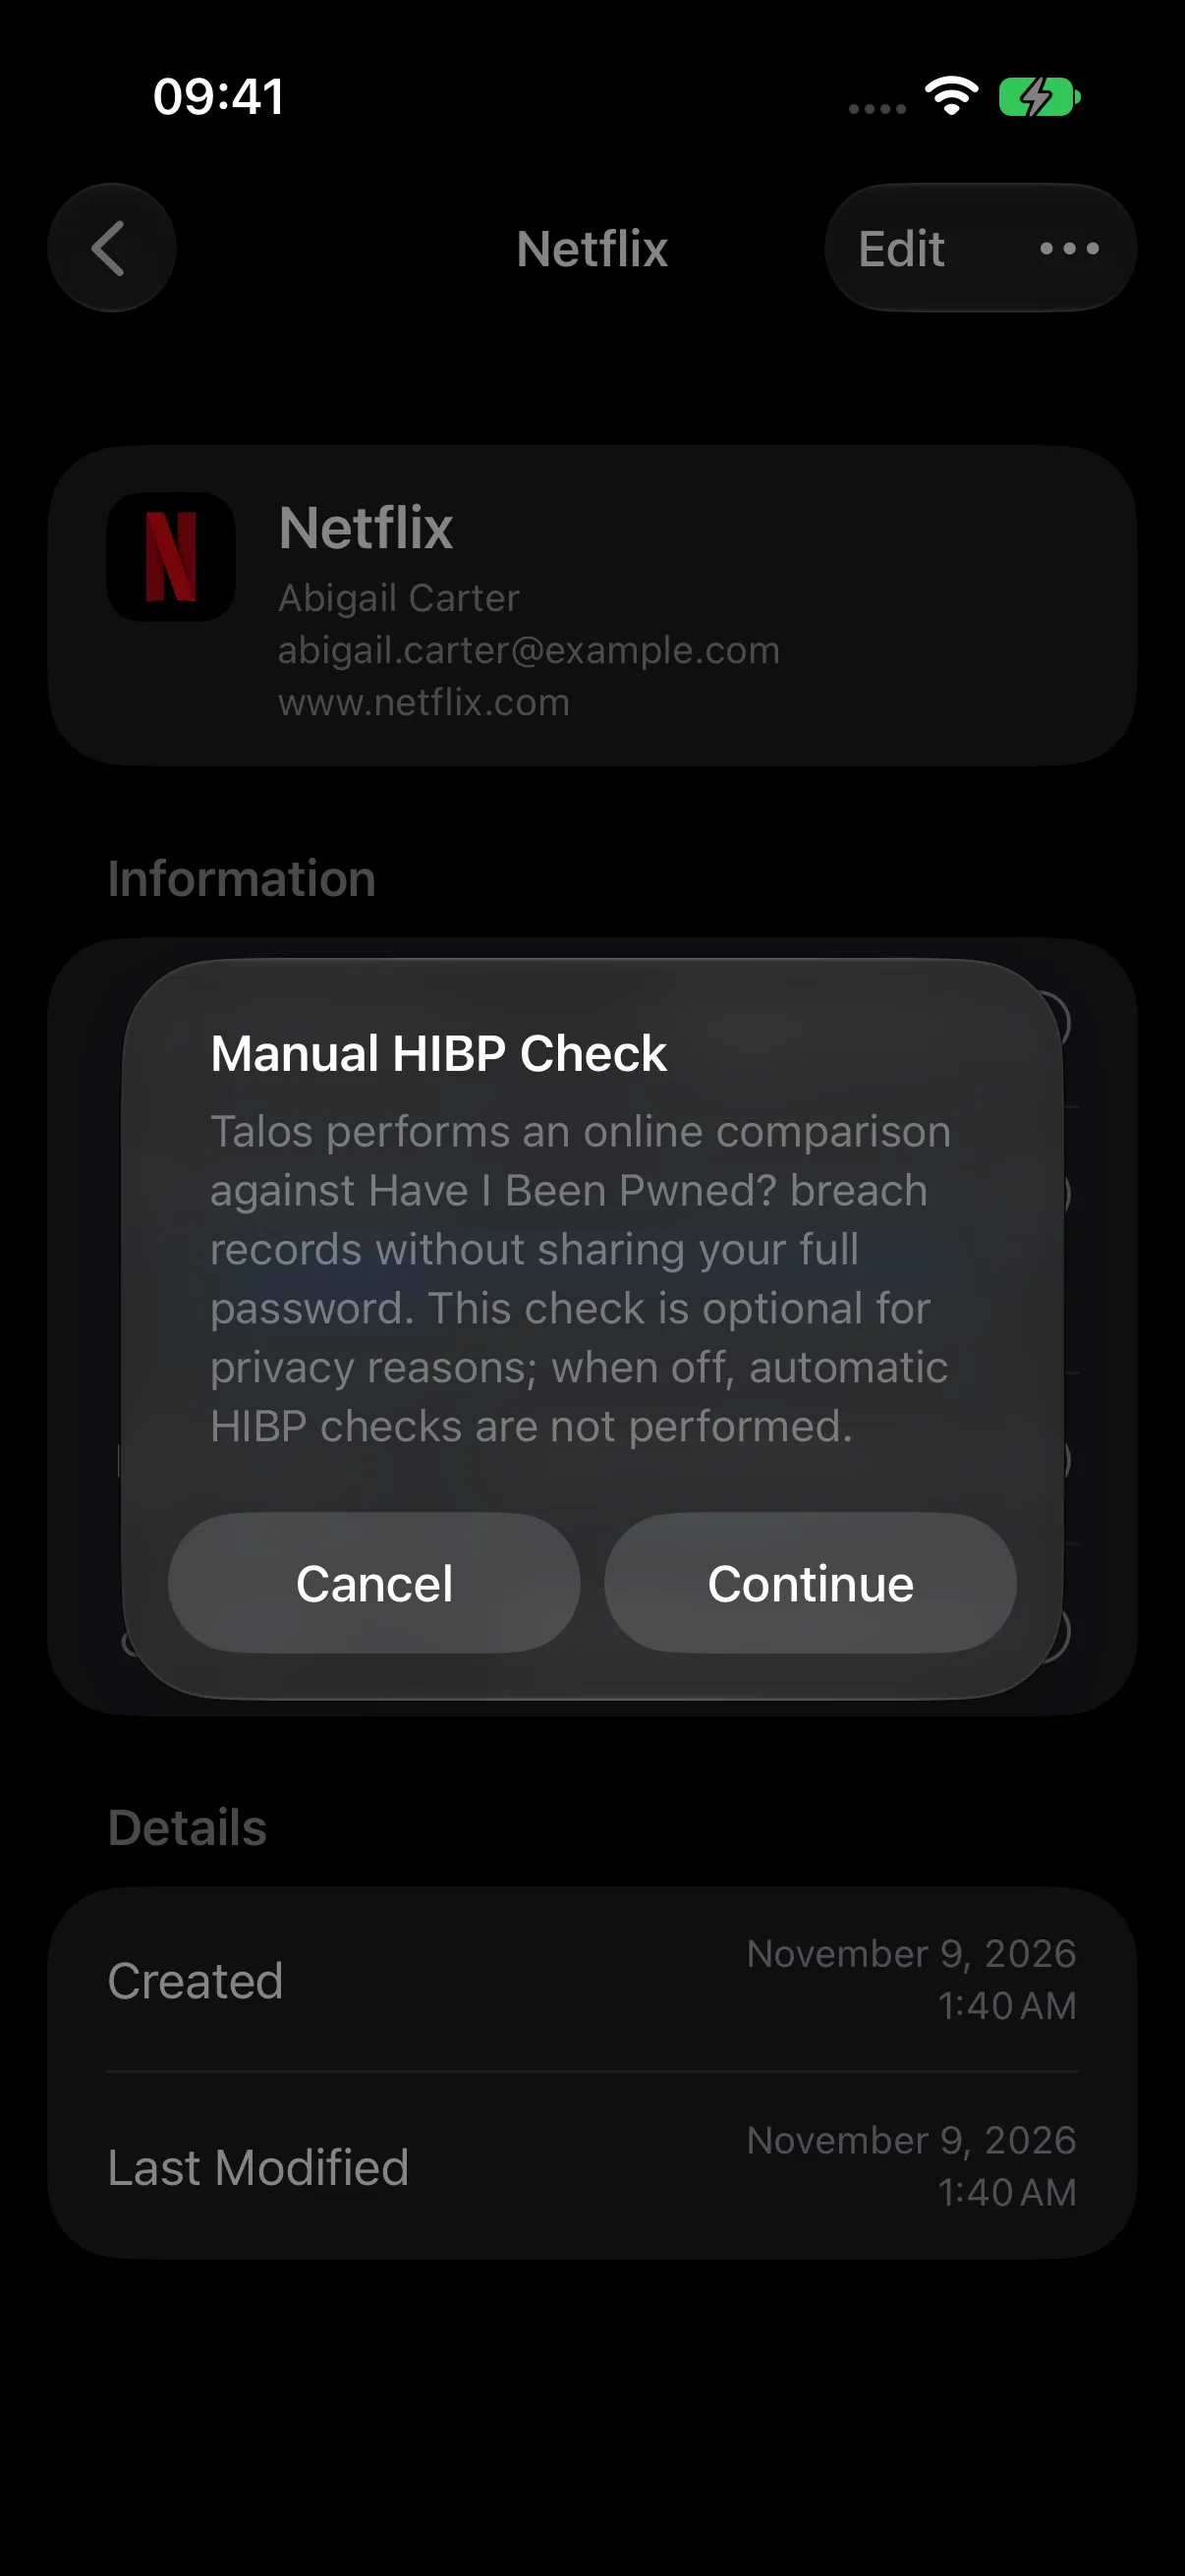
- Read the result and tap OK to close it. You can request this manual check while the HIBP preference is off.
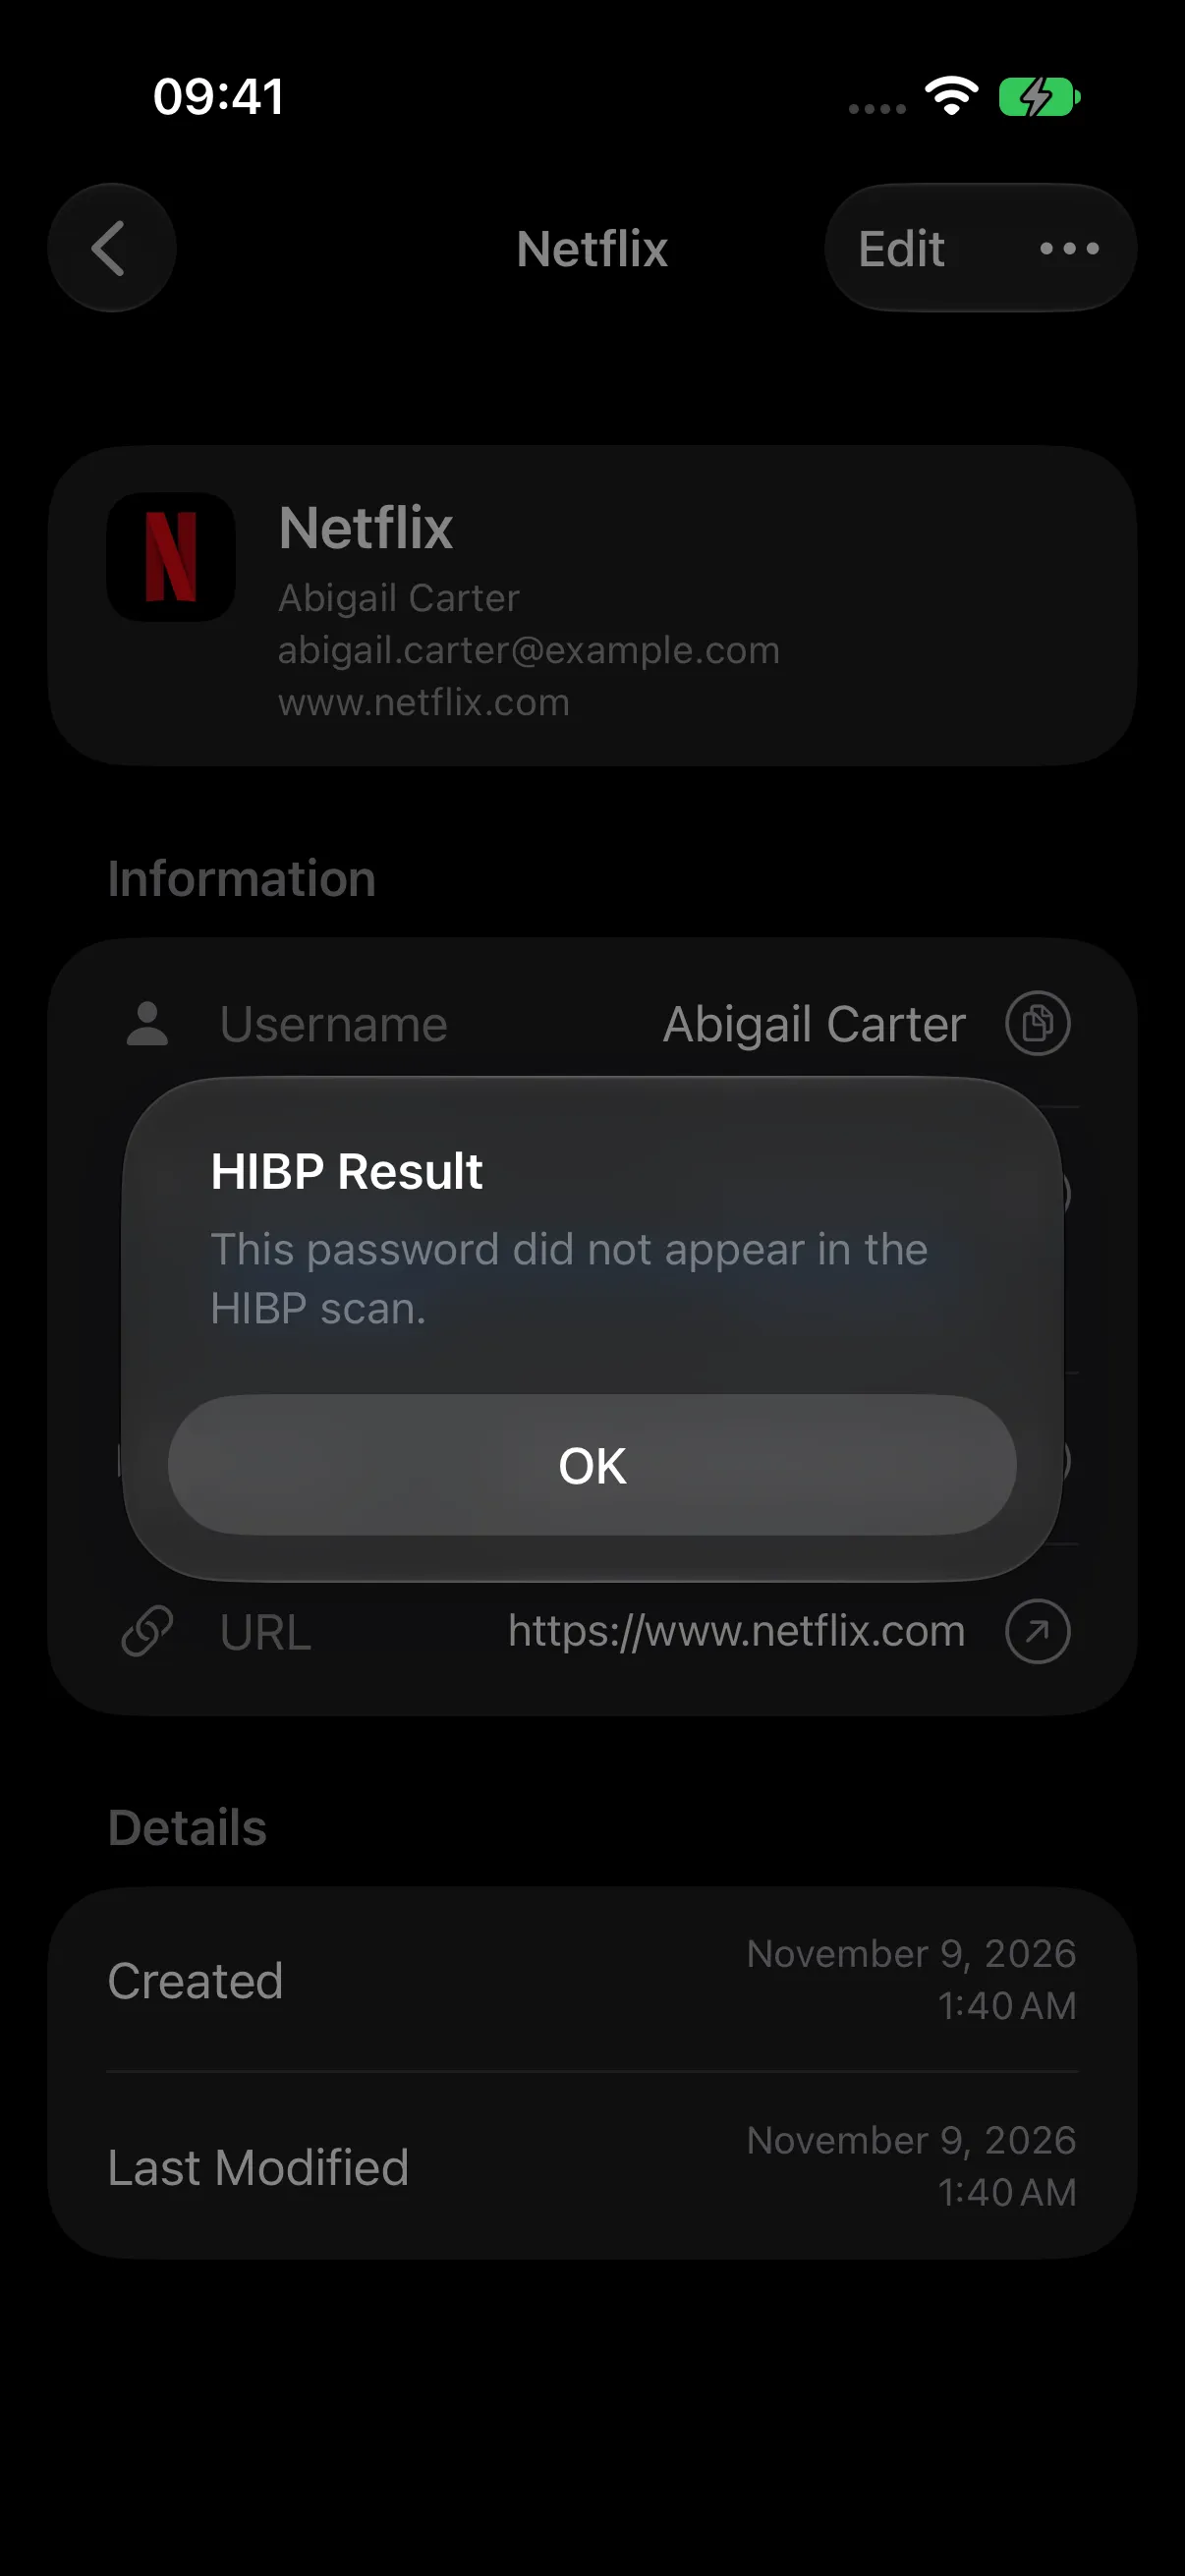
| Result | Next step |
|---|---|
| Password found | Change the password on the website or app, then update the saved Talos entry. Update other accounts where you used the same password as well. |
| Password not found | Talos reports that the checked password has no match in the returned breach data. Continue using Security Center to review password strength, reuse, and other recommendations. |
| Check could not complete | Check your connection and try again. |
How Talos Checks Your Password
Talos computes a SHA-1 hash on your device and sends only its first five hexadecimal characters to the Pwned Passwords range service over HTTPS. It compares the returned hash suffixes locally. Your full password, full hash, username, and email address stay out of the request.
The comparison checks for a password match in breach data. It uses this hash prefix for lookup; your vault continues to use its KDBX encryption and key derivation. Talos caches range responses to make repeat checks efficient.
Enable HIBP in Security Checks
- Open Menu (…) > Settings.
- Under Security Checks, enable HIBP Check.
- Return to your vault and open Menu (…) > Security Center.
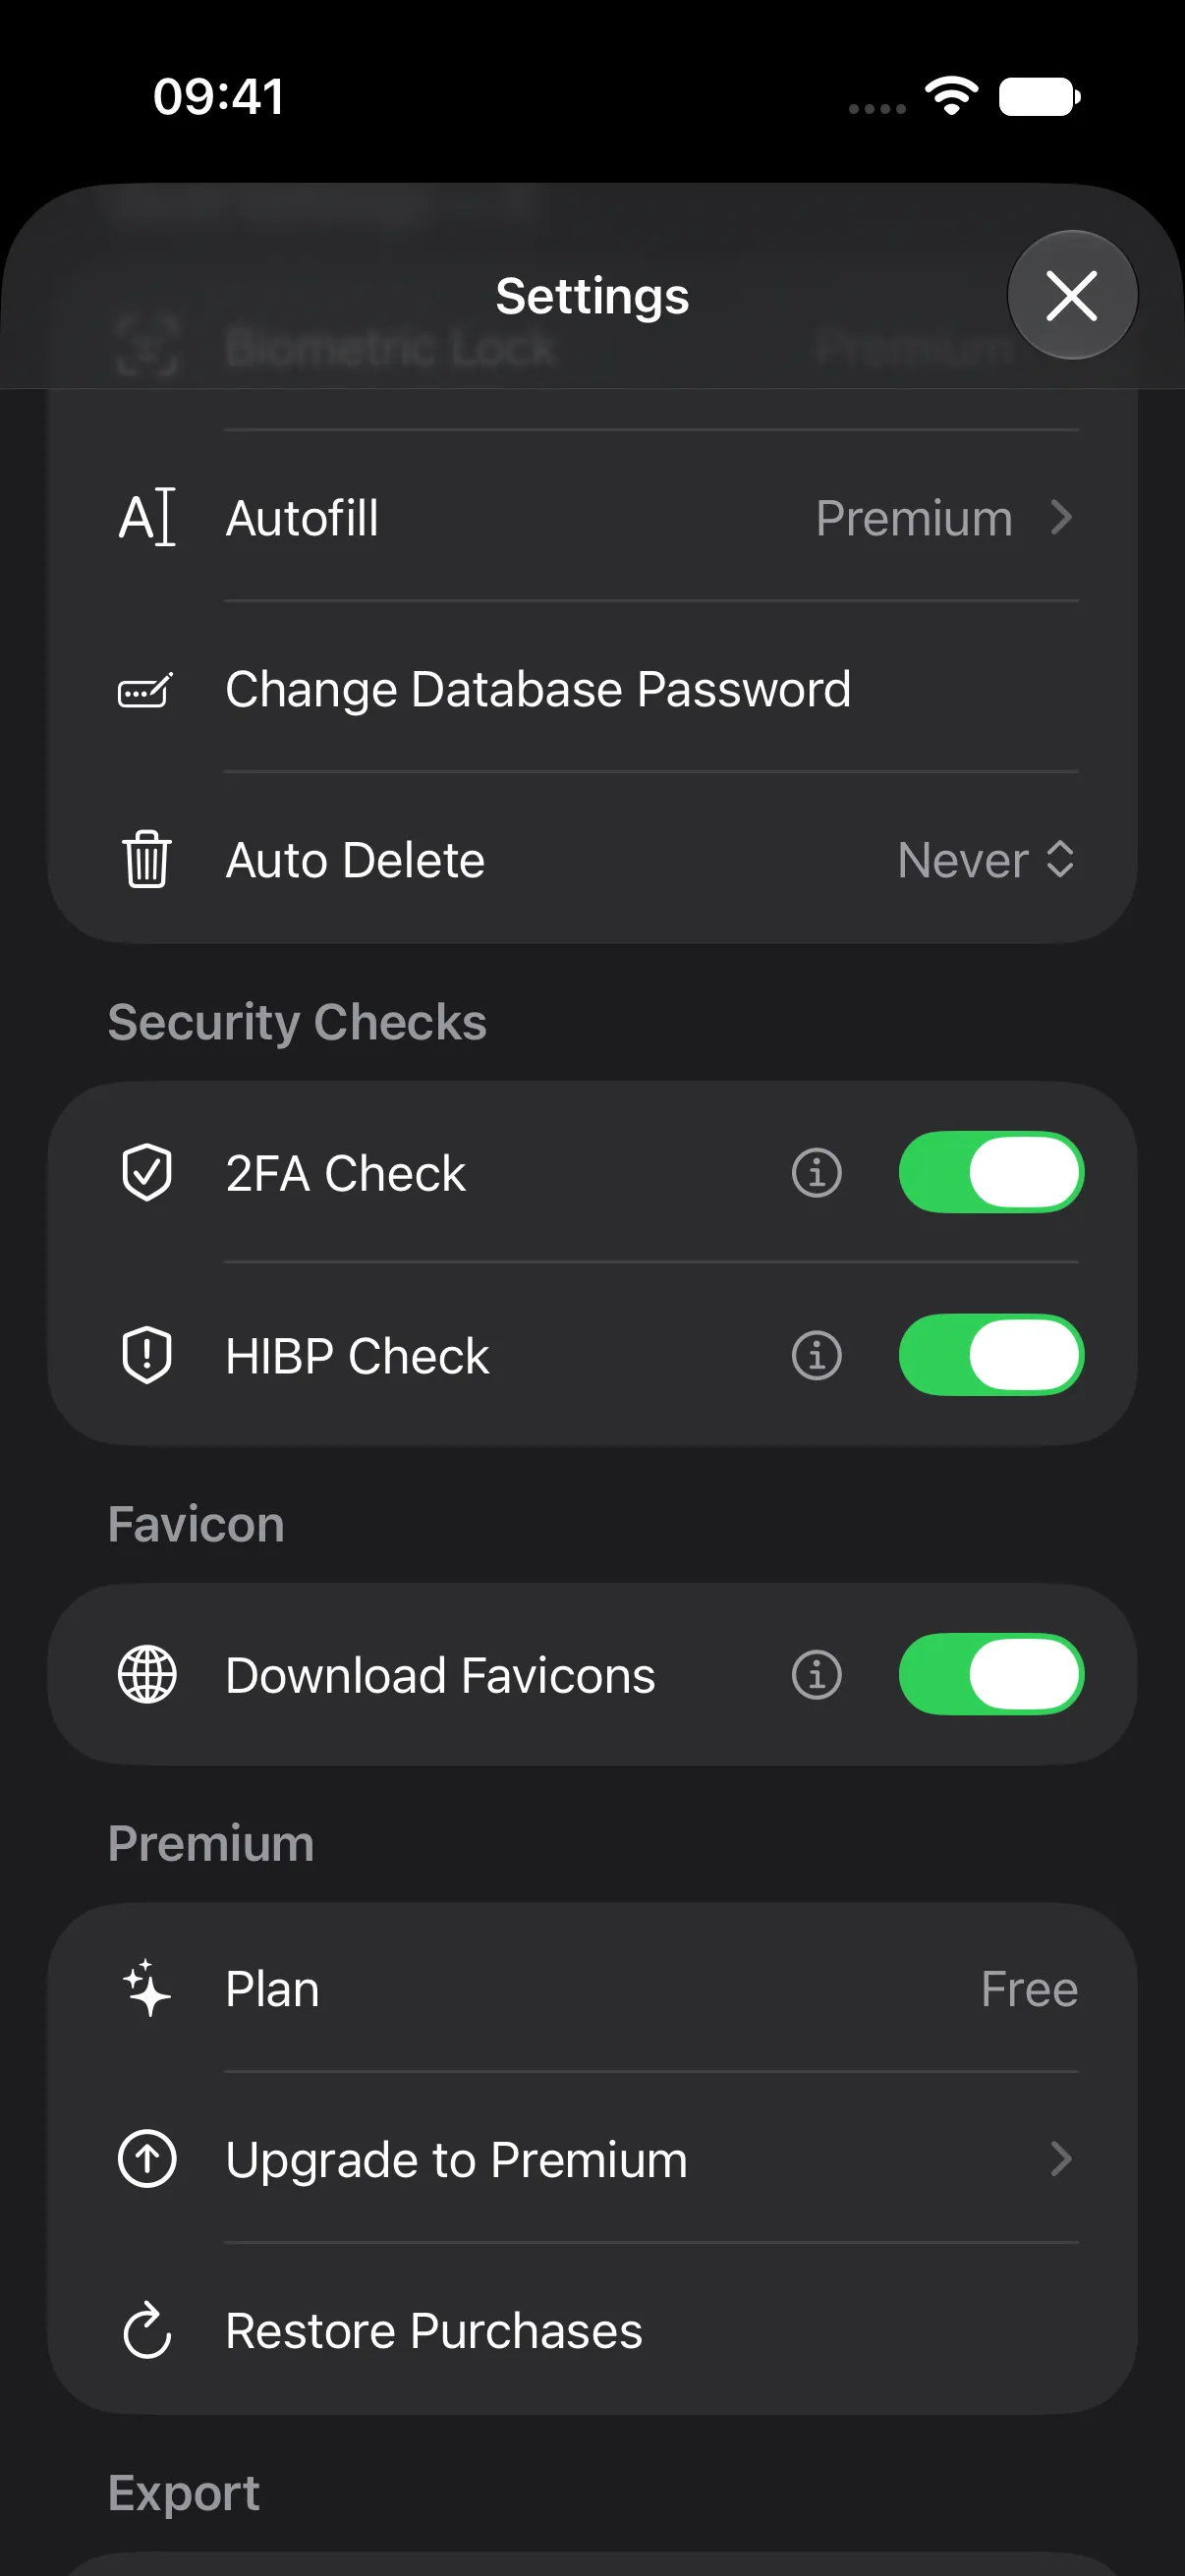
The 2FA Check preference in the same section includes missing-2FA findings in your analysis. Use the Two-Factor Authentication chapter to add a service’s authenticator setup.
HIBP Check is independent of favicon downloads and the selected vault’s biometric settings. Turn it off to stop automatic participation; confirmed manual entry checks remain available.
Refresh Your Findings
With HIBP enabled, open Security Center’s Menu (…) and choose the scan you want:
| Action | Use it to |
|---|---|
| Rescan Locally | Refresh the vault’s local security analysis after changes. |
| Refresh HIBP Status | Request password breach checks and refresh HIBP findings for saved credentials. |
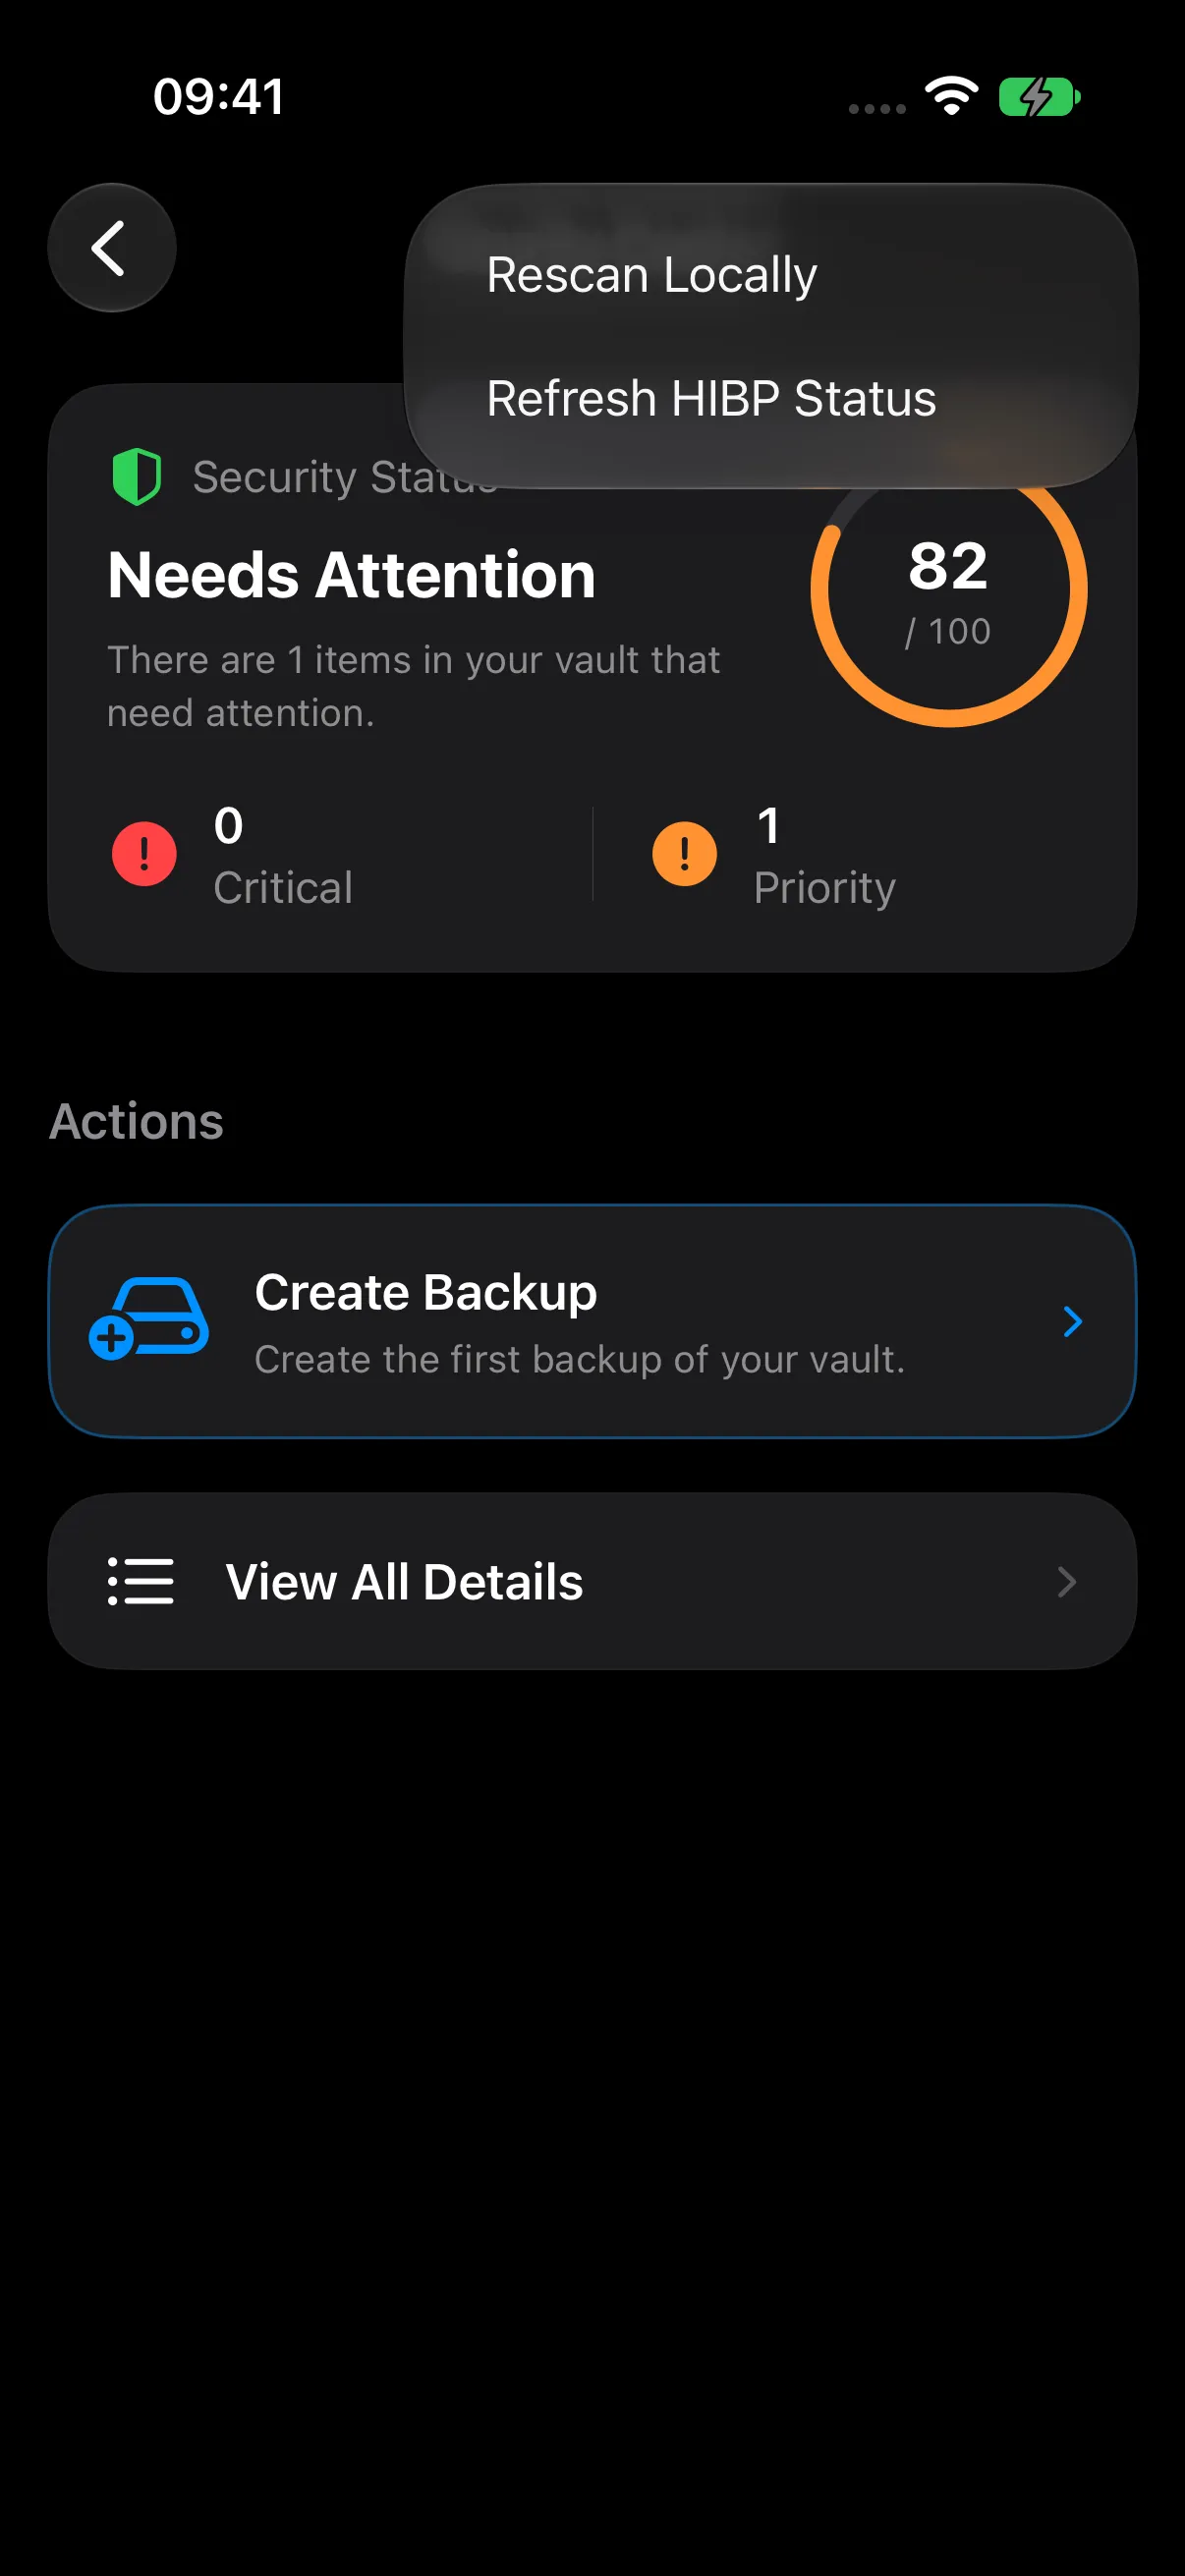
After enabling HIBP, choose Refresh HIBP Status to request a vault-wide update. Last HIBP Check in Security Details shows when that check completed.
Review Security Center
Security Center, included with Talos Premium, brings your vault’s security findings and next steps together in one dashboard. See what needs attention, prioritize useful changes, and open the relevant records directly.
- Unlock the vault you want to review.
- Choose Menu (…) > Security Center.
- Review the security score, risk count, critical findings, and recommended actions.
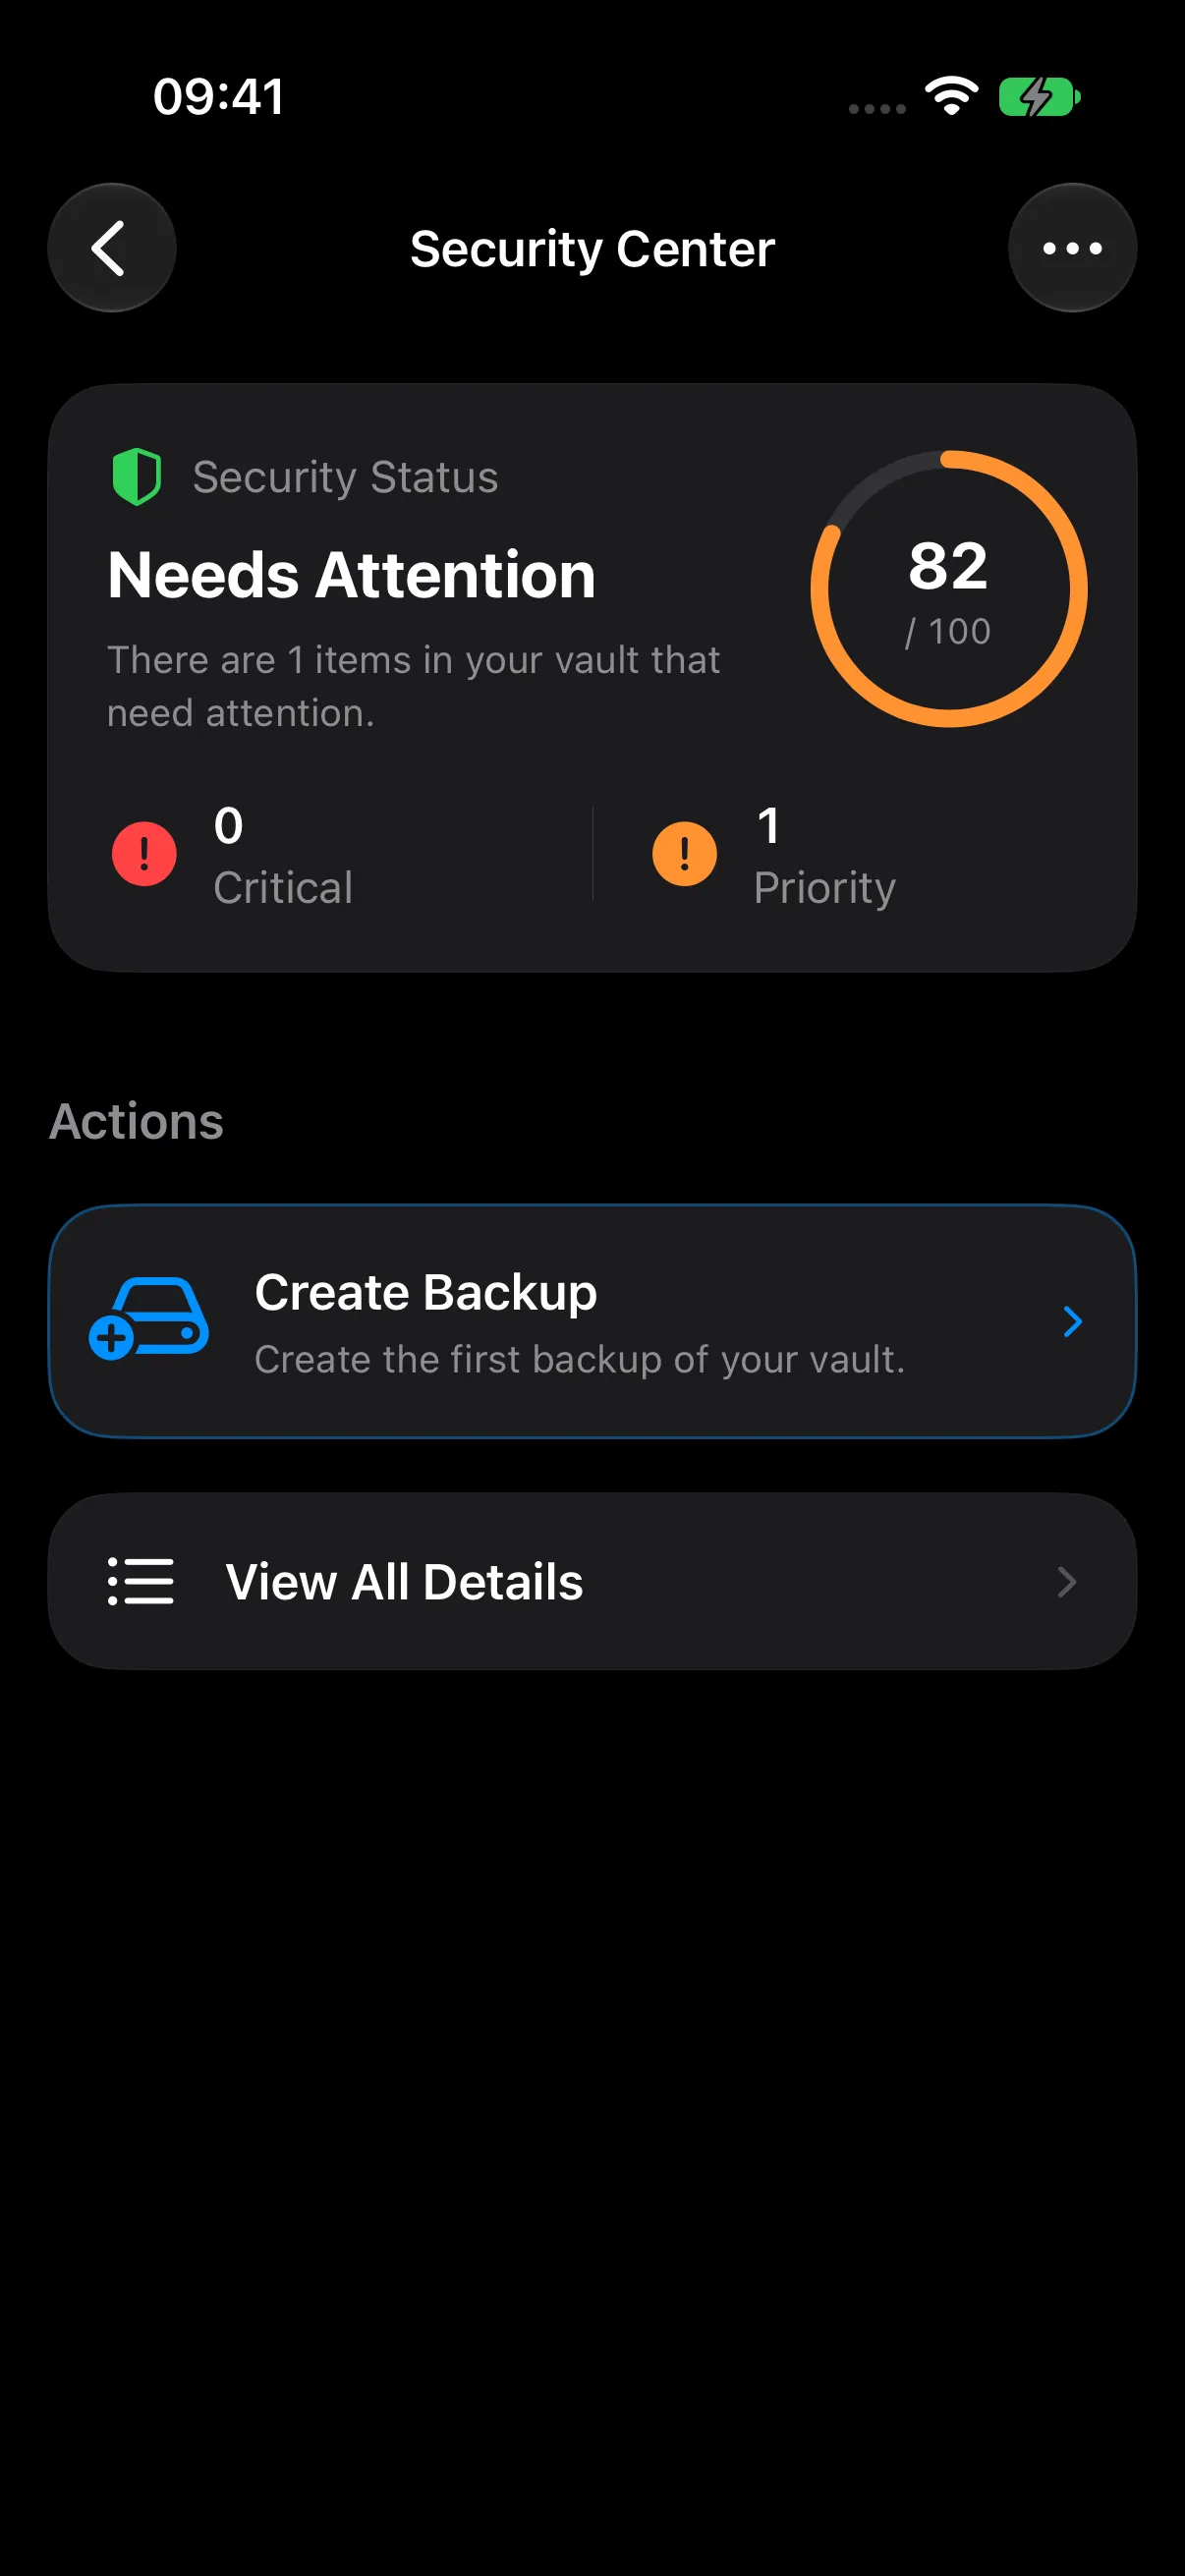
The score summarizes the available checks for your vault. In this example, Create Backup is the recommended action. Your dashboard reflects your records, enabled checks, and backup history.
Follow a Recommendation
Open a finding group to see the affected entries, then use its entry action to open the relevant editor. Save your updates and choose Menu (…) > Rescan Locally to refresh local findings. Use Refresh HIBP Status for a password breach update.
For a password change, update it on the website or app first, then save the new value in Talos. For a 2FA recommendation, open the service’s security settings and add its setup to the saved entry.
Security Center helps you review:
- Passwords: weak, reused, aging, or breach-matched passwords.
- Account details: missing 2FA, incomplete important credentials, and domain mismatches for recognized services.
- Vault upkeep: backup recommendations, expiring documents or cards, and document-protection settings.
When relevant, the dashboard also offers a backup action or suggestions for consolidating website records. Review the suggested entries and choose the action that fits your vault. Authorize protected categories to include their available records in your review.
Open Security Details
Tap View All Details to see the risk distribution, insights, backup status, Last Scan, and Last HIBP Check.
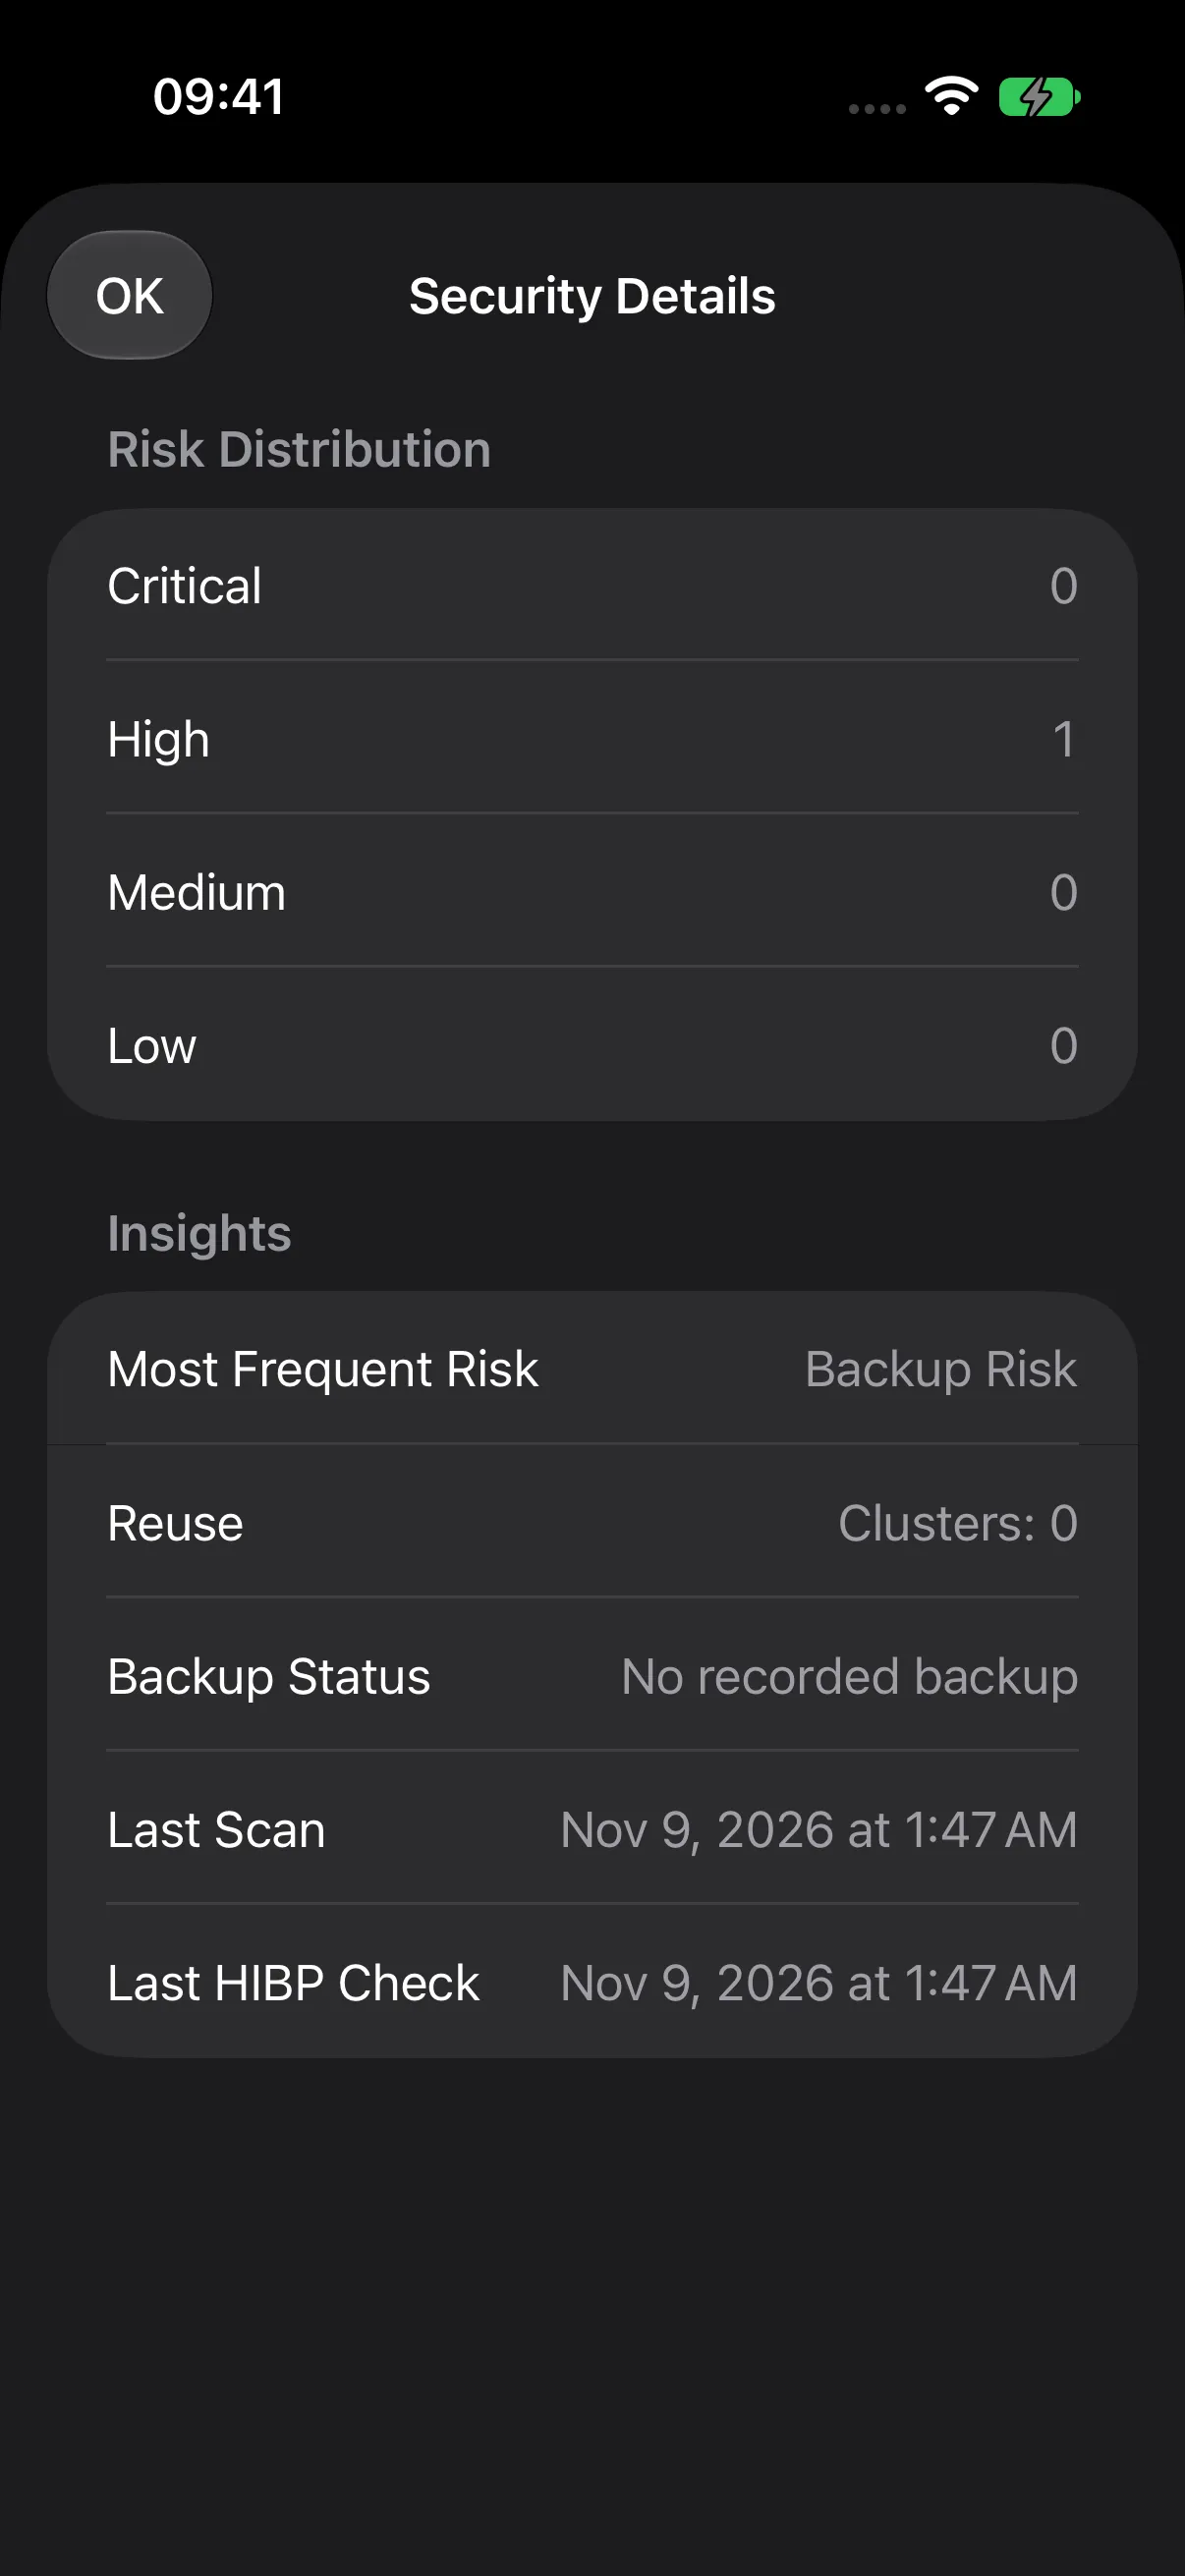
Use these details to follow your progress as you update records and keep your vault organized. For website logos in the entry list, see Show Website Icons with Favicons.
Your Vault’s Security Controls
| Control | Purpose |
|---|---|
| Encrypted KDBX database | Stores your vault records and attachments in an encrypted file. |
| Master password | Unlocks the database and participates in deriving its encryption keys. |
| Biometric Lock | Provides convenient Face ID or Touch ID unlocking with device-protected key material. |
| Category protection | Adds biometric authorization to selected areas of an unlocked vault. |
| Document policies | Control individual documents’ preview, sharing, export, and search visibility. |
| Auto-Lock and privacy settings | Manage vault locking, app privacy presentation, and clipboard lifetime. |
Open Settings
- Unlock the vault you want to configure.
- On Vault Home, choose Menu (…) > Settings.
- Check the vault name in Vault Settings before changing its controls.
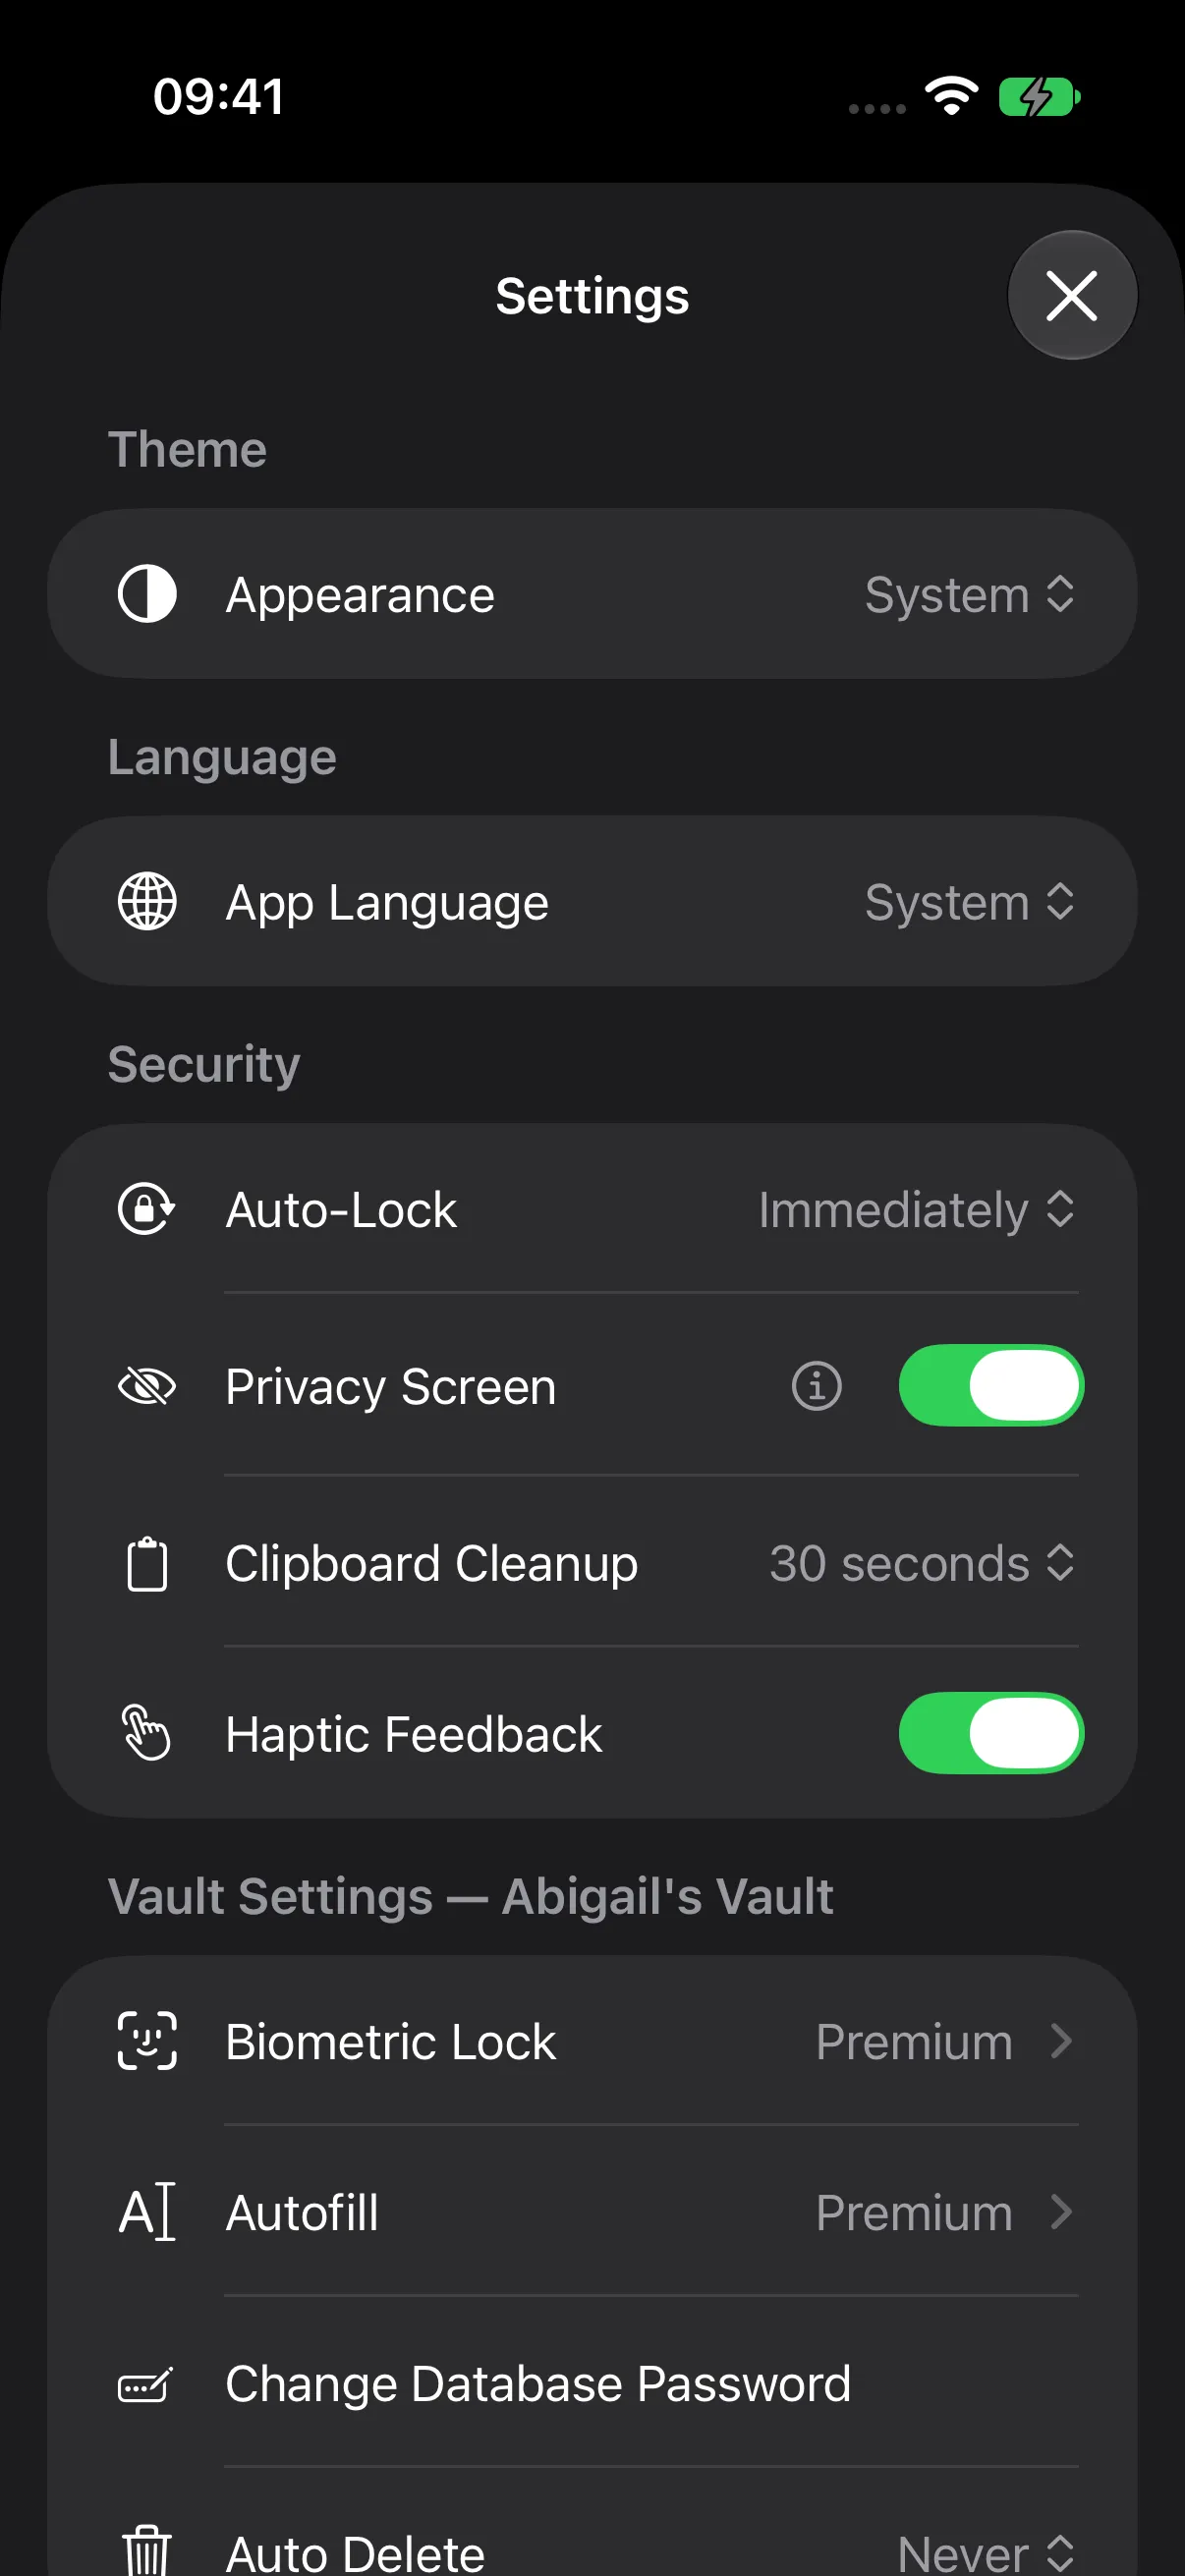
Appearance, language, Auto-Lock, Privacy Screen, clipboard timing, and haptics are app preferences. Biometric Lock, Master Password Check, Autofill, and automatic trash deletion are configured for the selected vault. Premium features are identified in Settings.
Lock and Unlock Your Vault
Choose Menu (…) > Lock when you finish. Talos returns to Databases and clears the unlocked session, including search state and category authorizations.
To reopen, select the database, enter its master password, and tap Unlock, or use configured biometric access when available.
Auto-Lock and Privacy
In Settings > Security, configure:
- Auto-Lock: choose Immediately, 30 seconds, 1 minute, or 5 minutes. Immediately locks on backgrounding; timed choices use elapsed activity when the app becomes active again.
- Privacy Screen: cover sensitive app content during relevant inactive and background transitions.
- Clipboard Cleanup: choose Immediately, 30, 60, or 90 seconds for copied information.
- Auto Delete: configure automatic deletion for the selected vault’s trash.
Choose settings that fit how and where you use your device.
Your Master Password
Choose a strong, unique master password and keep a secure reference available independently of the vault. It is the credential used to open your encrypted database and its backups.
New passwords require at least 12 characters, uppercase and lowercase letters, a number, and a symbol. Talos also checks for clearly common or predictable choices. Imported databases retain their existing password until you change it.
Change the Database Password
- Unlock your vault.
- Choose Settings > Change Database Password.
- Review the selected vault and backup information.
- Enter Current Master Password.
- Enter a different New Master Password and repeat it in Confirm New Master Password.
- Tap Change Password.
- Follow the completion message, including any request to reopen or re-enable biometric access.
- Keep the new password securely and create a fresh backup.
Existing backups retain the password they had when created. Keep the corresponding credentials with your backup records.
Set Up Biometric Lock
With eligible Premium access, enable Unlock with Face ID or the corresponding Touch ID control.
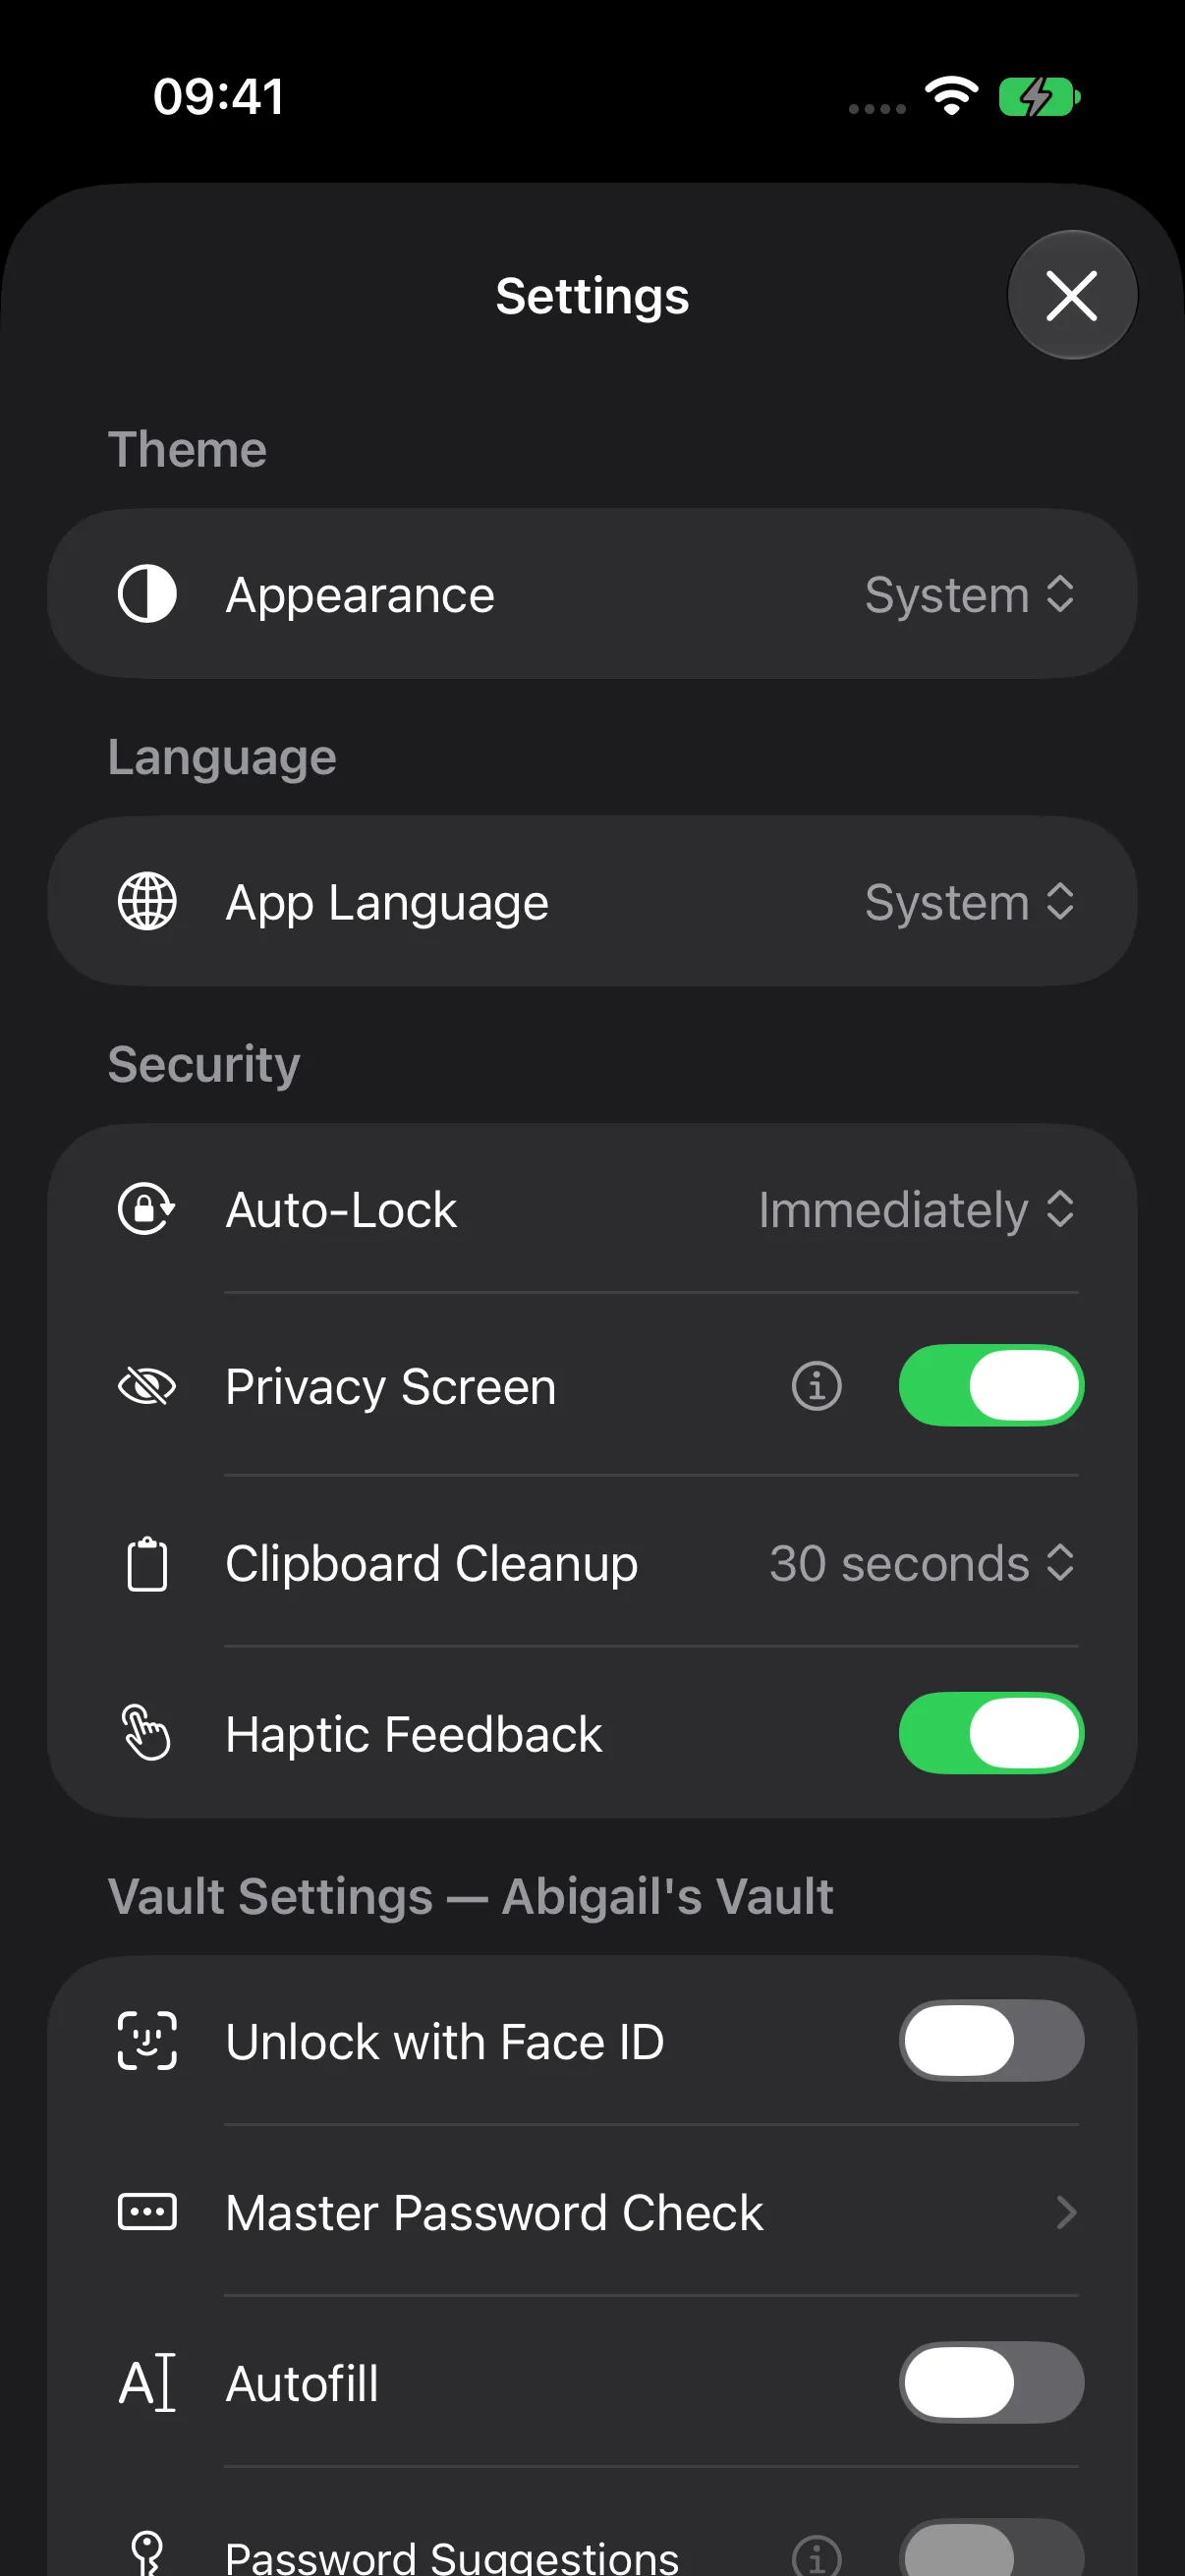
- Open the vault with its master password.
- Enable biometric unlocking in that vault’s Settings.
- Complete the requested system authorization.
- Use biometrics on a later unlock, and enter your master password when requested.
Face ID and Touch ID use the biometrics enrolled on your device. Keep your master password available for password checks and other password-based access.
A linked Decoy Vault uses its primary and decoy passwords to select which content opens.
Master Password Check
Keep your master password in regular use by choosing how often Talos requests it during biometric access.
- Open Master Password Check in the vault’s Settings.
- Choose Never, Every 3 Days, Every Week, Every 2 Weeks, Every 4 Weeks, or Every 8 Weeks.
- Tap Done to close the sheet.
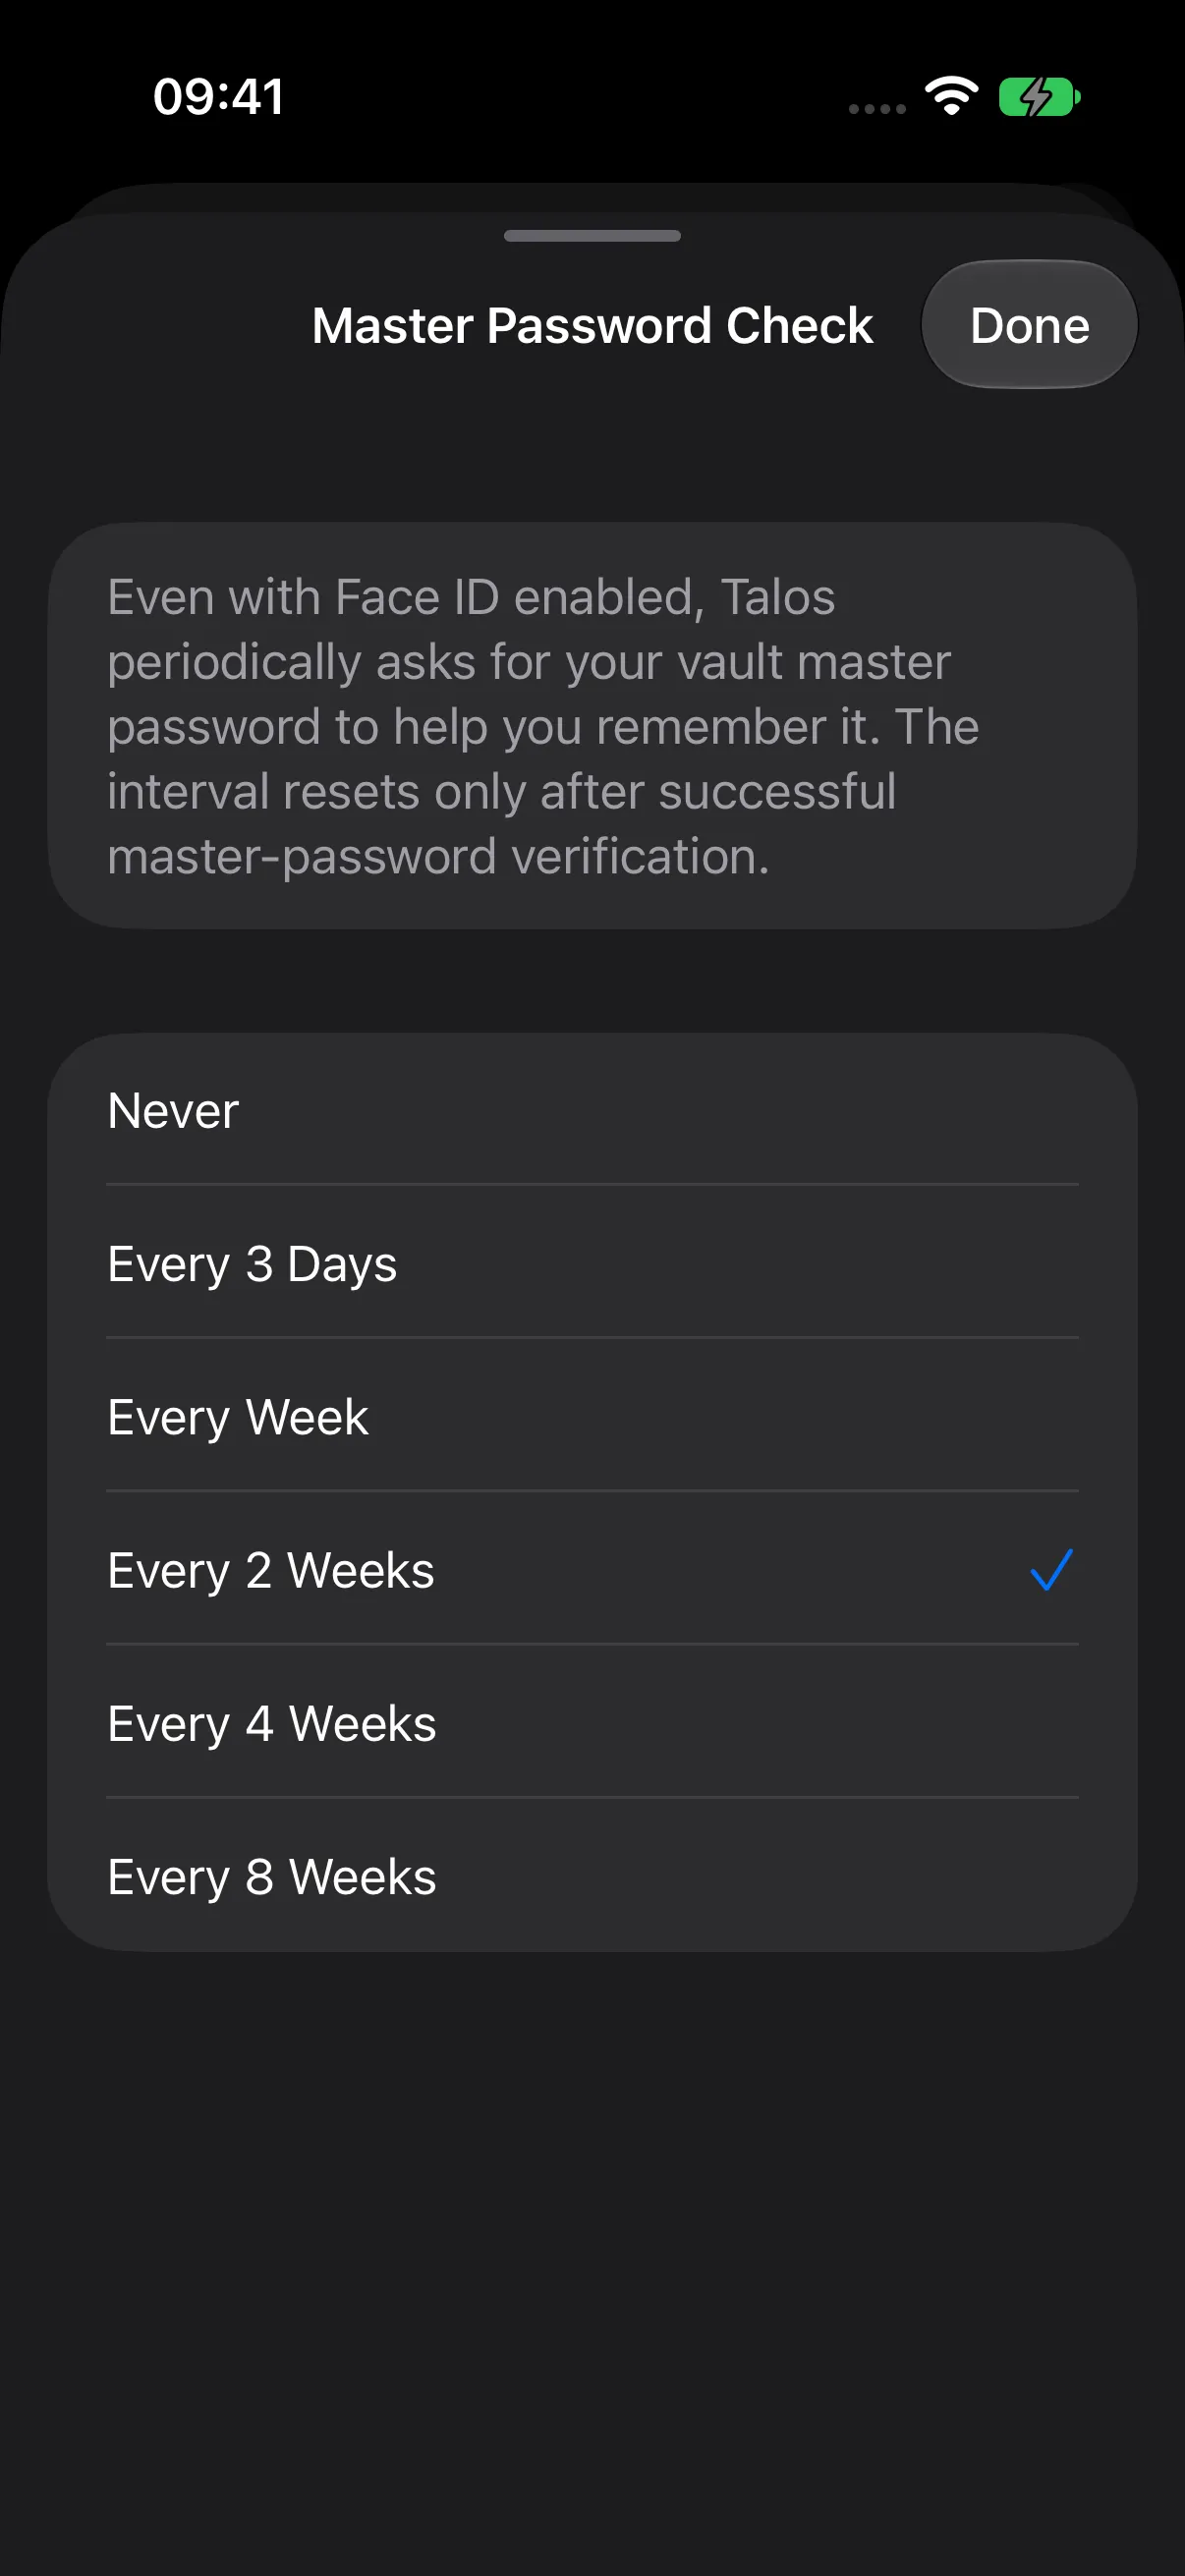
When the check is due, enter the master password in Talos. Successful verification starts the next interval. You can then continue with eligible biometric and AutoFill access.
Manage Your Databases
The Databases screen is your vault catalog.
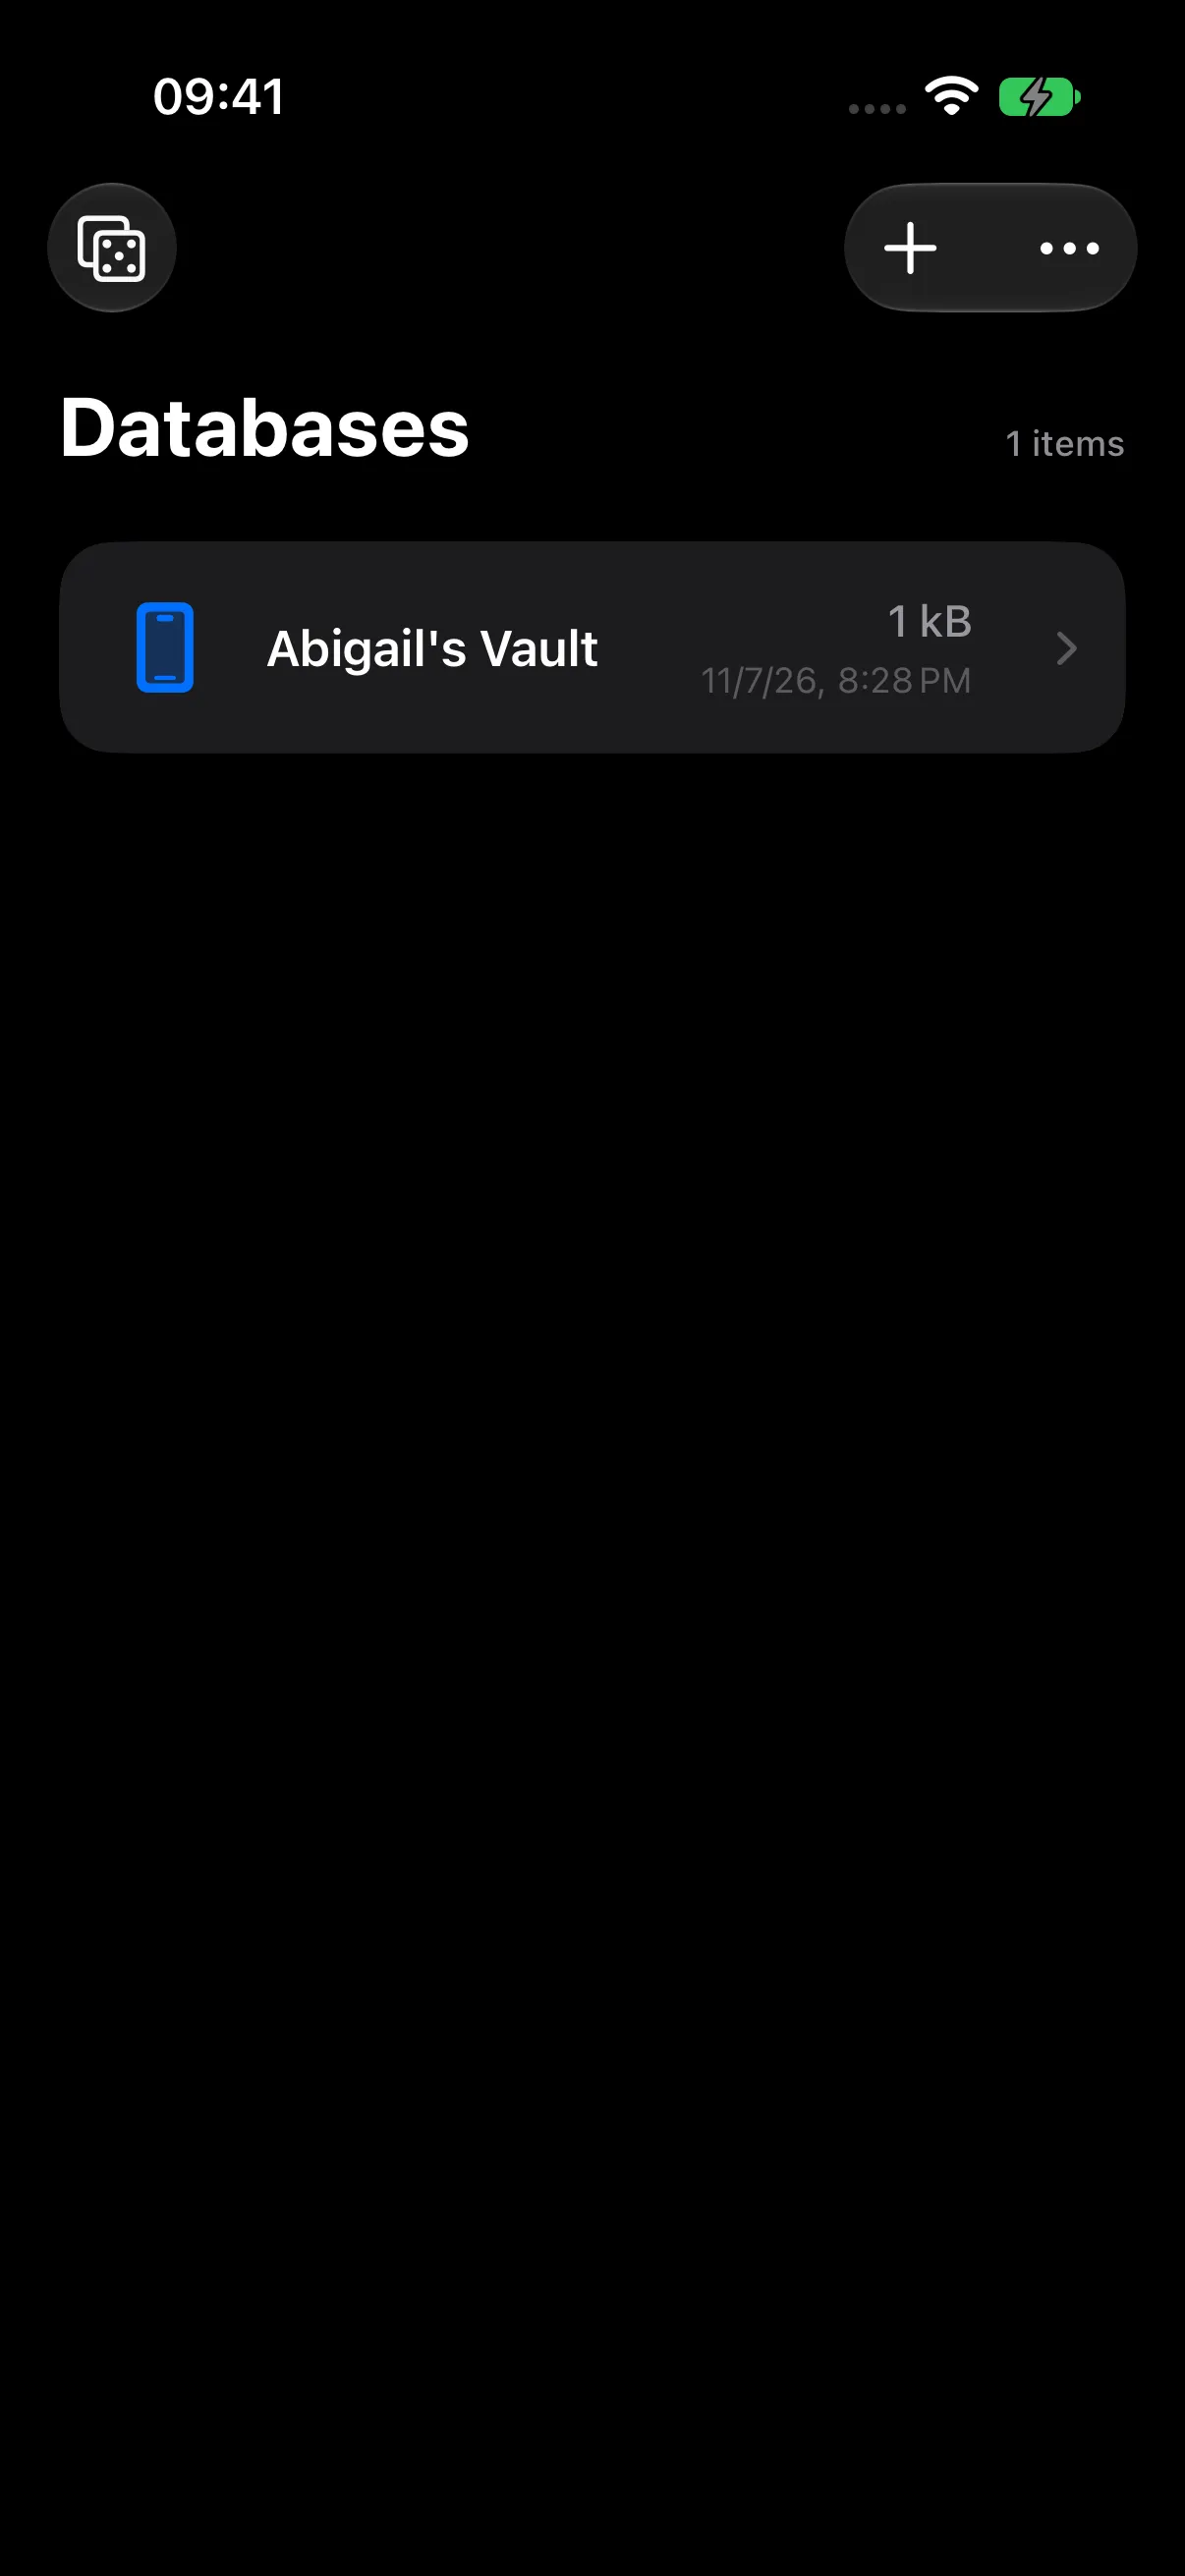
Tap a database to open it. Use New Database, Add Existing KDBX, or Migration Wizard to add a vault.
The database row’s context menu offers:
| Action | Purpose |
|---|---|
| Rename | Update the database’s displayed name. |
| Favorite / Remove from Favorites | Organize your catalog; swipe controls use Pin / Unpin for the same state. |
| Show in Files | Locate the database through Files when its provider is available. |
| Remove from List | Unregister the database and clear associated app-managed access settings while retaining its KDBX file. |
| Delete File | Delete the database file and its linked decoy, then remove its catalog entry and associated state. |
Delete File presents a confirmation. Save any copies you want to keep before confirming deletion.
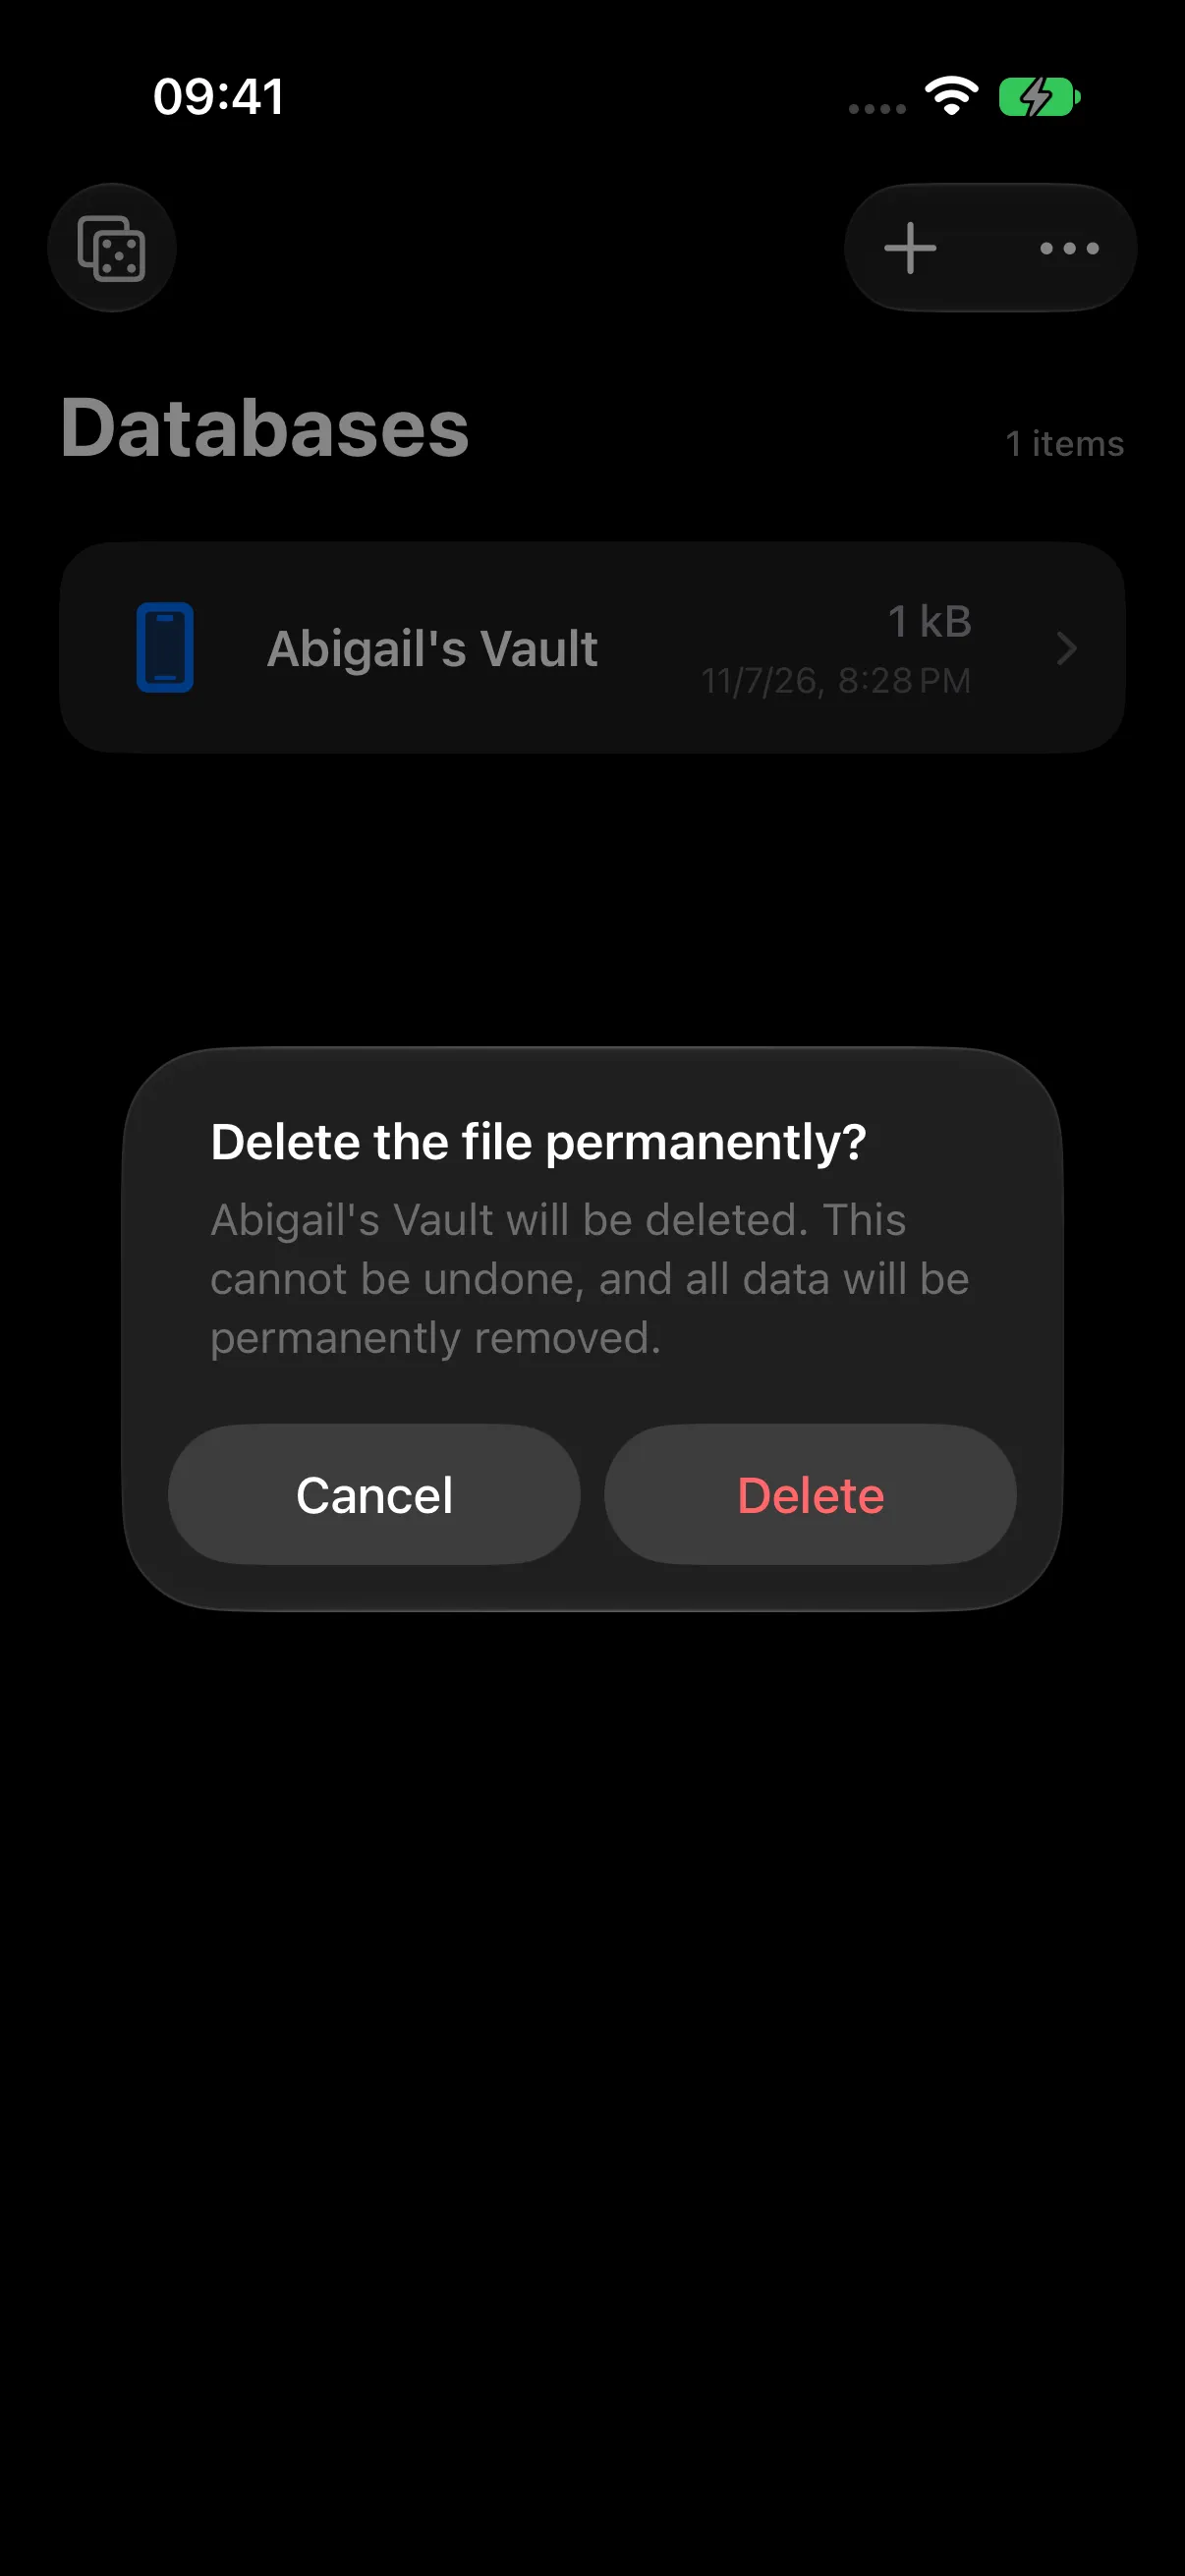
To add a retained file again, use Add Existing KDBX and its password, then configure device-local access preferences for that vault.
Local Storage and iCloud
When creating a vault, select Local Storage or iCloud.
| Option | Managed location |
|---|---|
| Local Storage | Files > On My iPhone > Talos > Vaults, or the corresponding on-device location on iPad. |
| iCloud | The Talos/Vaults location in iCloud Drive, when available. |
Talos manages the database file in the selected location. An external KDBX import creates a managed copy while preserving its original source.
Make an Encrypted Backup
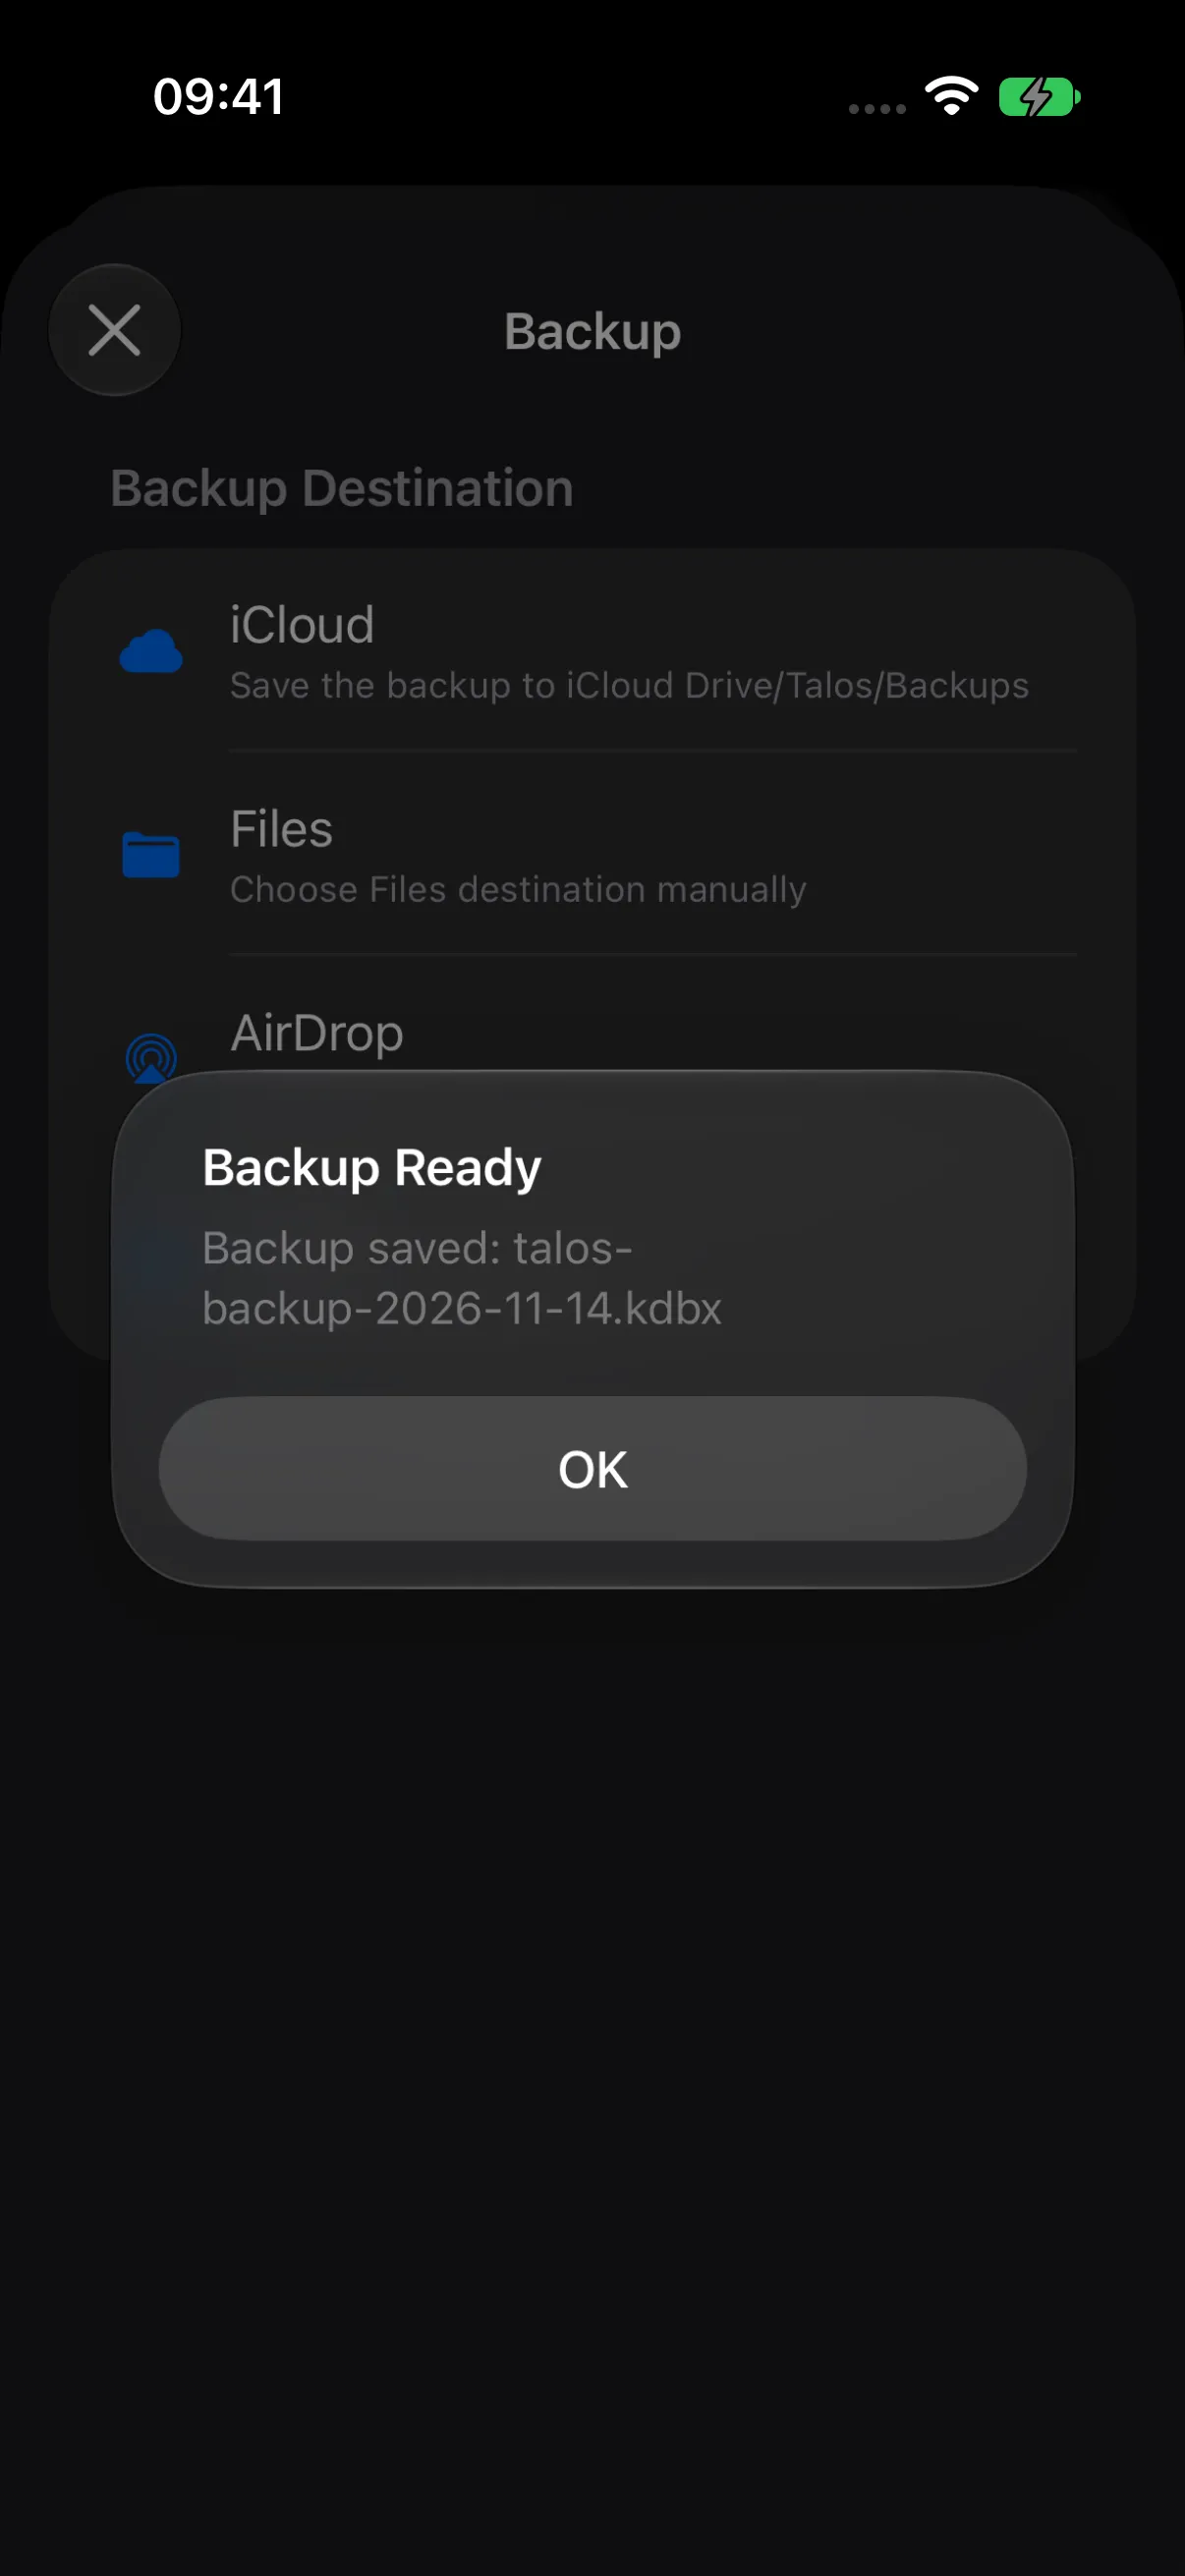
Back Up Now creates a separate encrypted KDBX copy using the vault’s existing credentials.
- Open the vault you want to back up and save pending edits.
- Choose Settings > Backup > Back Up Now.
- Select a destination.
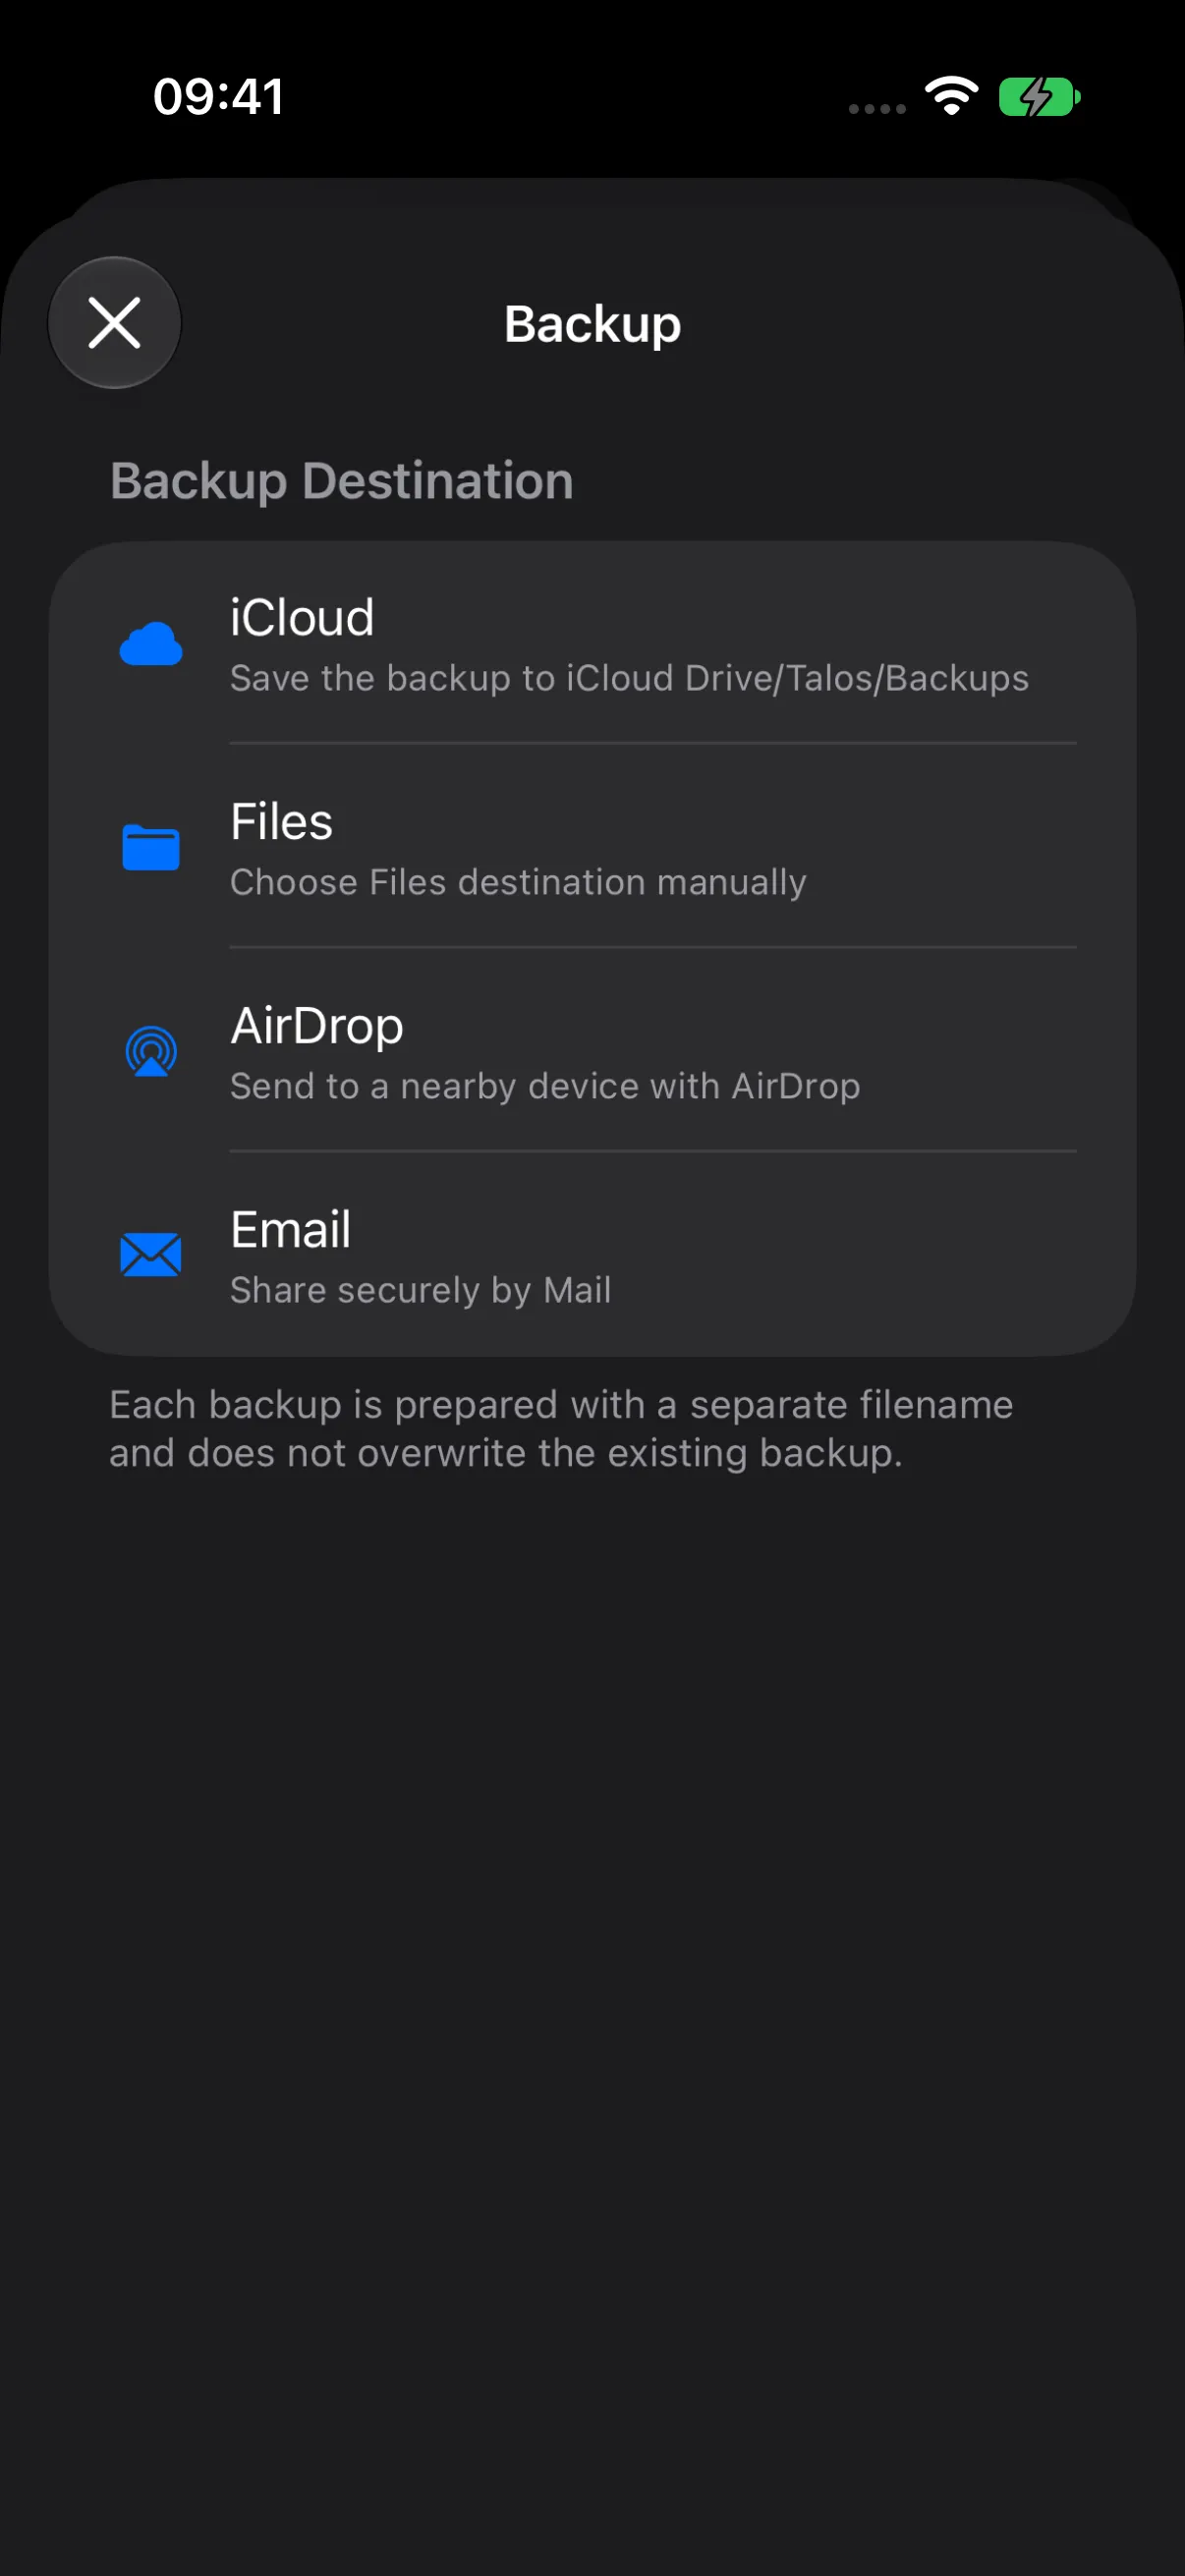
| Destination | How to save |
|---|---|
| Files | Choose a destination in the system picker and tap Save. |
| iCloud | Save to iCloud Drive/Talos/Backups when available. |
| AirDrop | Use system sharing to send the encrypted copy to a nearby device. |
| Use the mail-sharing flow to send the encrypted copy to your chosen recipient. |
Follow the completion message and keep your backup somewhere accessible independently of the active vault.
With eligible Premium access, Reminder offers Off, Daily, Weekly, or Monthly. Allow notifications to receive reminders, then use Back Up Now to create your copy.
Configure device-local biometric and document policies on each device.
Export as KDBX4
Use this option to create an encrypted copy with a password you choose for that export.
- Open Settings > Export > Export as KDBX4.
- Read the security notice and choose Export.
- Enter the exported copy’s password in Master Password.
- Tap Continue.
- Choose the destination in system sharing.
The export uses the chosen password; your active vault keeps its current password. Back Up Now, by comparison, keeps the source vault’s existing credentials.
Open a Backup
Use Add Existing KDBX to import the backup, then unlock it with that copy’s master password. An older backup uses the password it had when created.
Review its records after opening, and keep a current encrypted copy as part of your regular vault routine.
Next Steps
Continue to Decoy Vault, or revisit Category Protection.