Getting started
with Talos.
Your passwords, codes, and private files, together in an encrypted vault. Learn to set up Talos, organize your information, and make its features part of your everyday routine.

CHAPTER 06 13
Import an existing KDBX
Bring a compatible database into Talos with its existing credentials.
In this chapter 5 topics
Bring an existing encrypted database into Talos and continue using its current master password. Talos supports compatible KDBX 4.0 and 4.1 databases.
Before You Begin
Have your .kdbx file available in Files and its current master password ready. Import adds the database as its own vault in Talos. Multiple-vault access is available with eligible Premium access.
Step 1 — Choose Your Database
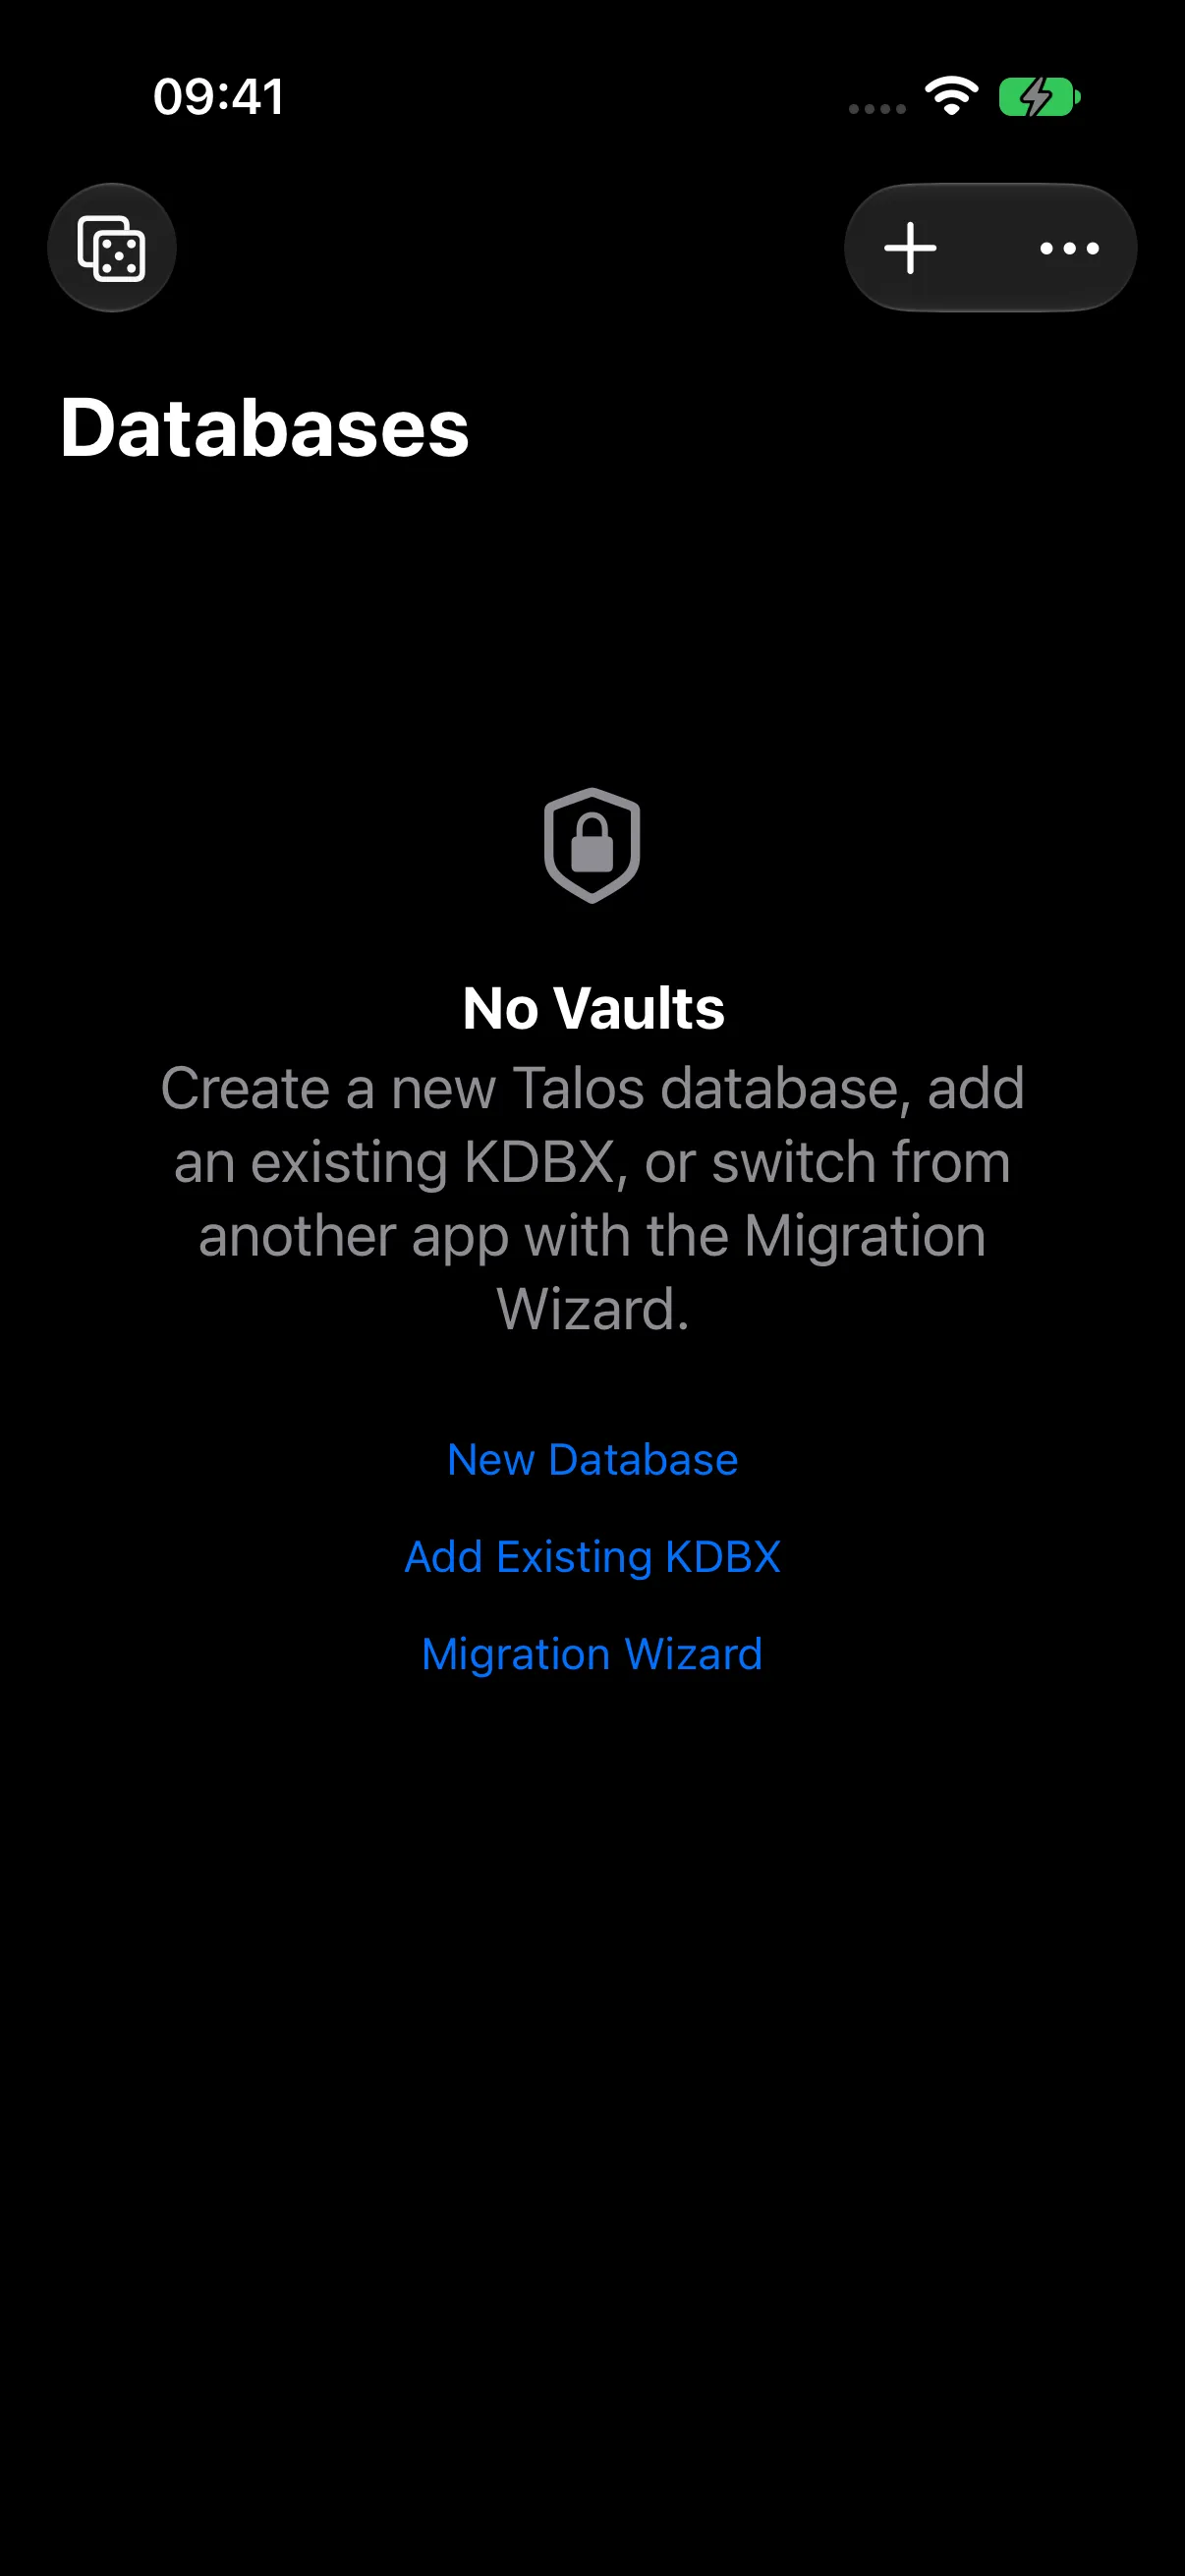
- Open Databases.
- Choose Add Existing KDBX, directly or through Add (+).
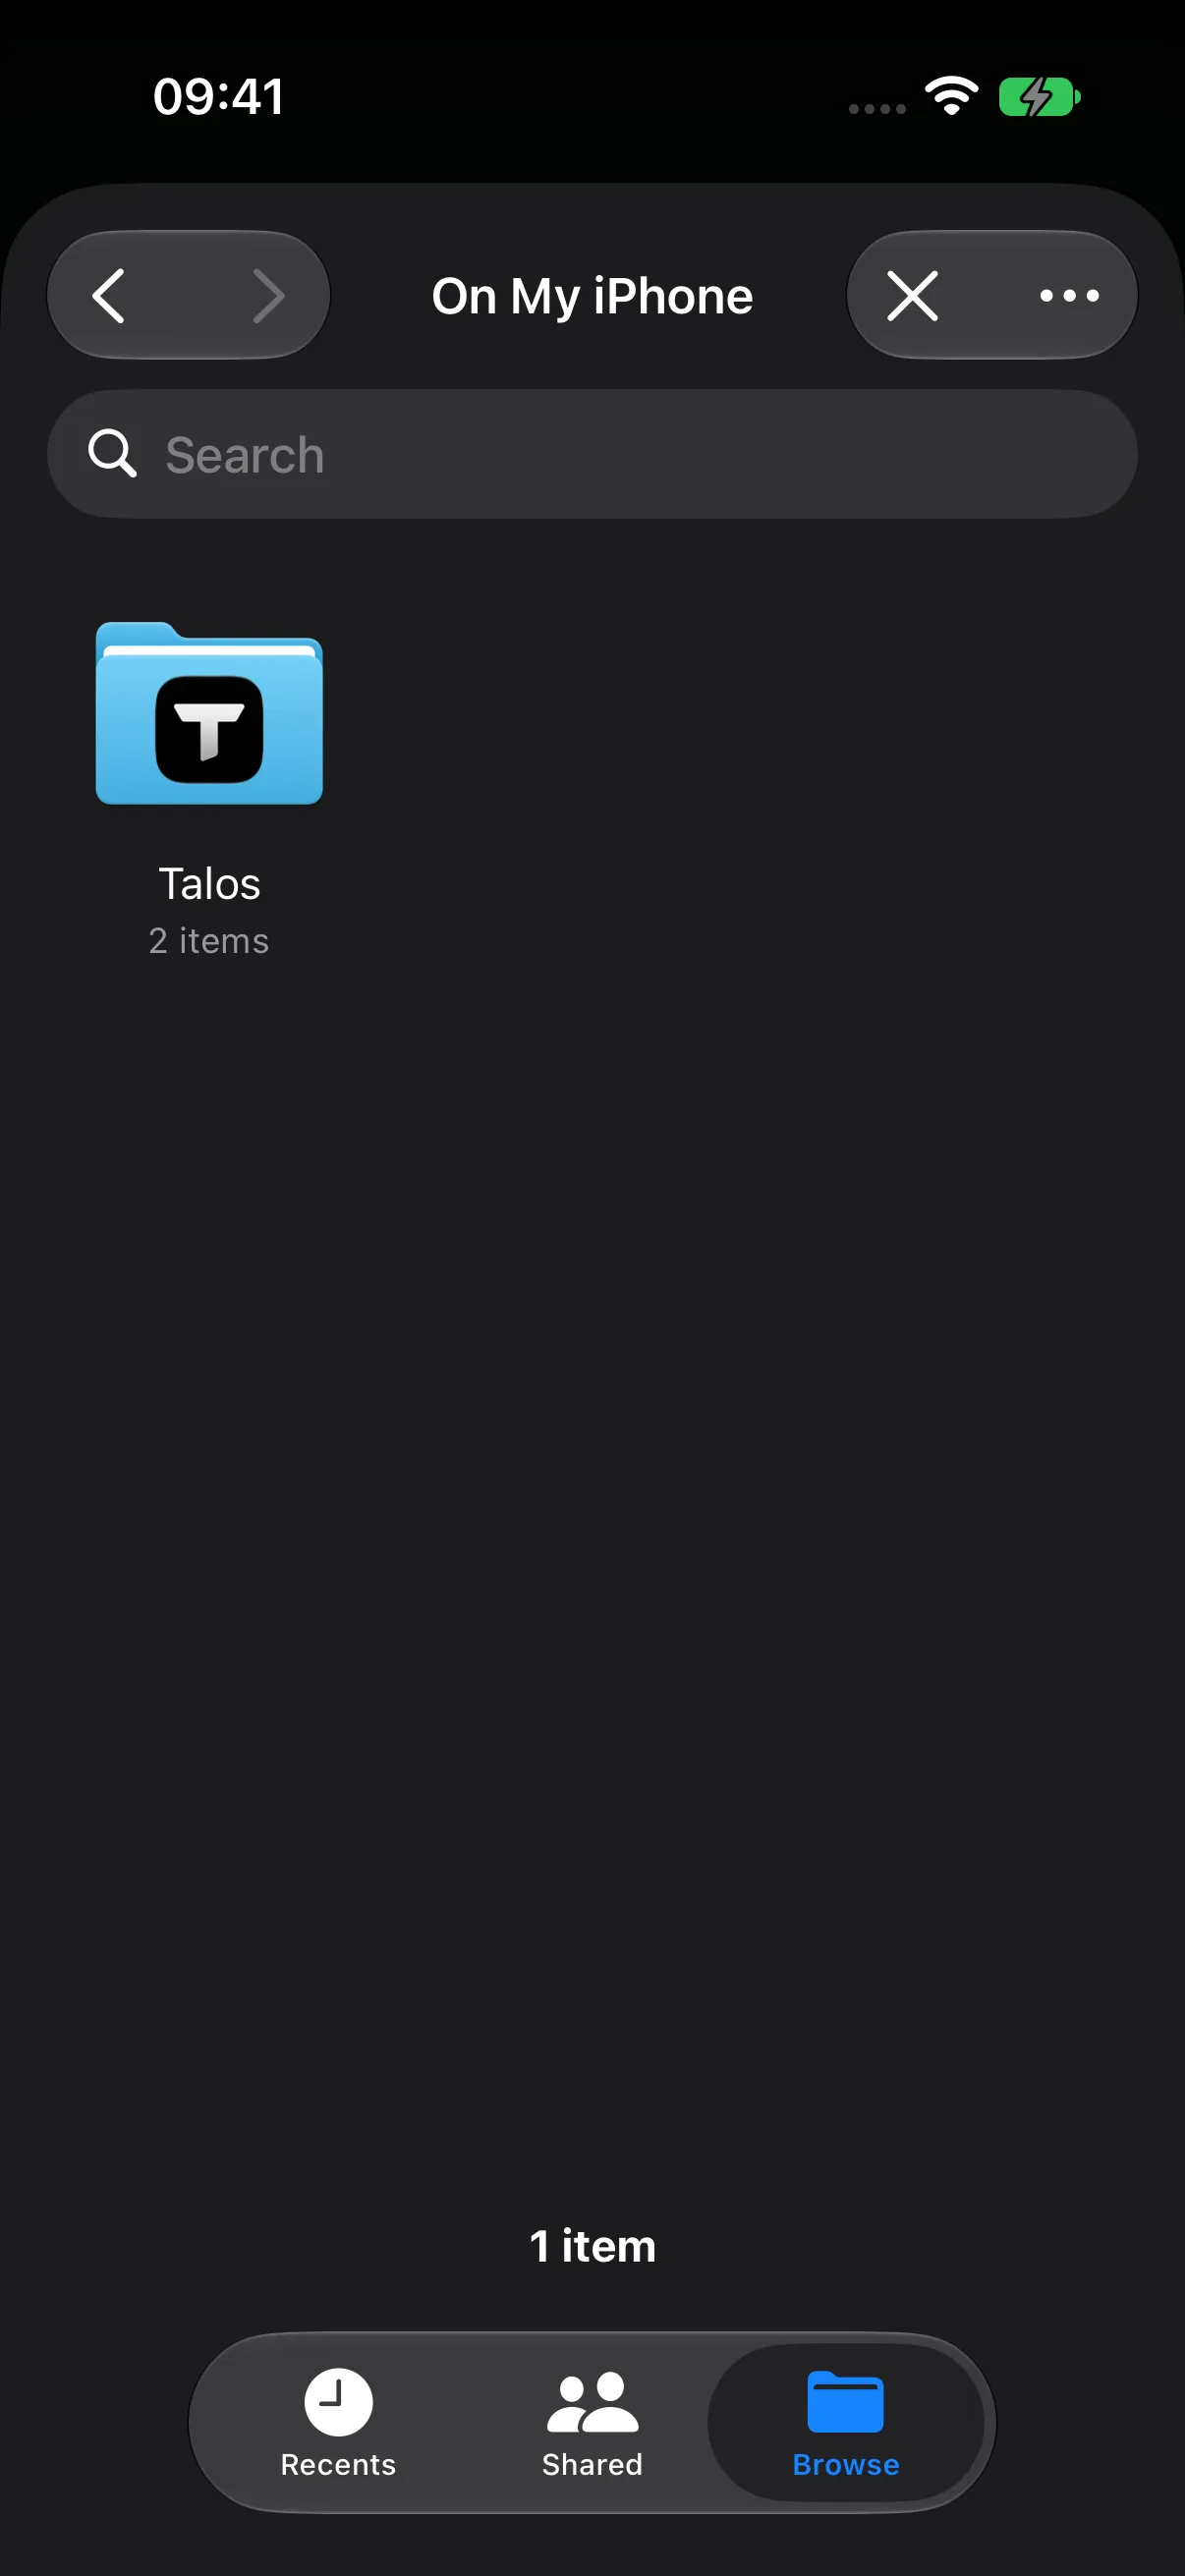
- In the system file picker, find and select your database.
Use Files to browse the locations available on your device, including iCloud Drive when enabled.
Step 2 — Review and Import
The Import Database form displays the source filename, Database Name, and Destination.
- Enter the name you want to see in Talos.
- Review the displayed destination.
- Tap the Import checkmark.
Talos manages the destination automatically: an iCloud source uses iCloud when available; other imports use Local Storage. If a filename is already in use, Talos chooses an available numbered filename.
For a file outside its managed location, Talos creates a managed copy and preserves the original. Continue editing the imported database listed in Talos. If the selected file is already in the managed destination, Talos can register it directly.
Step 3 — Unlock Your Imported Vault
Select the imported database, enter its existing master password, and tap Unlock. Your saved records are ready to browse.
Import preserves the database’s password. To choose a new one afterward, use Settings > Change Database Password, as explained in Security & Database Management.
Keep your original copy as a backup while settling into Talos. For background on the format, see Understanding a Talos Database.
Next Steps
Continue to Two-Factor Authentication, or return to Search Your Vault.