Getting started
with Talos.
Your passwords, codes, and private files, together in an encrypted vault. Learn to set up Talos, organize your information, and make its features part of your everyday routine.

CHAPTER 07 13
Two-factor authentication
Add TOTP setup information and use time-based codes.
In this chapter 10 topics
Keep time-based one-time passwords (TOTP) alongside your saved logins. Talos uses a service’s setup information and the current time to generate the temporary codes requested during sign-in.
Before You Begin
Start two-factor authentication setup in the service you want to protect. It will provide a QR code, secret key, or otpauth URI for your authenticator.
| Item | Purpose |
|---|---|
| TOTP secret | The reusable setup key supplied by the service. |
| One-time code | The temporary code Talos generates from that key. |
| Recovery code | A separate account-access fallback supplied by the service. |
Complete the service’s confirmation after adding its setup to Talos, and keep its recovery codes in a secure place.
Step 1 — Open the Entry’s 2FA Section
- Open Northstar Mail in Abigail’s Vault.
- Tap Edit and scroll to 2FA.
- Choose Scan QR Code, Enter Secret Key, or Enter otpauth URI.
If you have enabled protection for 2FA Codes, authorize the category to access its controls.
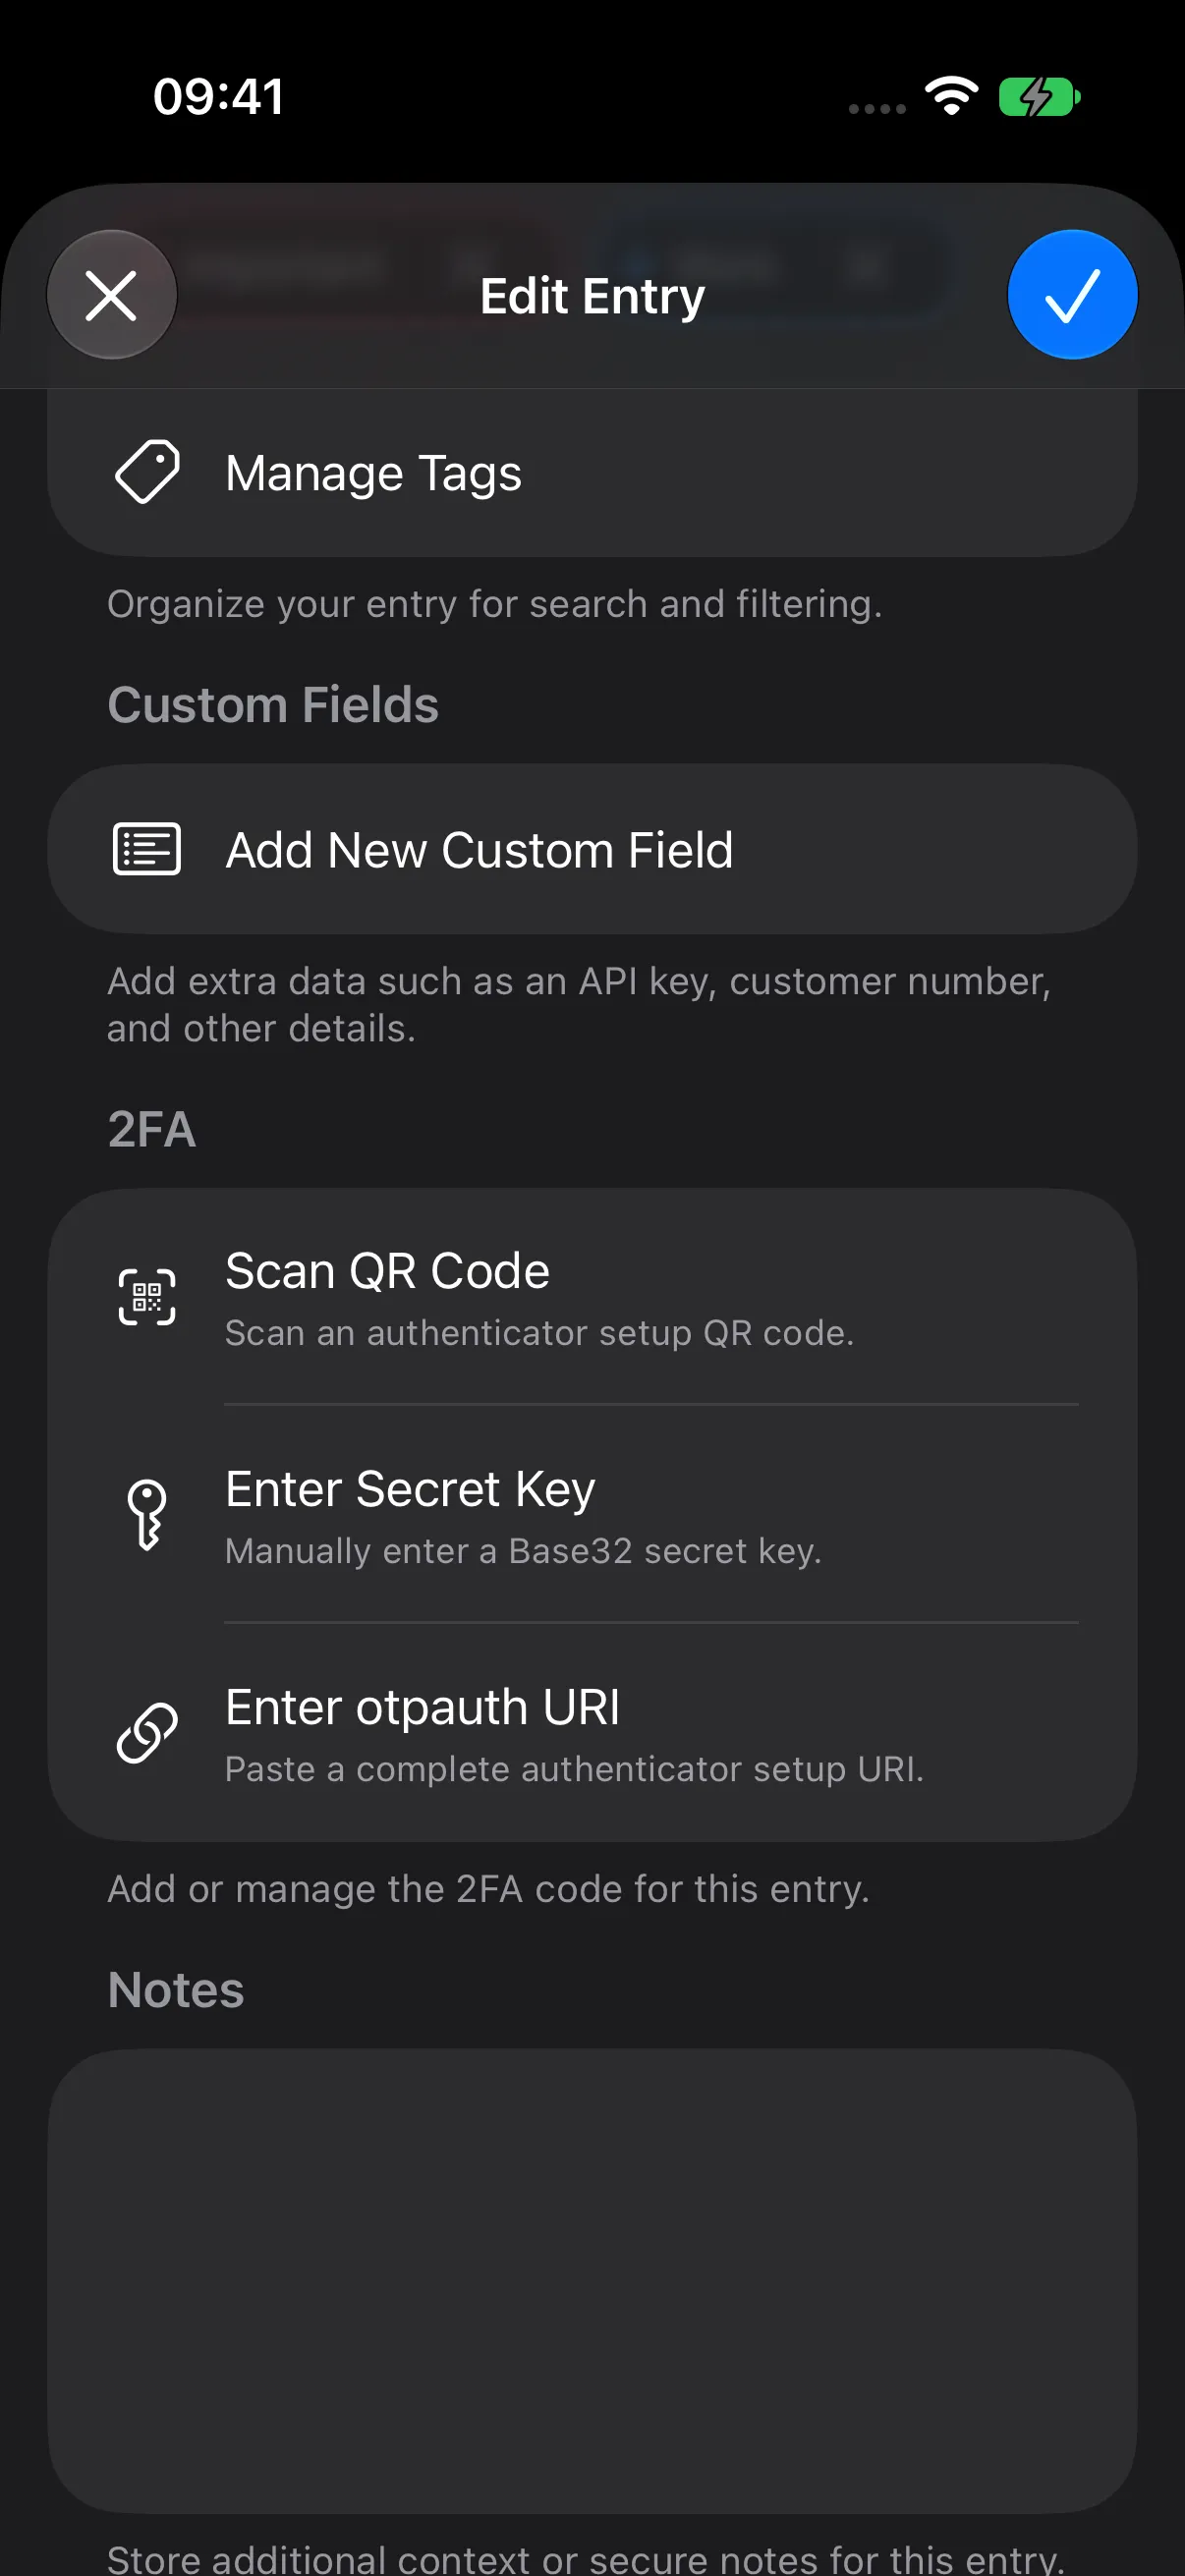
Step 2 — Add the Service’s Setup
Scan a QR Code
Choose Scan QR Code, allow camera access when requested, and point the camera at the service’s authenticator setup QR code.
Enter a Secret Key
Choose Enter Secret Key and fill in:
- Secret Key (Base32): the setup key provided by the service.
- Service (optional): a recognizable name, such as Northstar Mail.
- Account (optional): the associated account or email address.
Tap the Add checkmark to return to the entry editor.
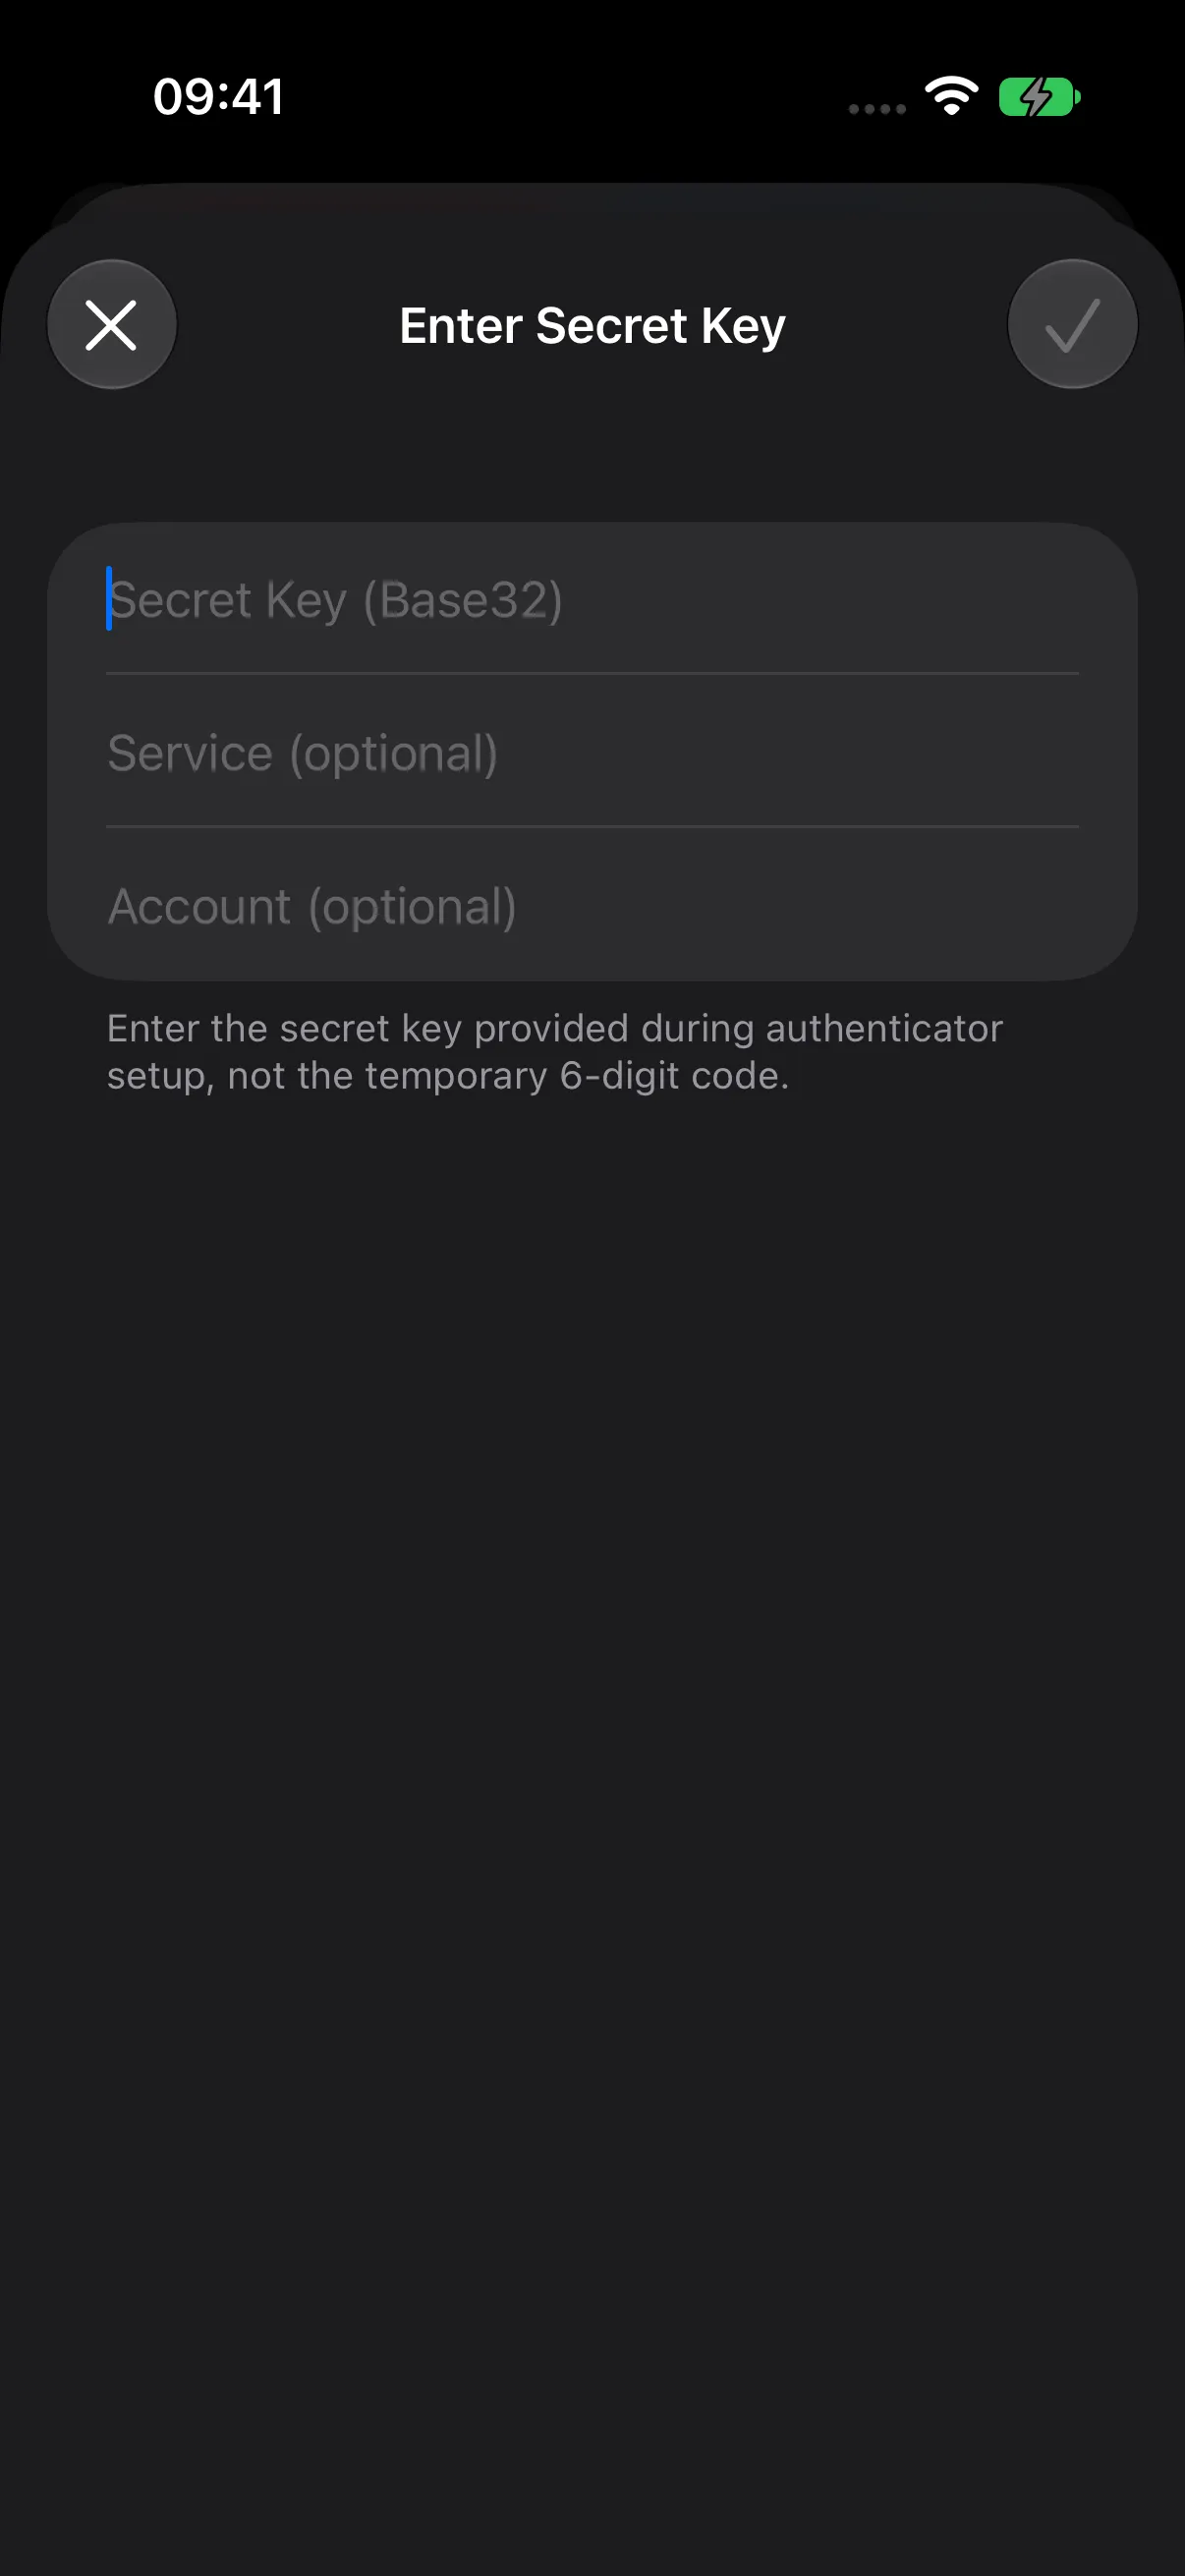
This method uses SHA1, six digits, and a 30-second period. If the service supplies different settings, use its complete provisioning URI.
Enter an otpauth URI
Choose Enter otpauth URI, paste the complete TOTP setup URI into Setup URI, and tap Add.
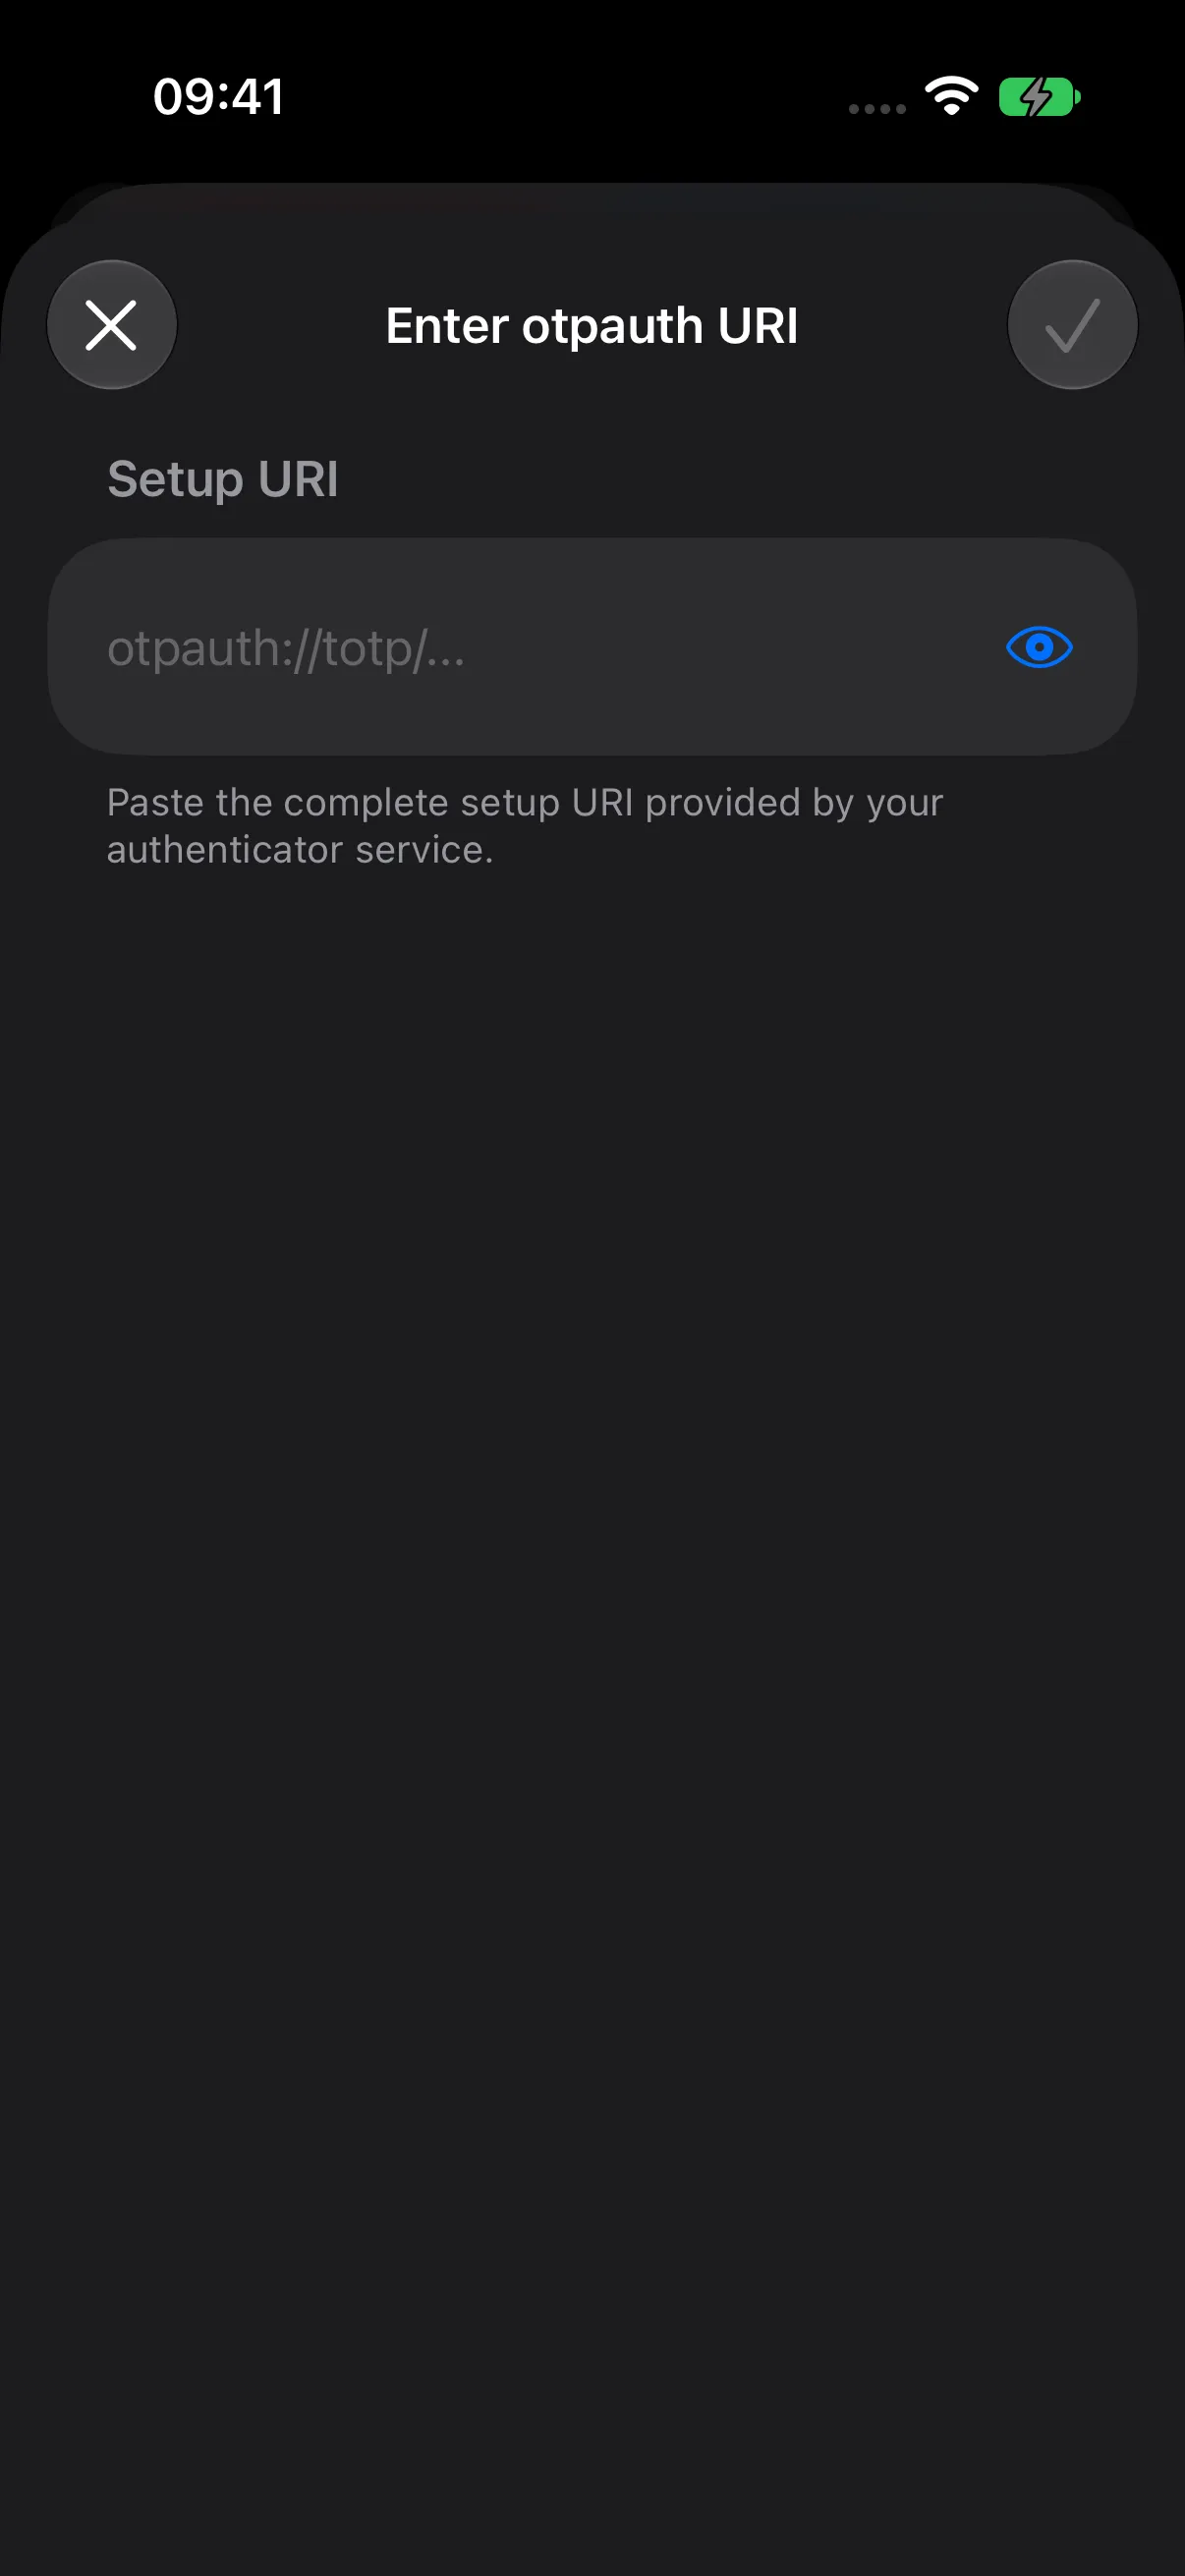
Talos reads the service and account labels from the URI. Supported TOTP settings include SHA1, SHA256, or SHA512; four to nine digits; and periods of 10 to 120 seconds. Omitted settings use SHA1, six digits, and 30 seconds.
Keep setup keys and provisioning URIs private, just like the other credentials in your vault.
Step 3 — Save and Use Your Codes
- Review the setup summary in Edit Entry.
- Tap the entry’s Save checkmark.
- Open the saved entry and find 2FA Code under Information.

The countdown ring shows the time remaining before the code refreshes. Tap the current code to copy it, then enter it when the service asks.
You can also open configured records from 2FA Codes on Vault Home. If the entry shows 2FA Locked, tap it to authorize the protected category.
View and Share the 2FA QR Code
- Open the saved entry and find 2FA Code.
- Tap the circular QR code button to the right of the code. Talos generates and displays a QR code for the account’s saved 2FA setup.
- To share it, tap Share and approve the request with Face ID.
- Choose a destination in the system share sheet.
Update or Remove a Setup
To update a setup, open Edit > 2FA, add the service’s new configuration, and save the entry.
To remove a setup from Talos, choose Remove 2FA and save. Manage the corresponding two-factor authentication setting in the service as well, keeping a working sign-in method available.
Next Steps
Continue to Secure Notes & Payment Cards, or return to Import an Existing KDBX Database.