Getting started
with Talos.
Your passwords, codes, and private files, together in an encrypted vault. Learn to set up Talos, organize your information, and make its features part of your everyday routine.

CHAPTER 13 13
Decoy Vault
Create and manage a separate linked database with a distinct password.
In this chapter 13 topics
- Before You Begin
- Step 1 — Open Decoy Settings
- Step 2 — Choose the Starting Content
- Personalize Sample Content
- Step 3 — Create Your Decoy
- Step 4 — Open the Decoy
- Explore the Sample Dataset
- Step 5 — Return to Your Primary Vault
- Alternative — Start with an Empty Decoy
- Manage Your Decoy
- Change the Decoy Password
- Delete the Decoy
- Related Guides
Maintain an alternate set of vault content behind a separate password. Decoy Vault links a second encrypted KDBX database to your primary vault and opens it through the same database selection.
Your primary password opens the primary content; your distinct decoy password opens the decoy content. Each environment has its own records and uses Talos’s familiar interface.
Before You Begin
- Unlock the primary vault you want to configure.
- Have eligible Premium access.
- Choose a strong decoy password that differs from your primary password.
- Keep a secure reference for each password.
This chapter uses the fictional Abigail’s Vault. The linked decoy shares its display name and catalog selection.
Step 1 — Open Decoy Settings
- Unlock Abigail’s Vault with the primary master password.
- Choose Menu (…) > Settings.
- Scroll to Vault Settings and check Active Vault.
- Tap Decoy Vault > Manage.
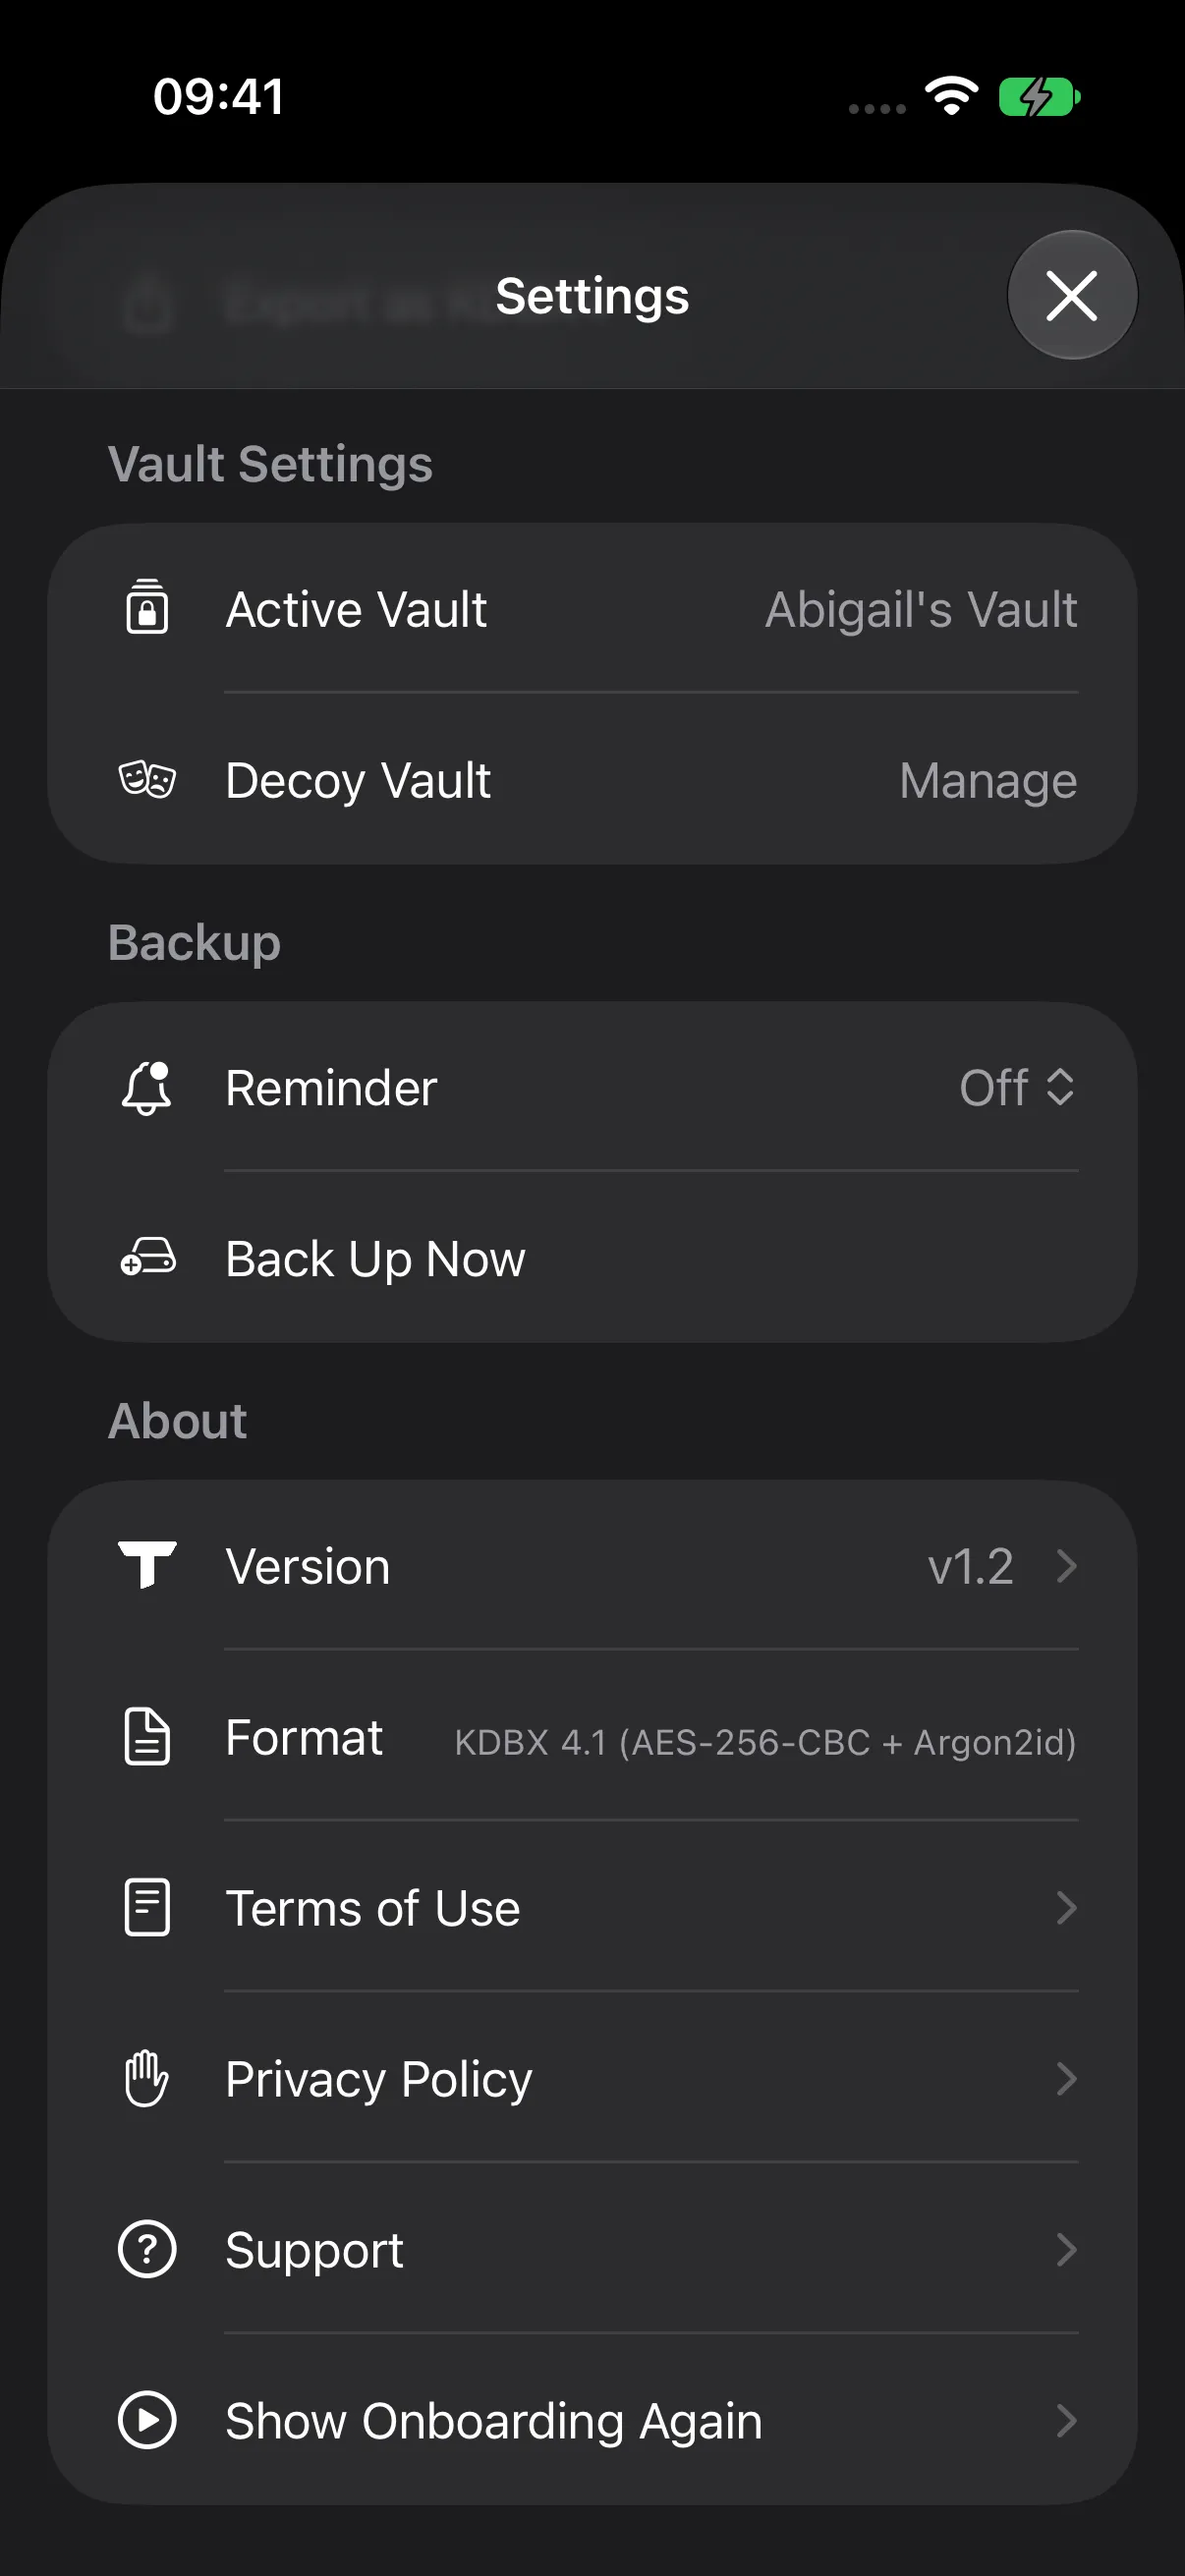
Manage the linked decoy from the primary vault.
Step 2 — Choose the Starting Content
The initial setup includes Decoy Content, Password, and Security.
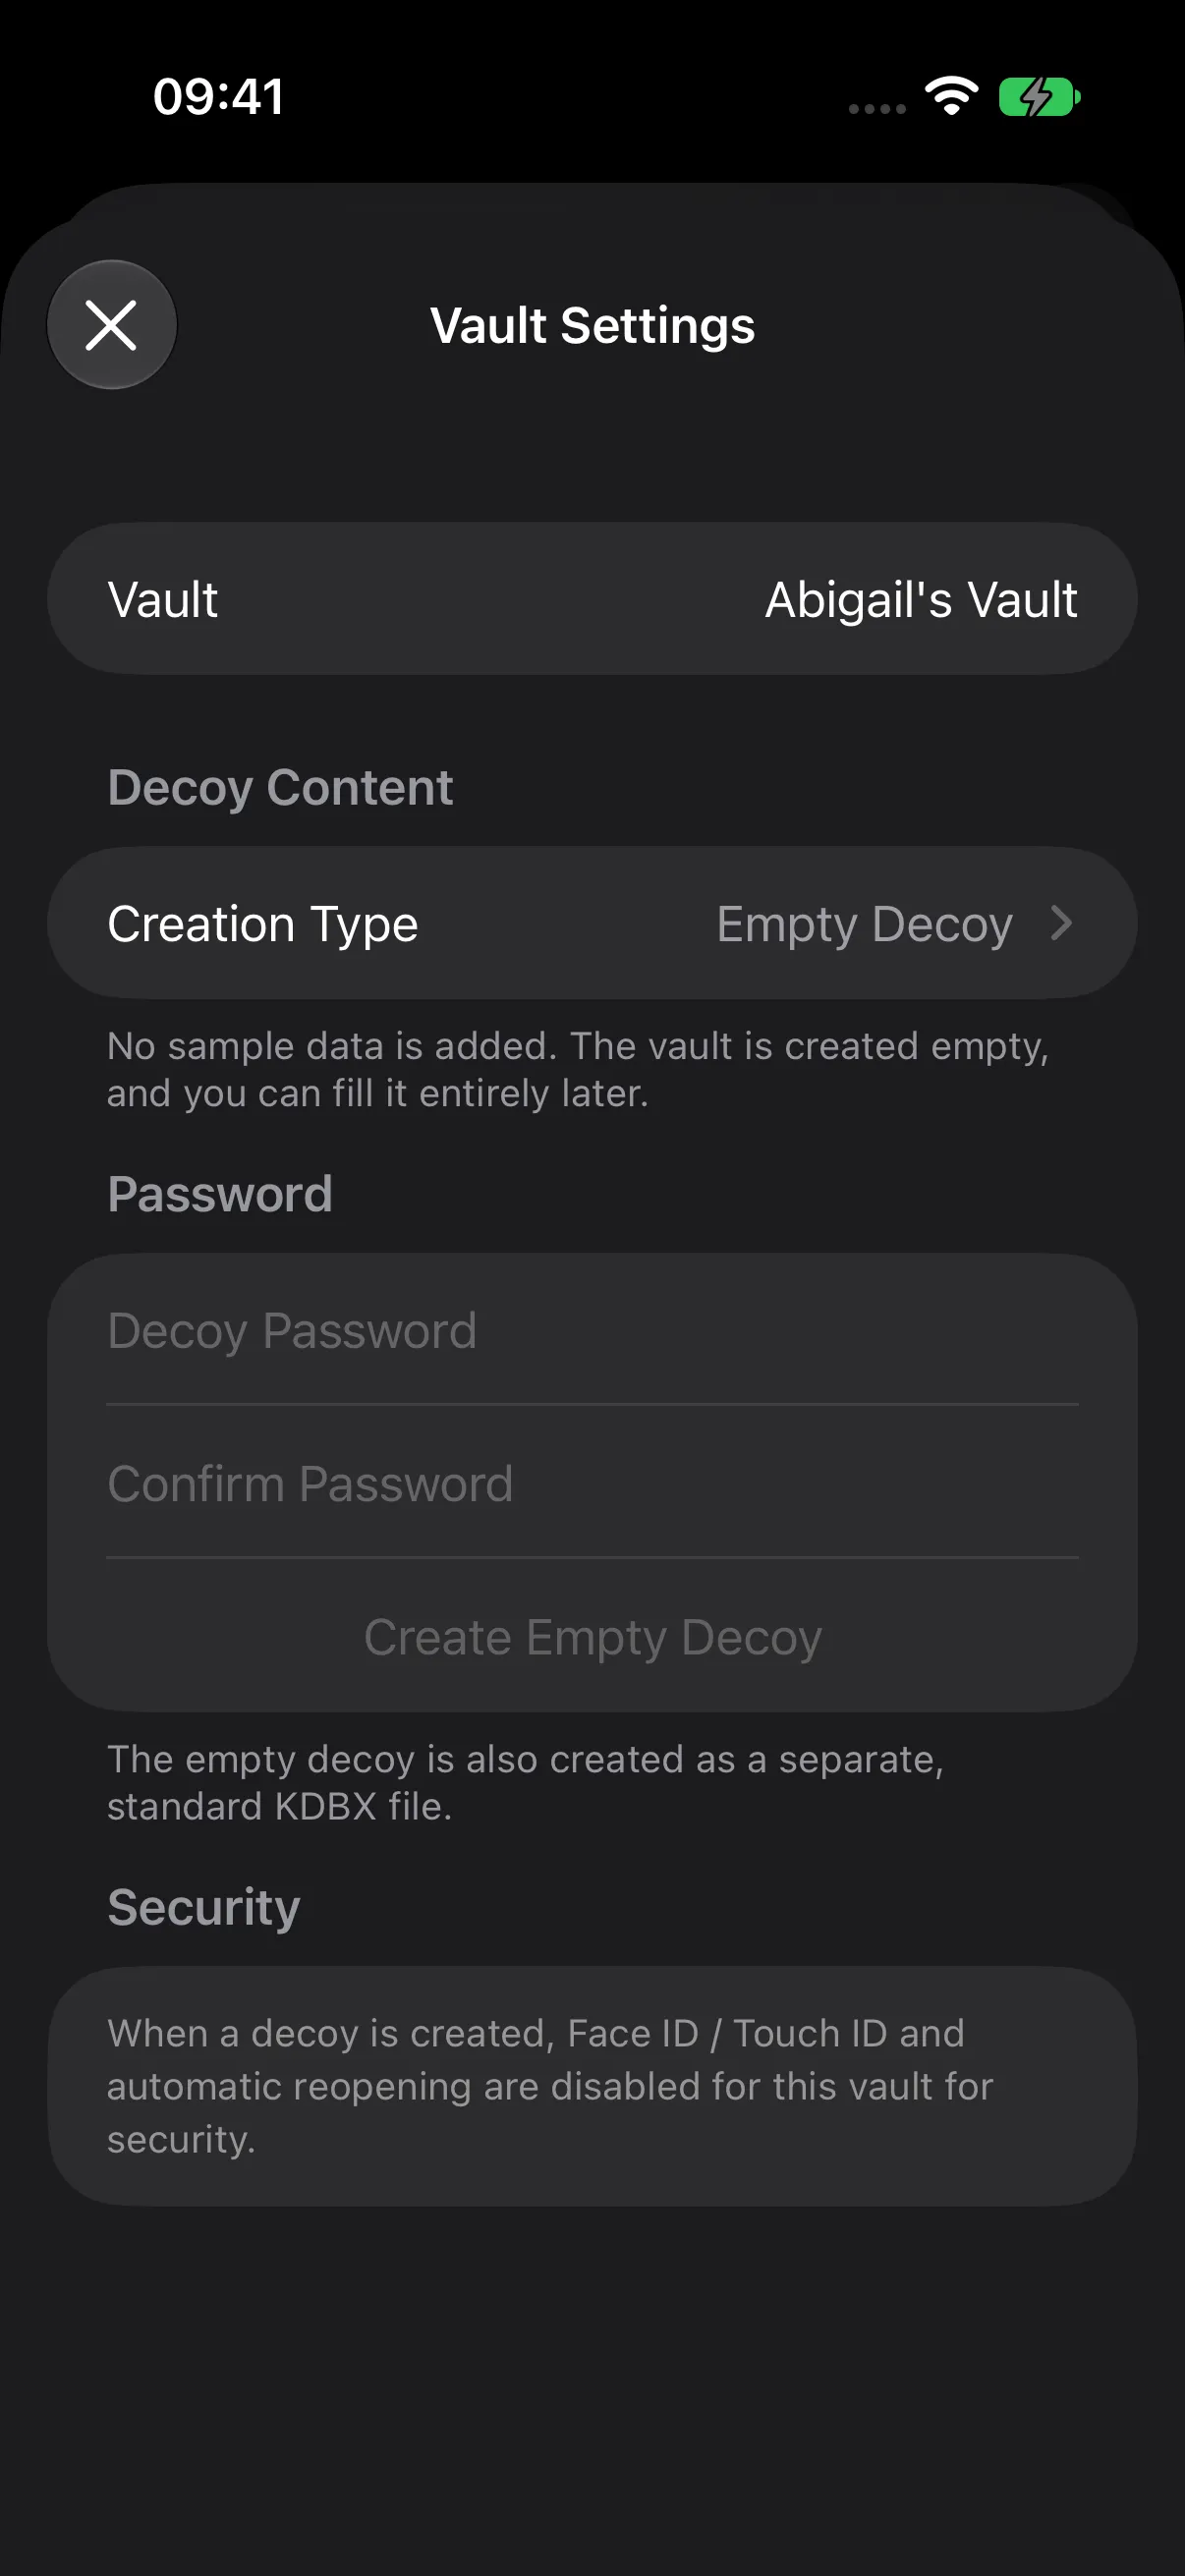
Choose one of two creation types:
| Creation type | Starting content |
|---|---|
| Empty Decoy | Start with an empty vault and add your own records. |
| Sample Fake Content | Start with an editable fictional dataset. |
Personalize Sample Content
Choose Sample Fake Content to reveal Name, Keyword, and More Personal-Looking Content.
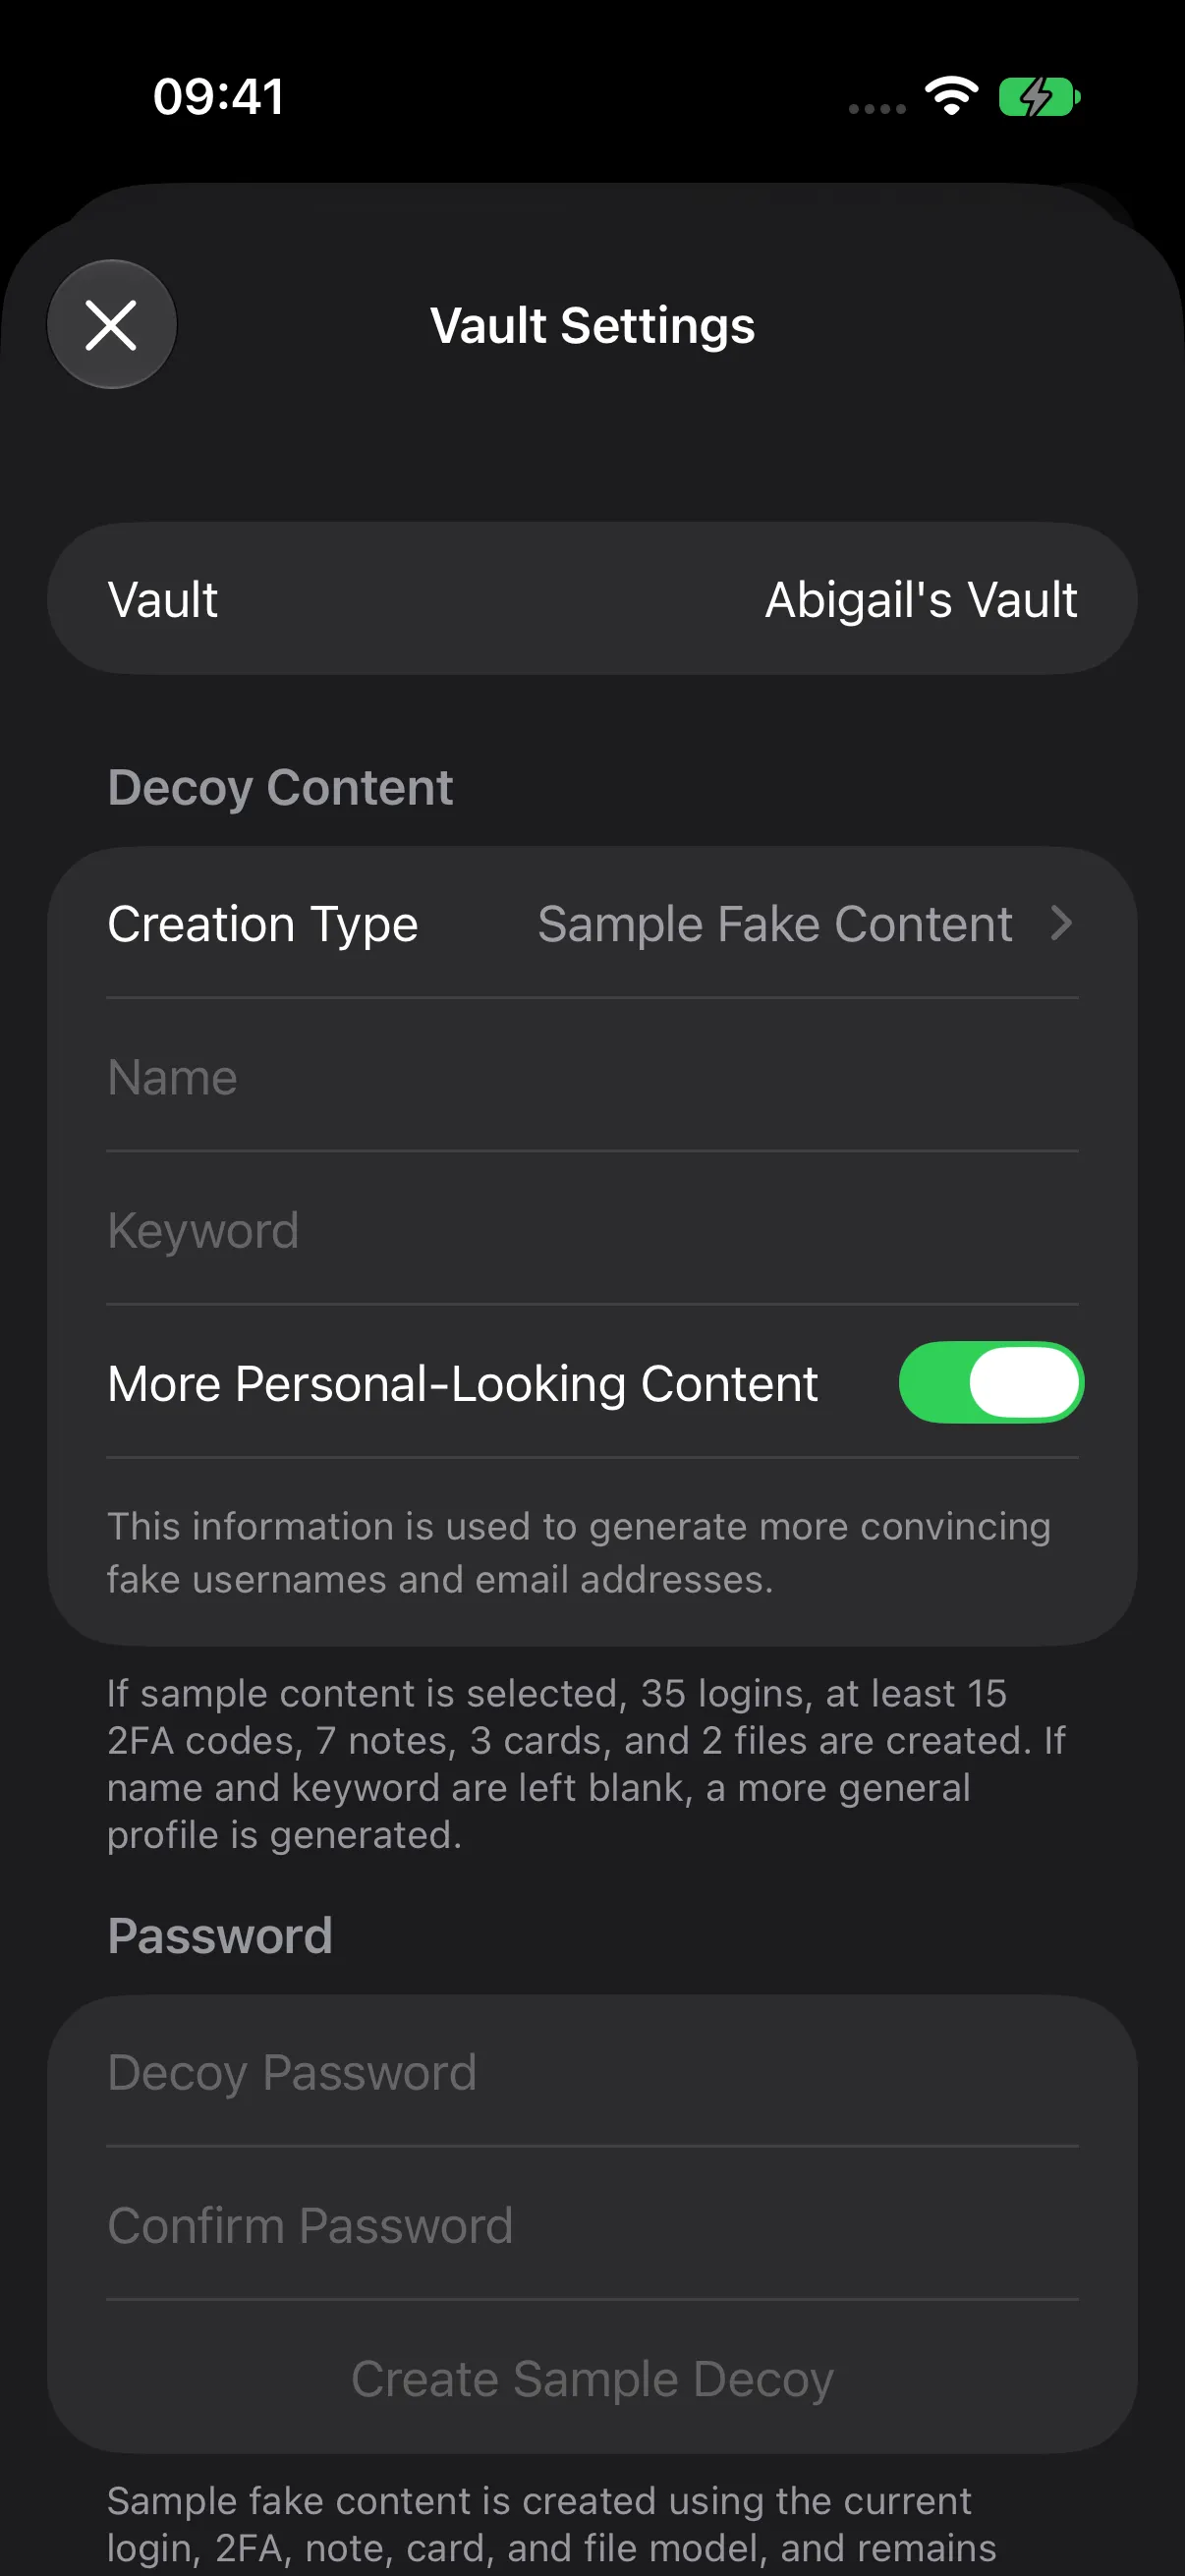
Name and Keyword help personalize sample usernames and email addresses. Leave them empty for a general profile. These fields describe the sample content; the vault keeps the primary’s display name.
Step 3 — Create Your Decoy
- Select the desired creation type.
- For this example, choose Sample Fake Content, enter Abigail and Northstar, and enable More Personal-Looking Content.
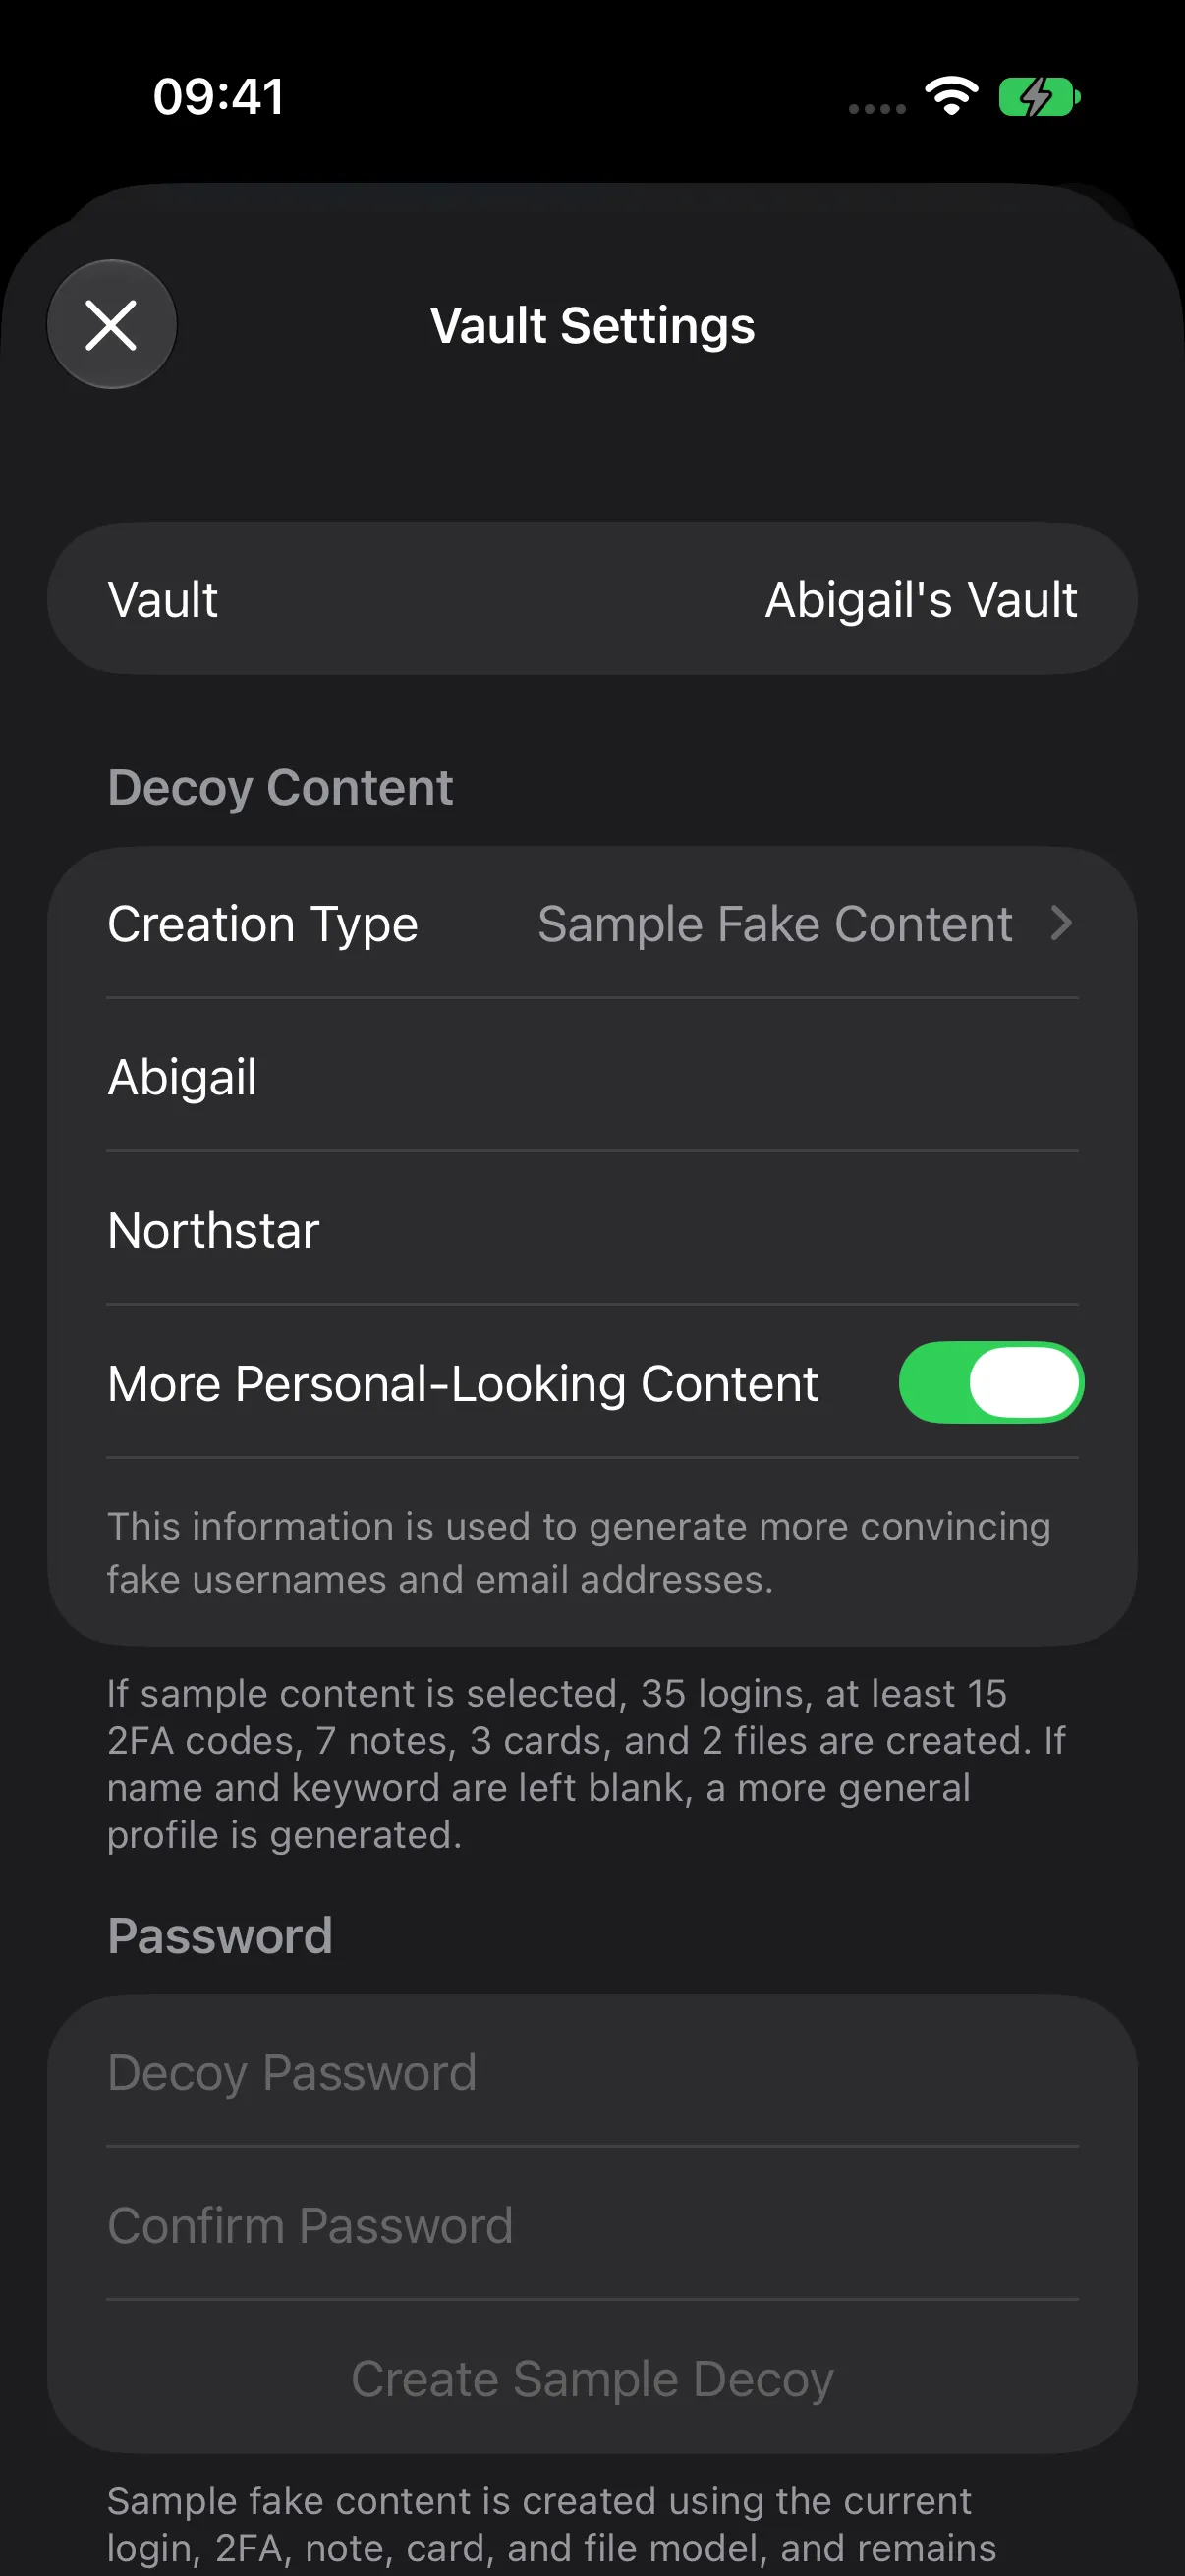
- Enter Decoy Password and Confirm Password.
- Use a unique password with at least 12 characters, uppercase and lowercase letters, a number, and a symbol.
- Tap Create Sample Decoy, or the creation action for an empty decoy.
- After creation, the management screen displays the linked file and decoy controls.
Step 4 — Open the Decoy
- Return to Vault Home and choose Menu (…) > Lock.
- In Databases, select Abigail’s Vault.
- Enter the decoy password in Master Password.
- Tap Unlock.
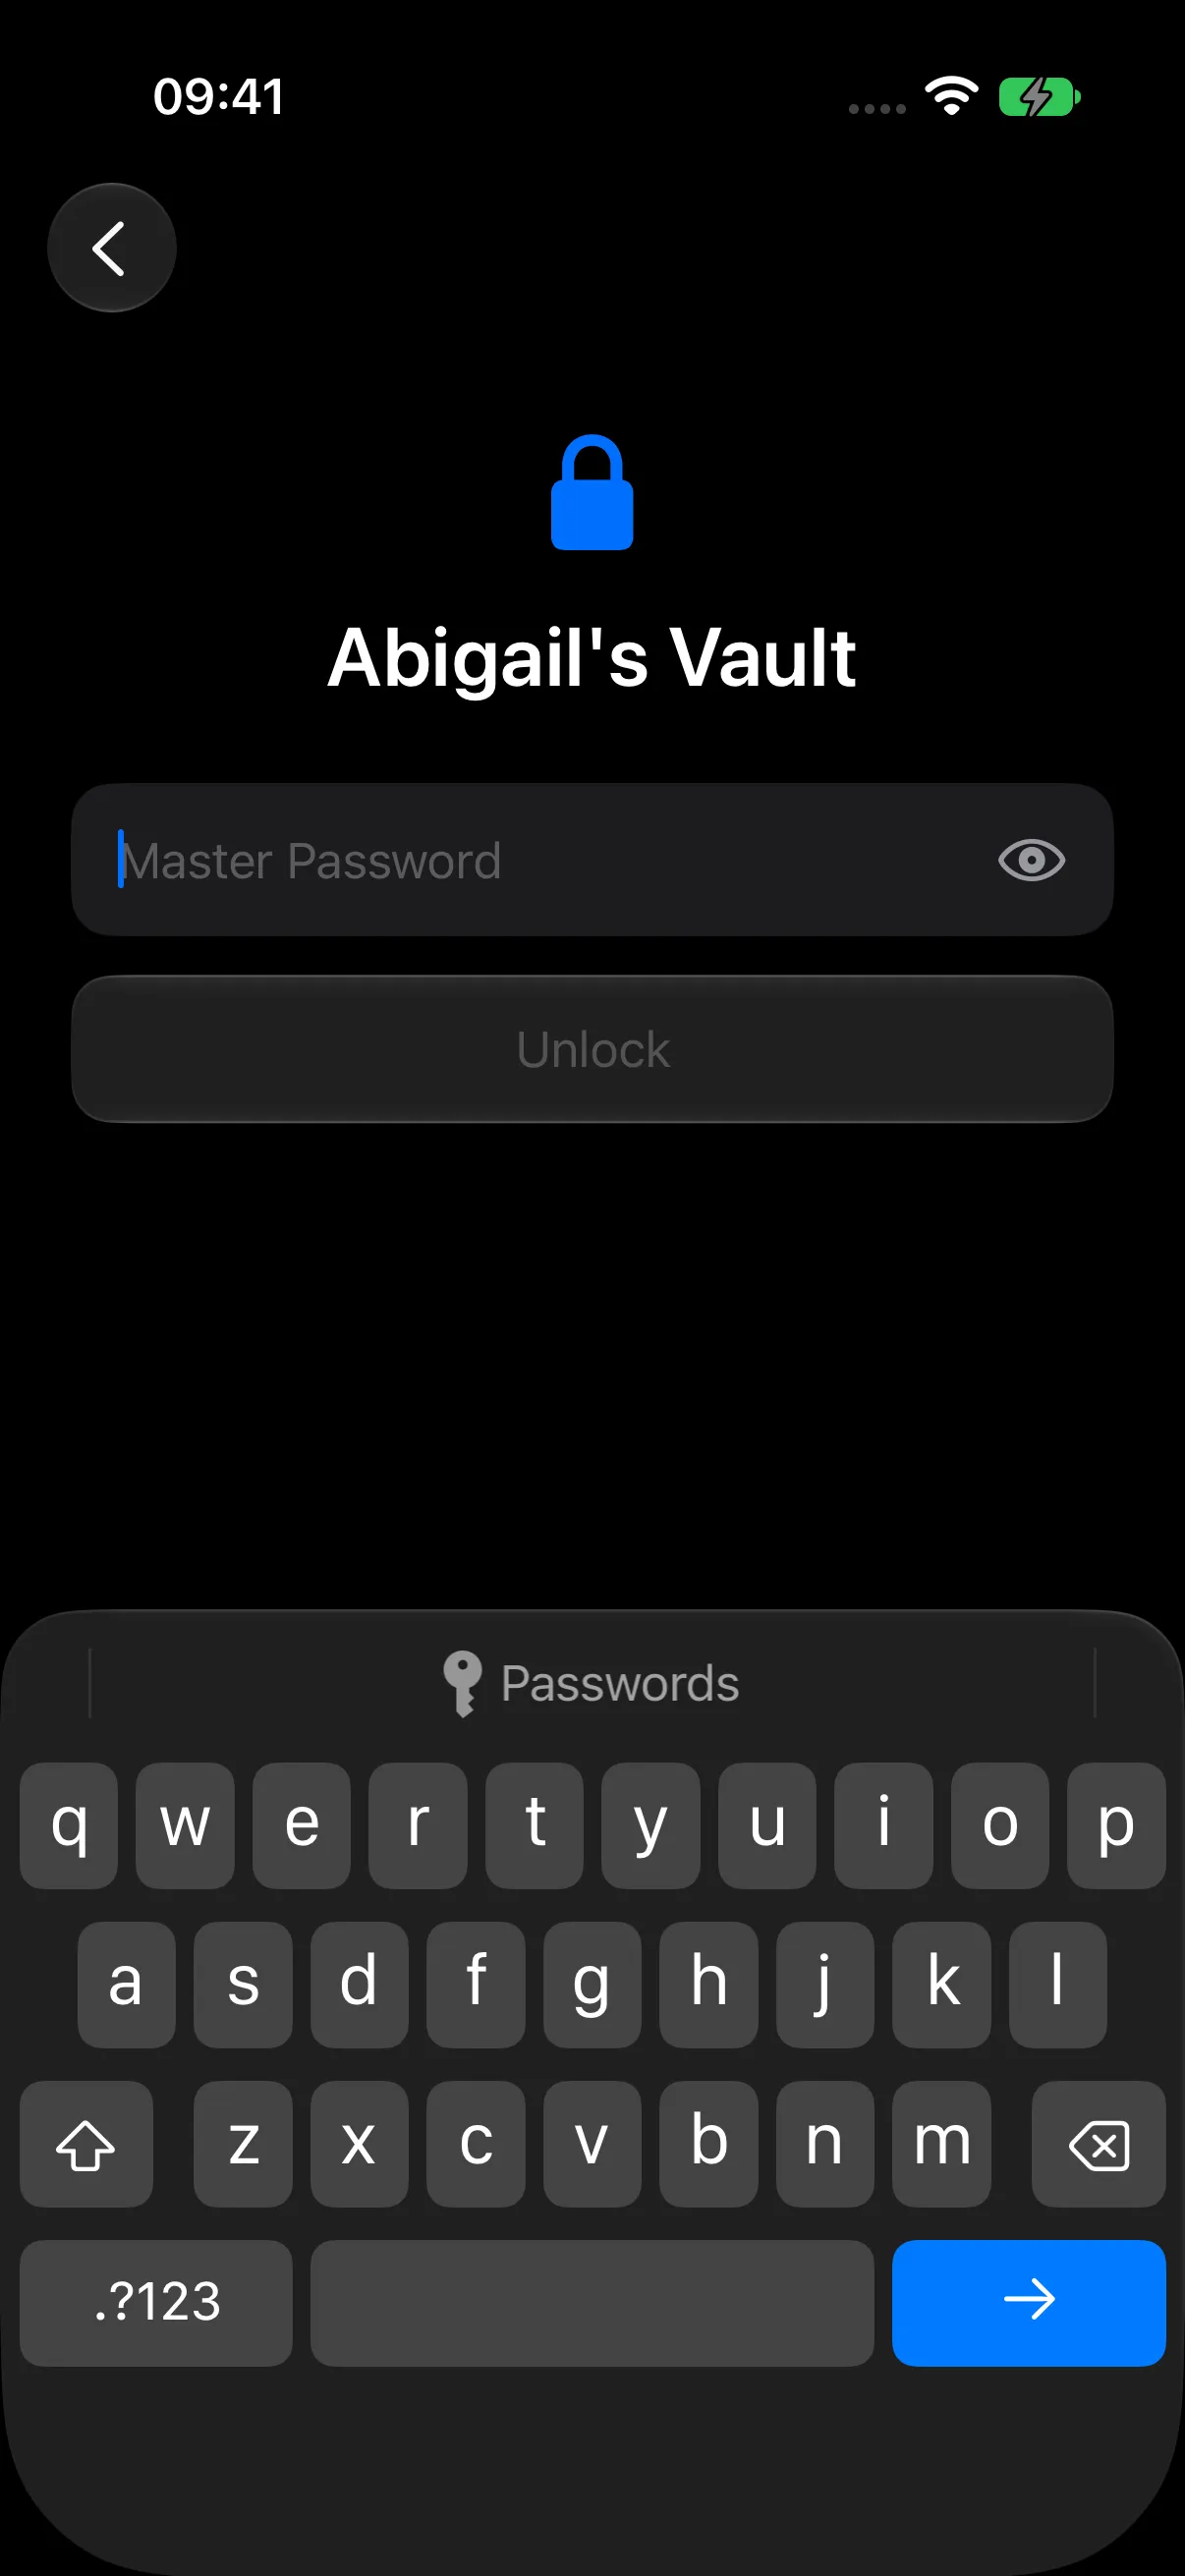
The password selects the environment. A linked primary/decoy pair uses password-based opening, with direct biometric unlock and automatic reopening disabled.
The sample decoy opens with generated content already organized.
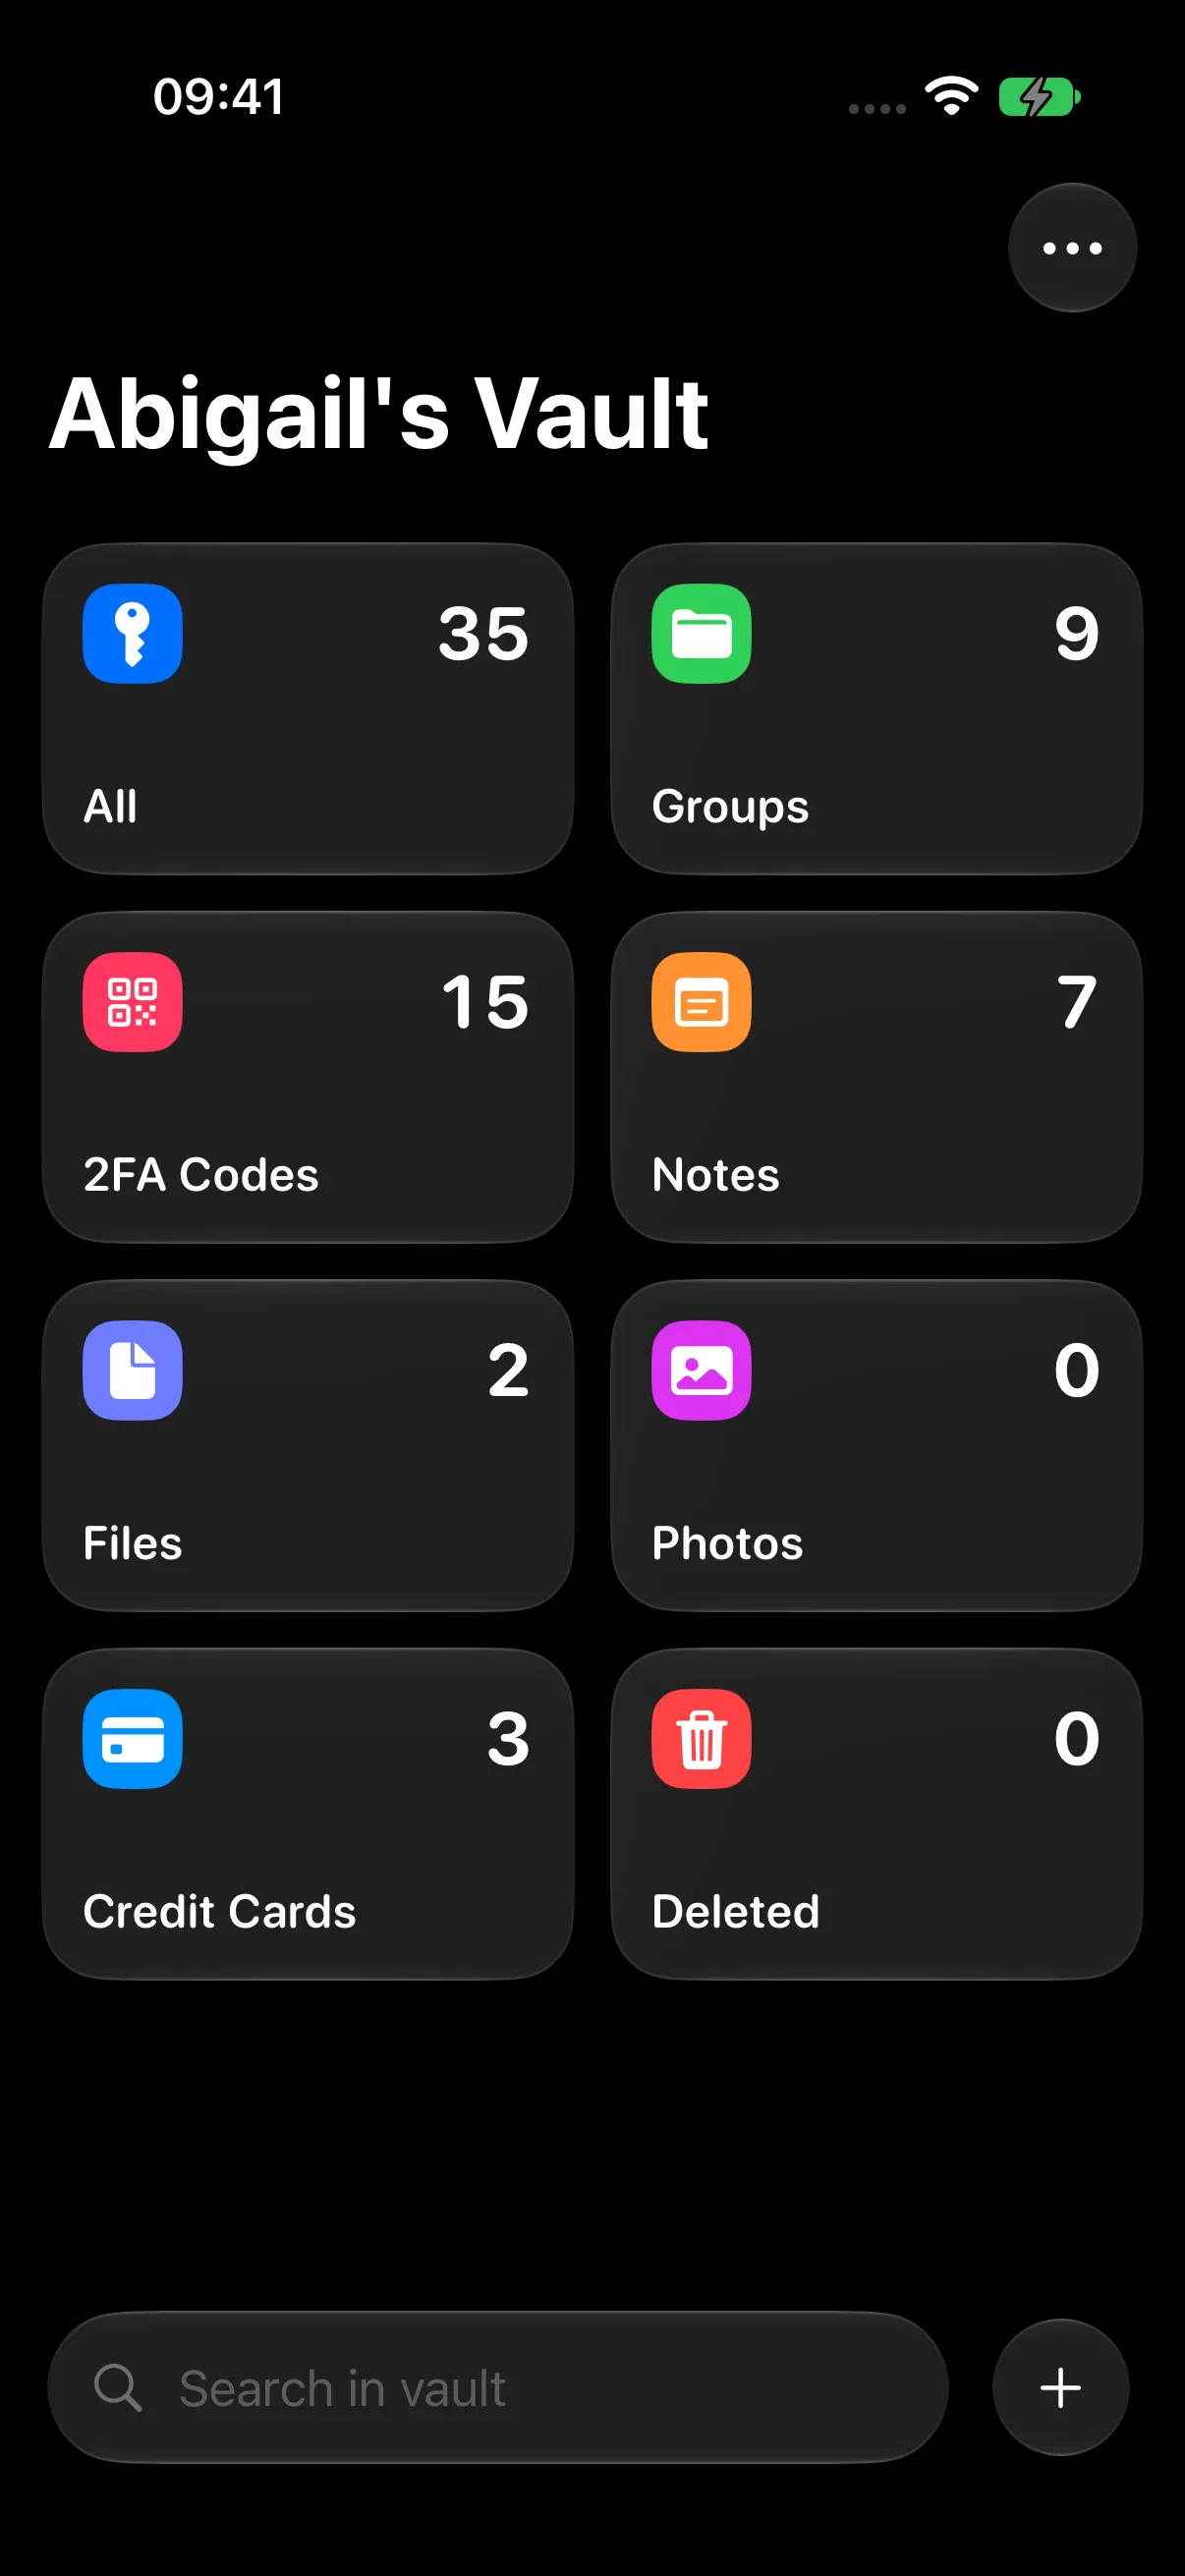
Explore the Sample Dataset
| Category | Example starting content |
|---|---|
| All | 35 login entries |
| Groups | 9 groups |
| 2FA Codes | 15 configurations |
| Notes | 7 notes |
| Files | 2 files |
| Credit Cards | 3 cards |
Photos and Deleted begin empty. Sample records are fictional and editable.
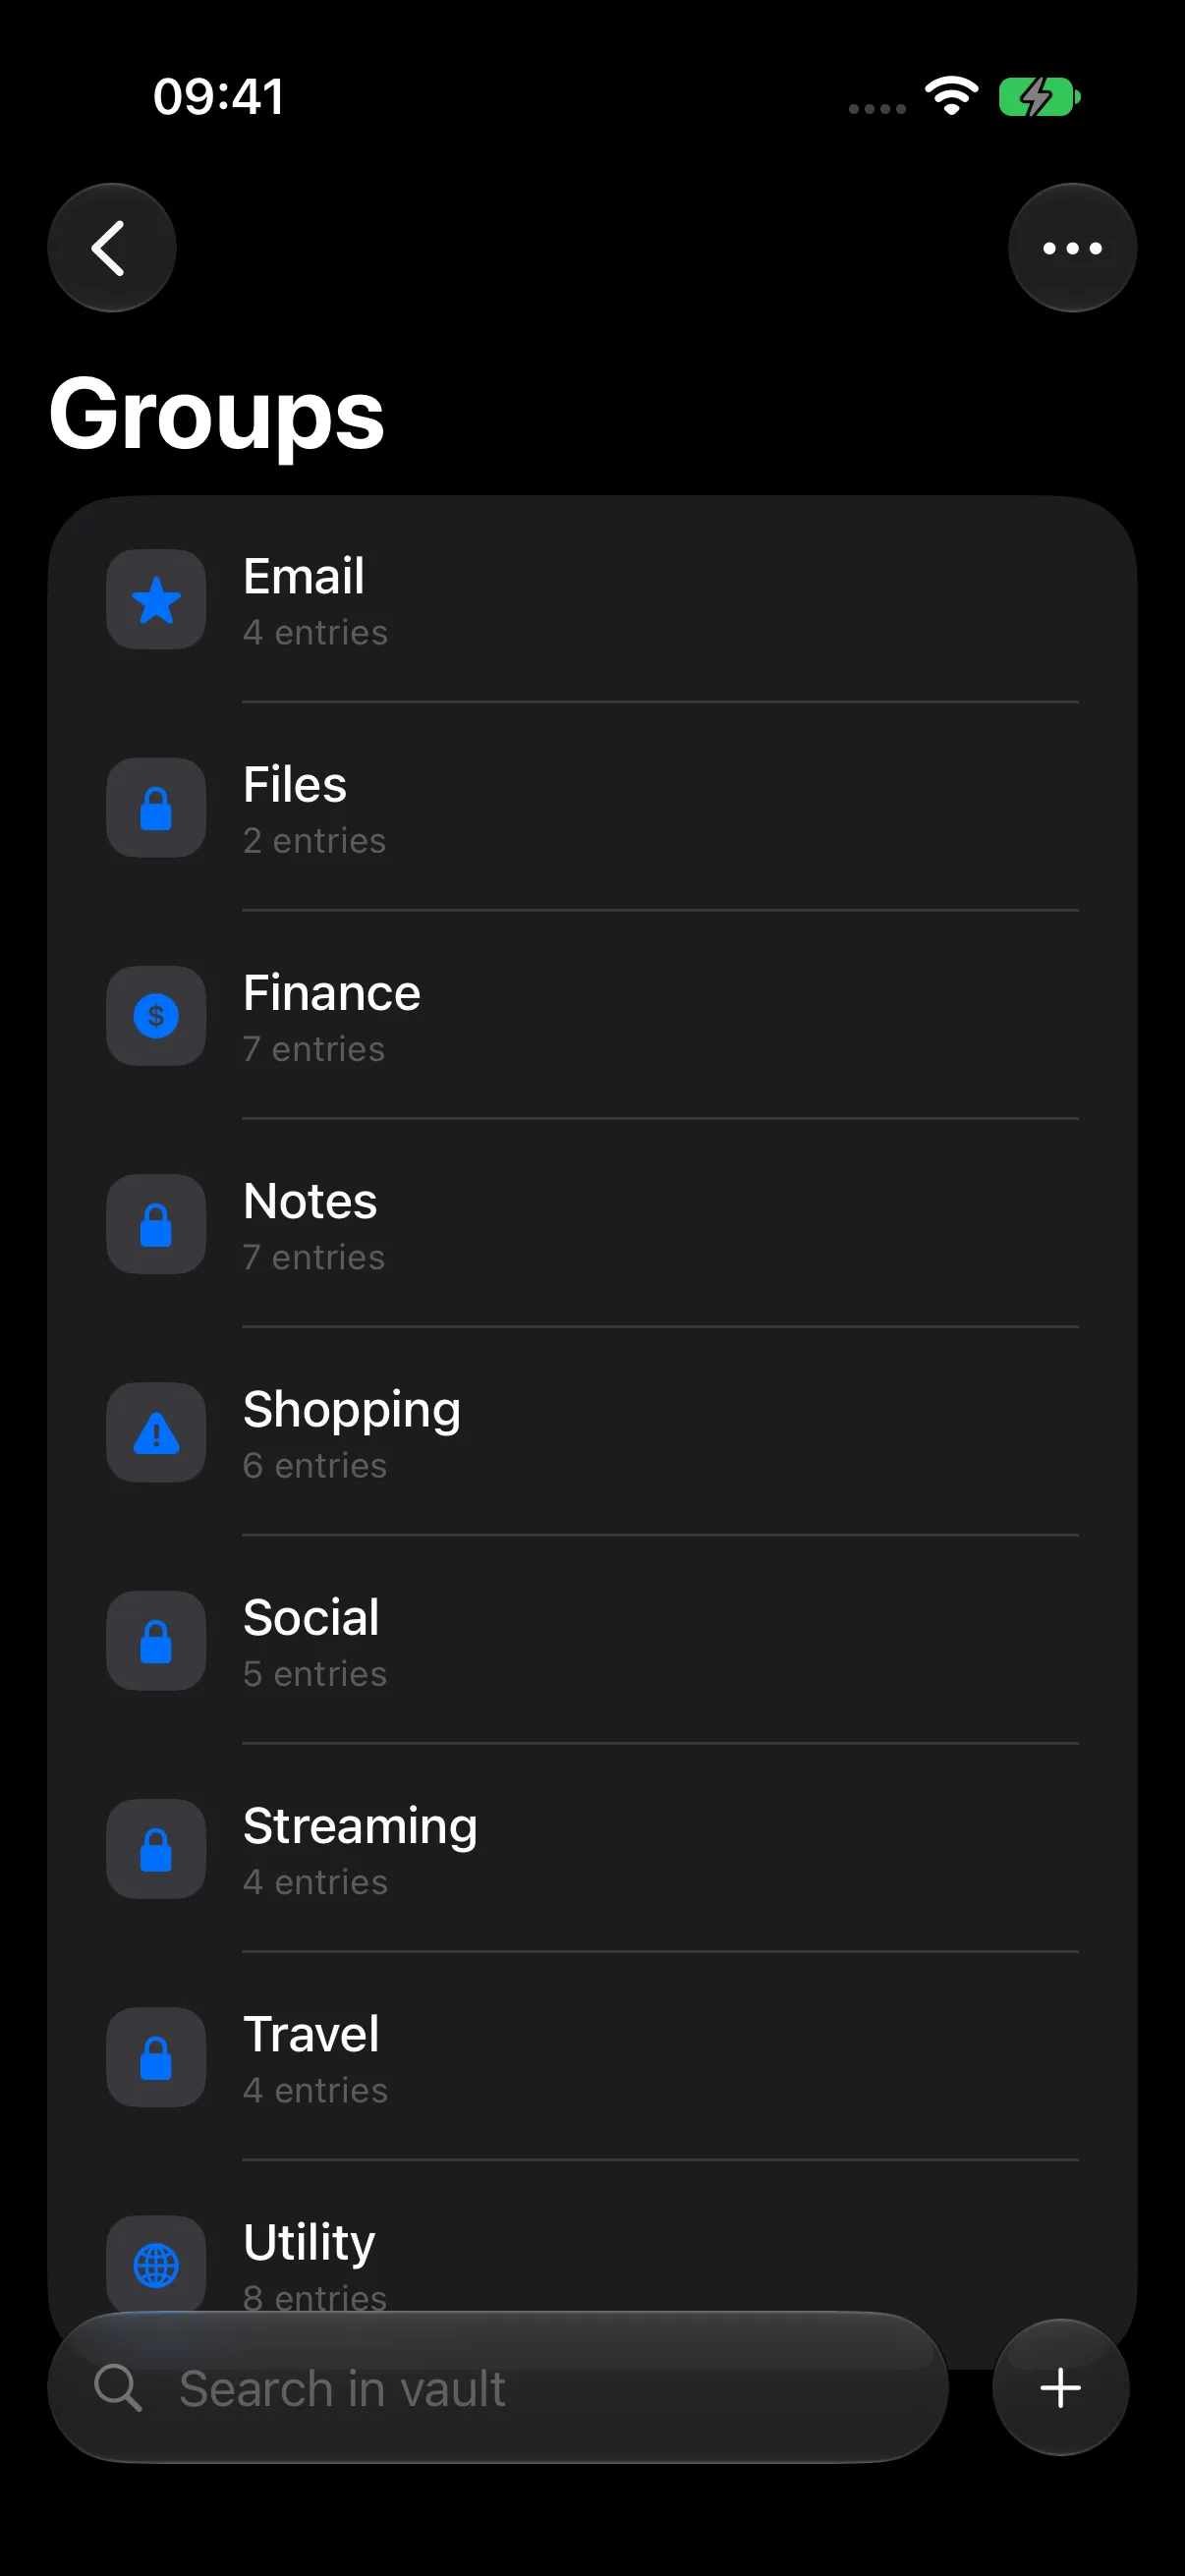
Open Groups to browse Email, Files, Finance, Notes, Shopping, Social, Streaming, Travel, and Utility.
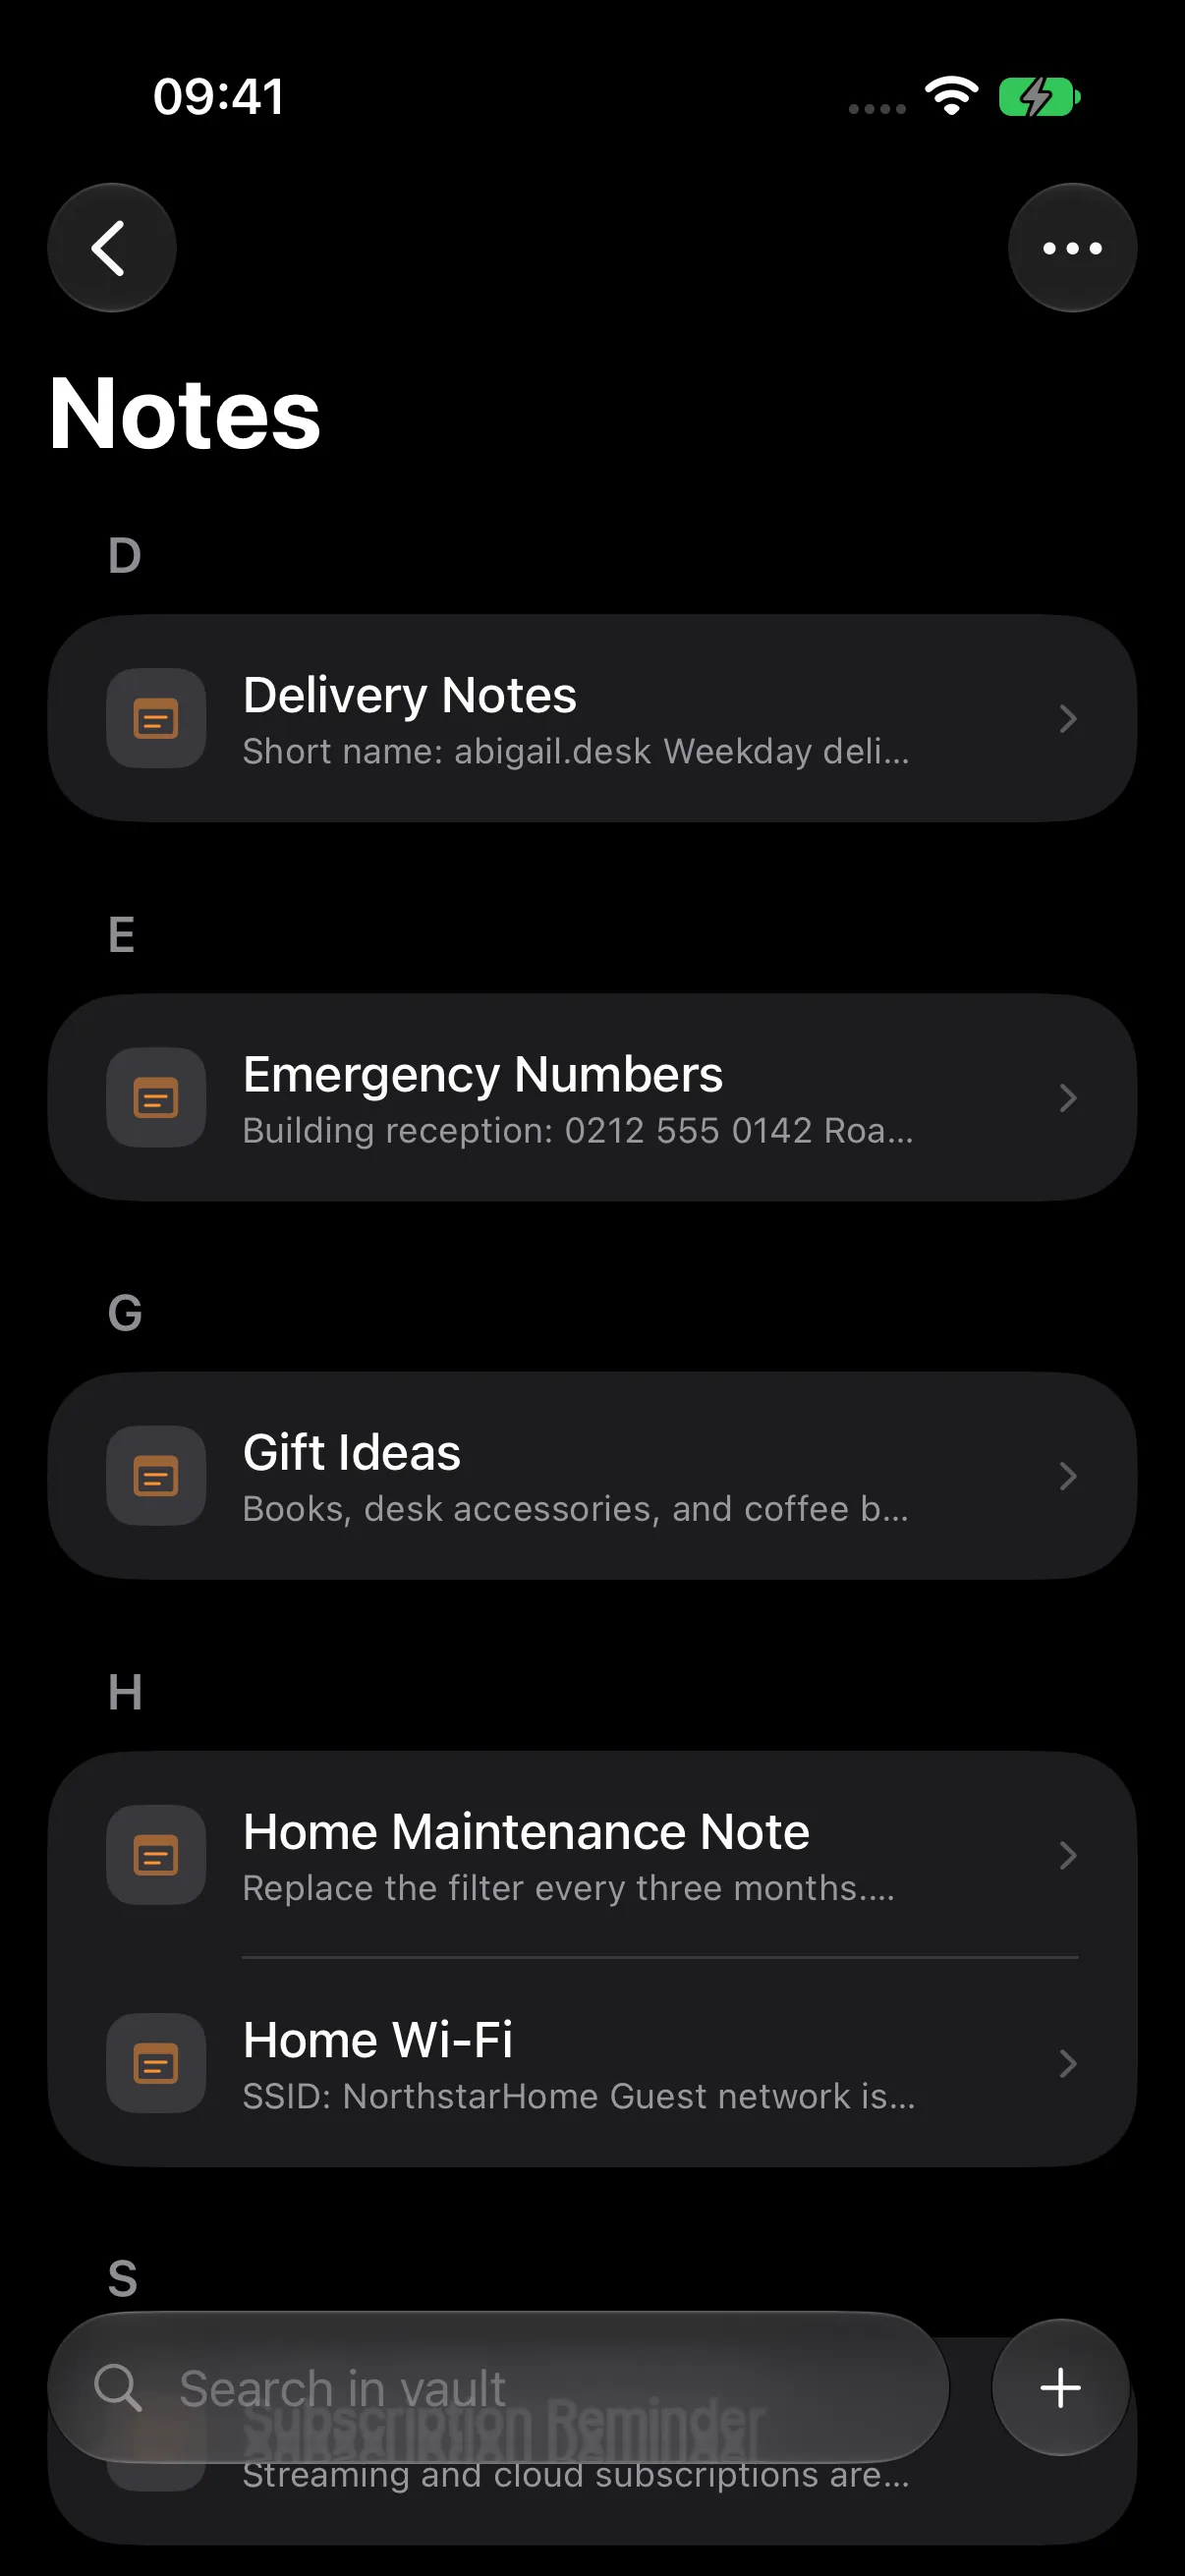
Open the dedicated categories on Vault Home to browse each record type. Notes includes examples such as Delivery Notes, Gift Ideas, Home Maintenance Note, Home Wi-Fi, Subscription Reminder, and Travel Checklist.
Open Files to find Device Warranty Notes and Travel Insurance Summary.
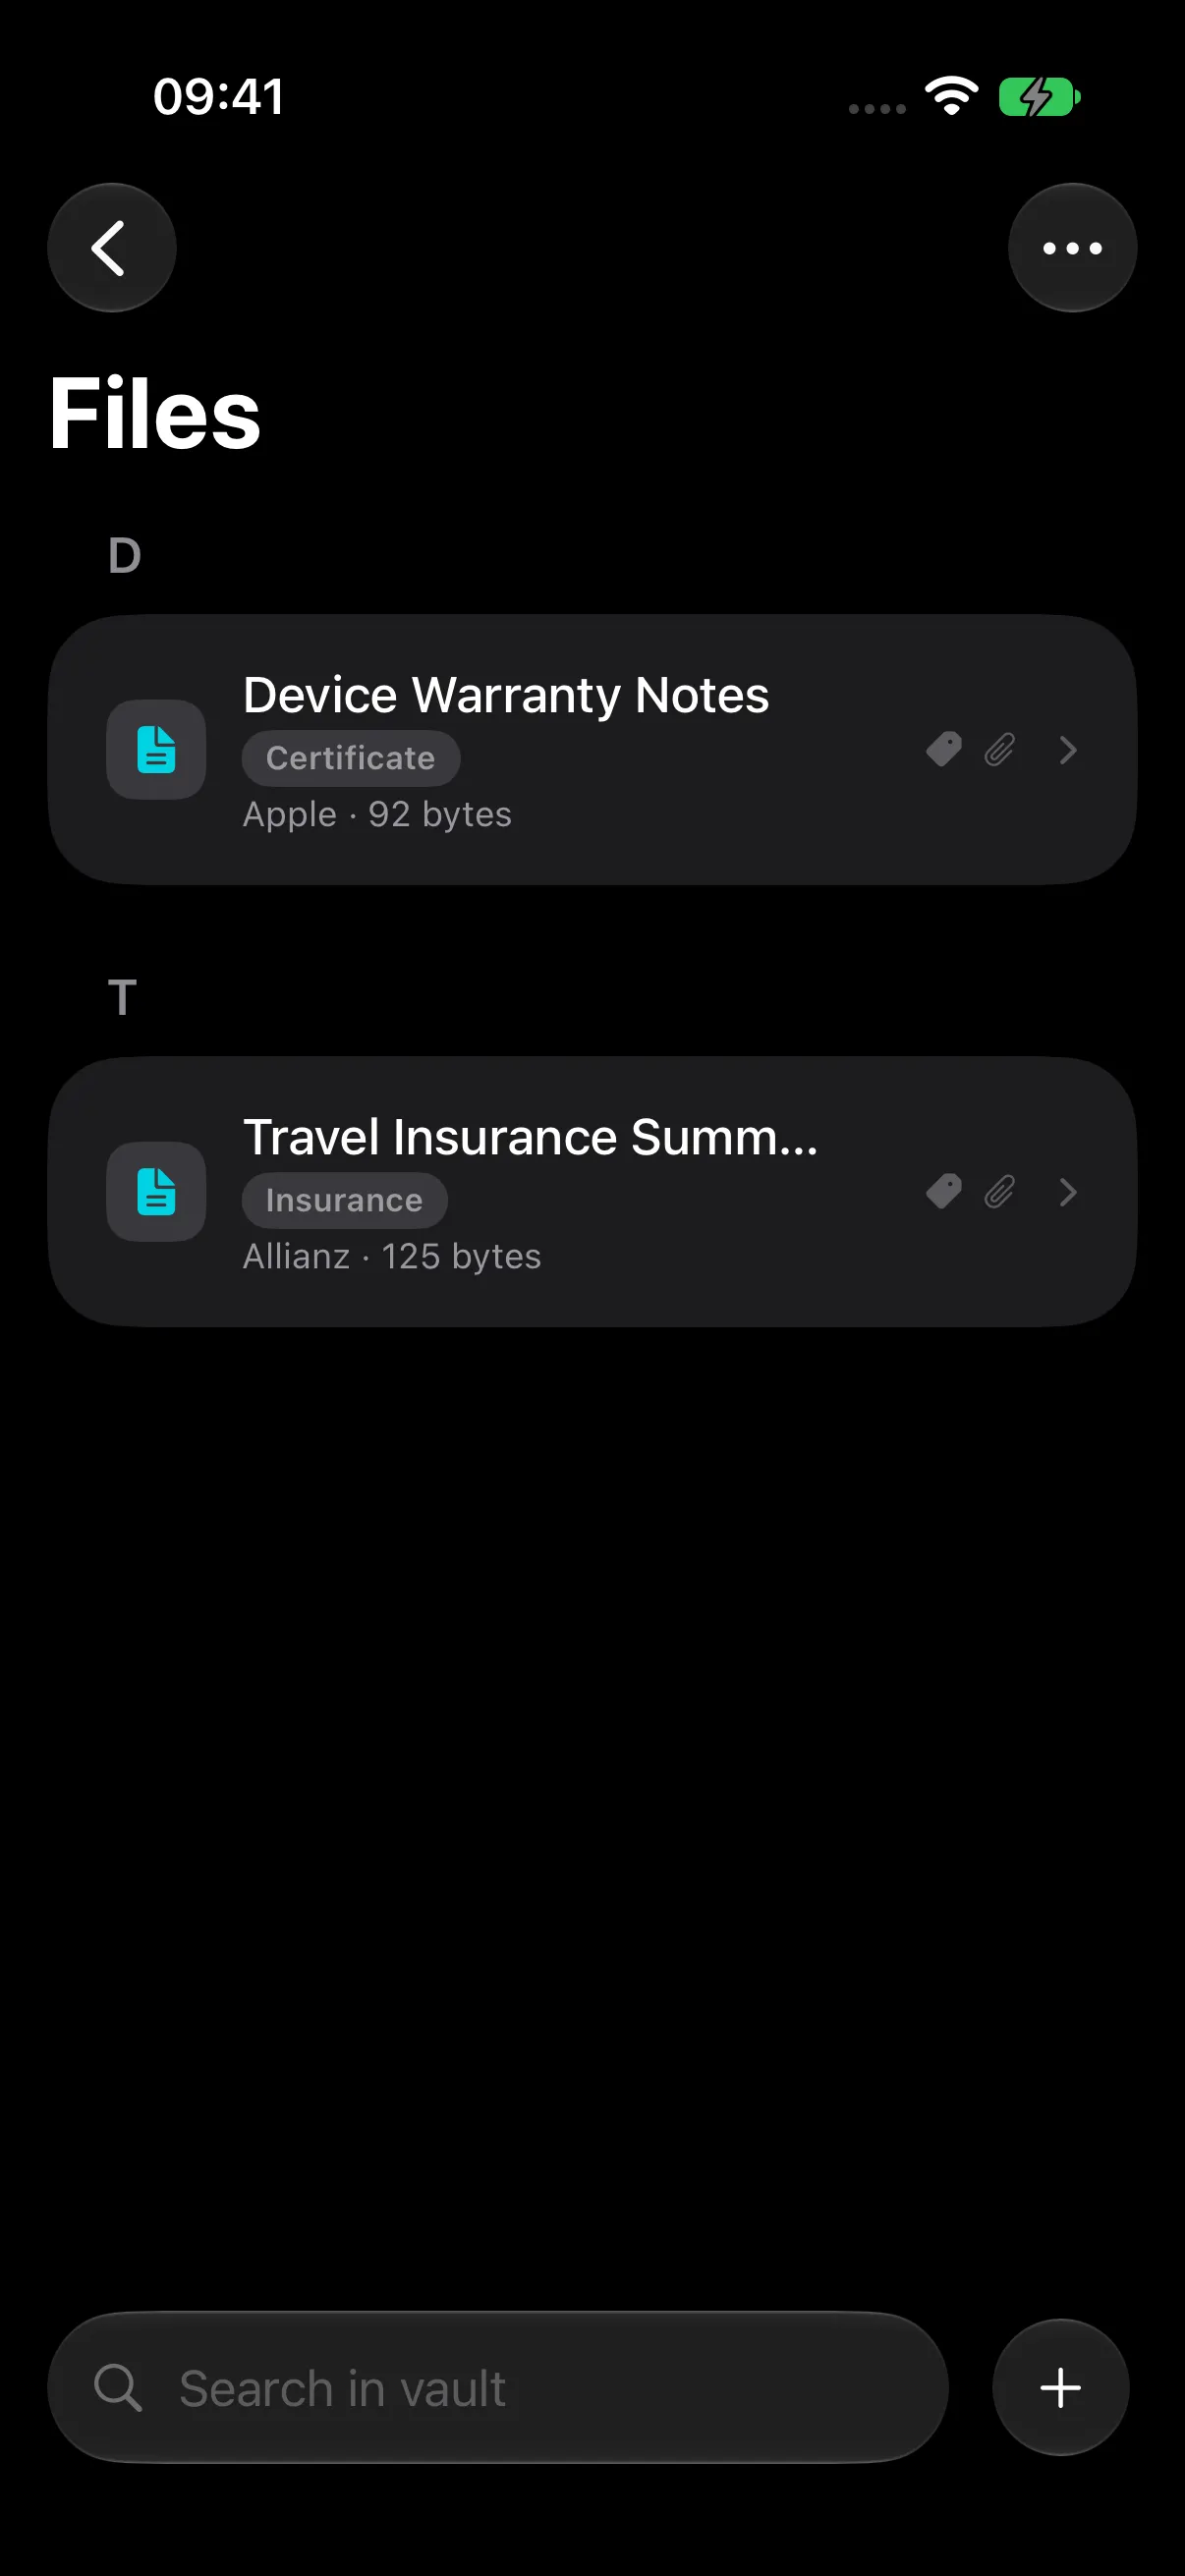
Open any record to read it. Use Edit and Save to personalize its content, or Add (+) to create another record. The same notes and cards, document, and category protection workflows apply within the active vault.
Step 5 — Return to Your Primary Vault
- On the decoy’s Vault Home, choose Menu (…) > Lock.
- Select the same database in Databases.
- Enter the primary master password.
- Tap Unlock to return to your primary content.
The example below returns from the populated sample decoy to a primary vault whose Notes category is empty.
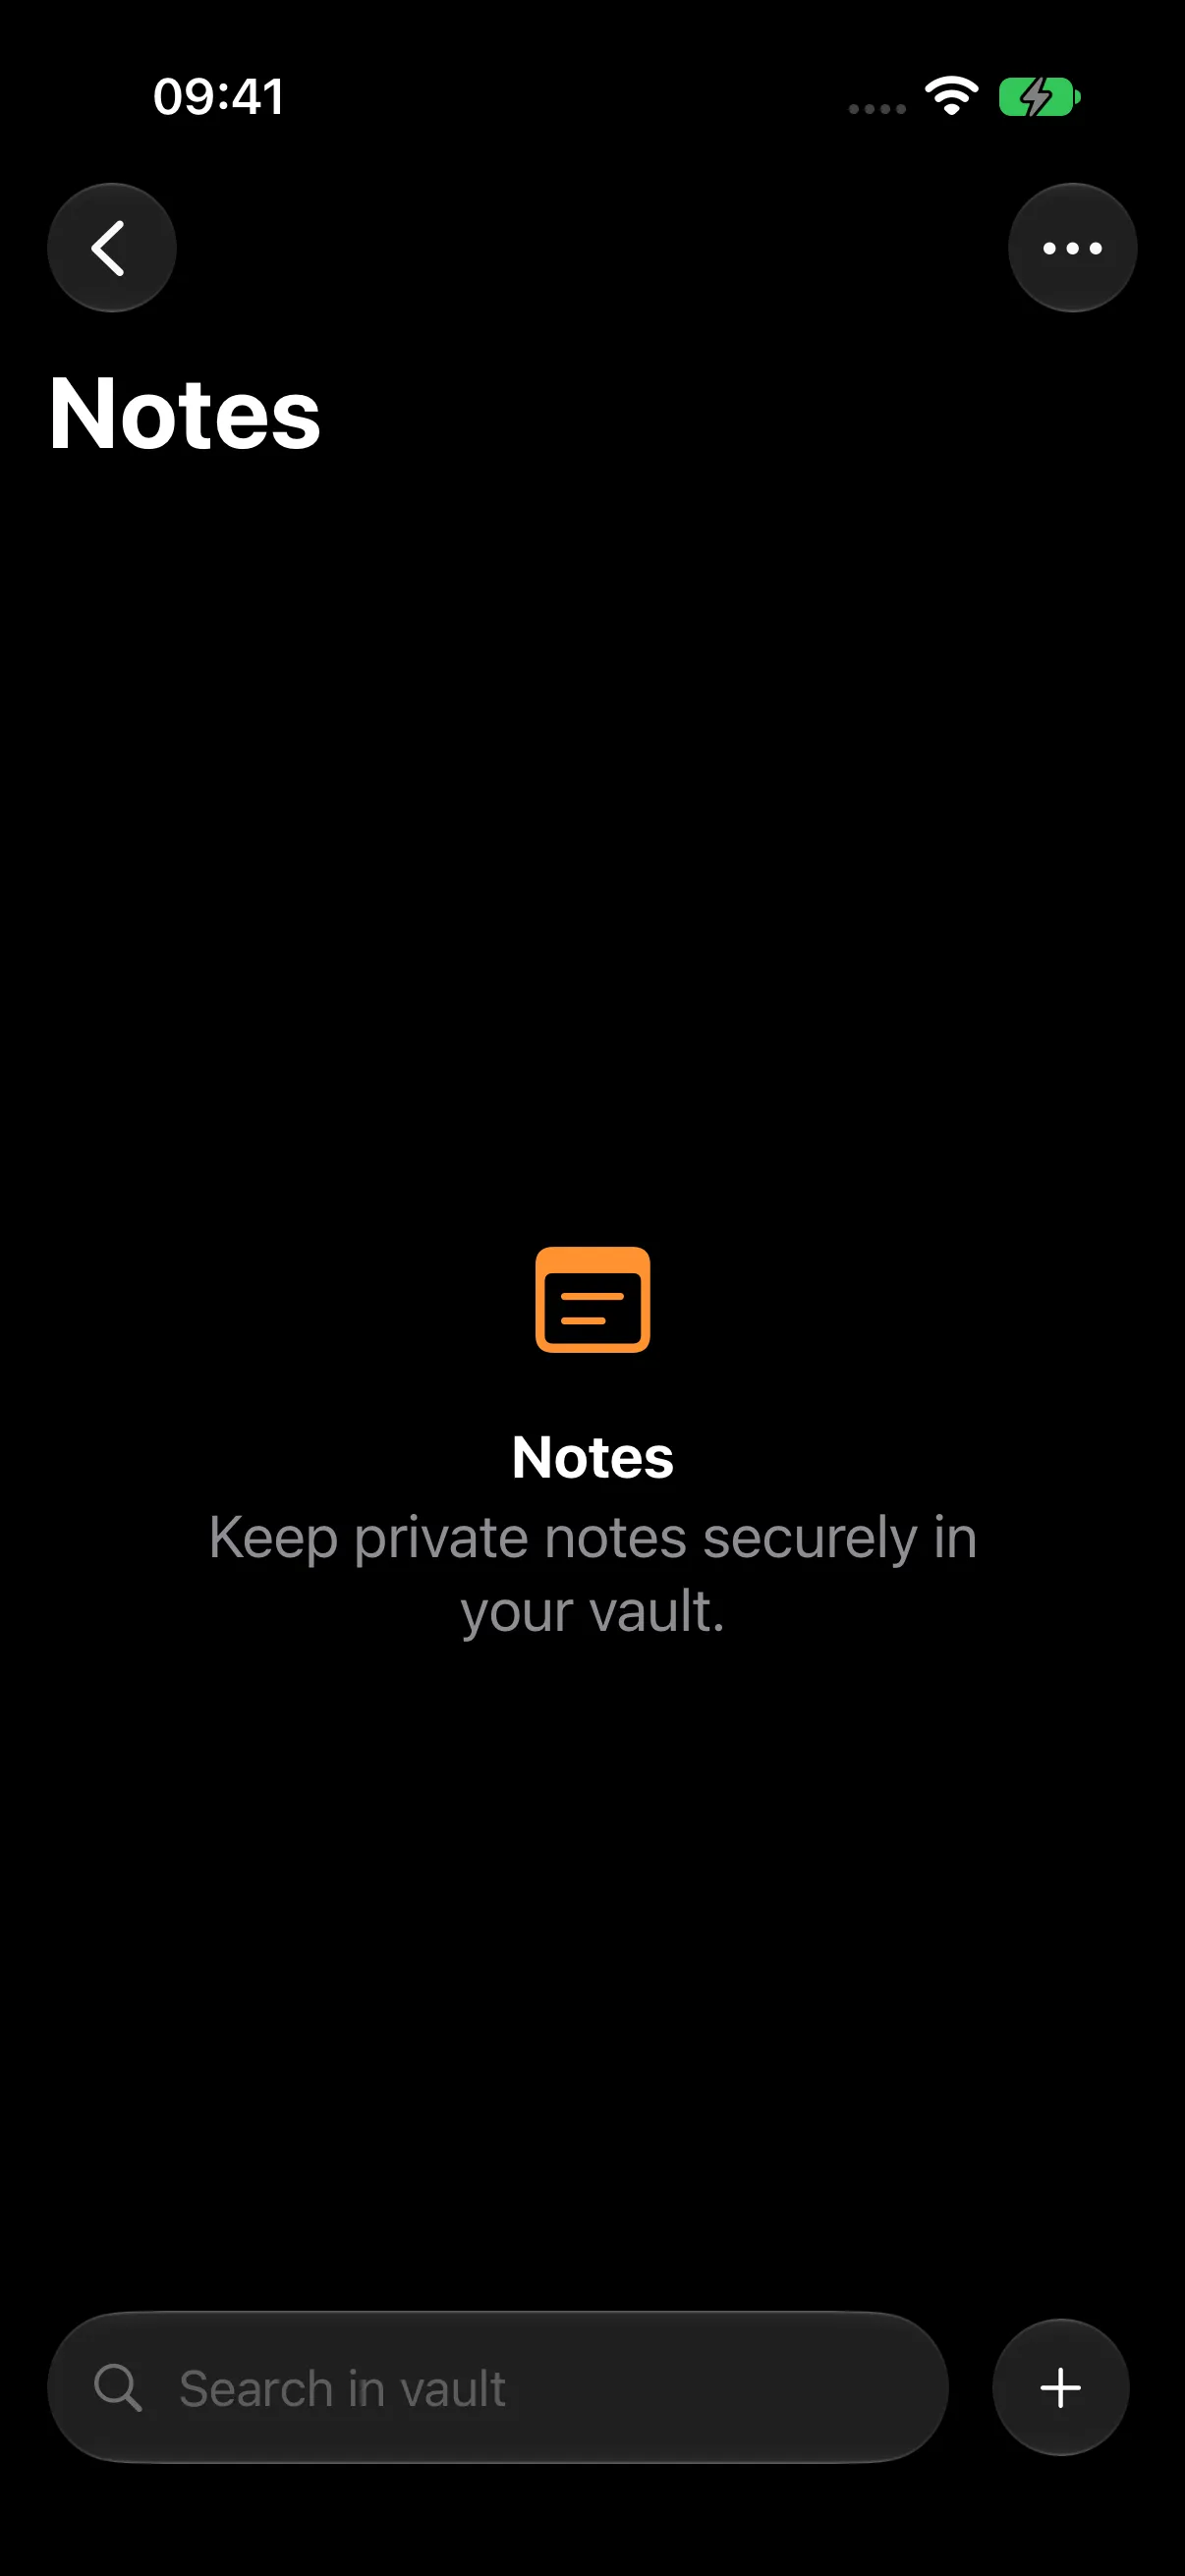
The two environments keep their own content. Changes are saved to the database you have opened.
Alternative — Start with an Empty Decoy
Choose Empty Decoy during initial setup to build the alternate content yourself. The configured management screen displays the linked file and available controls.
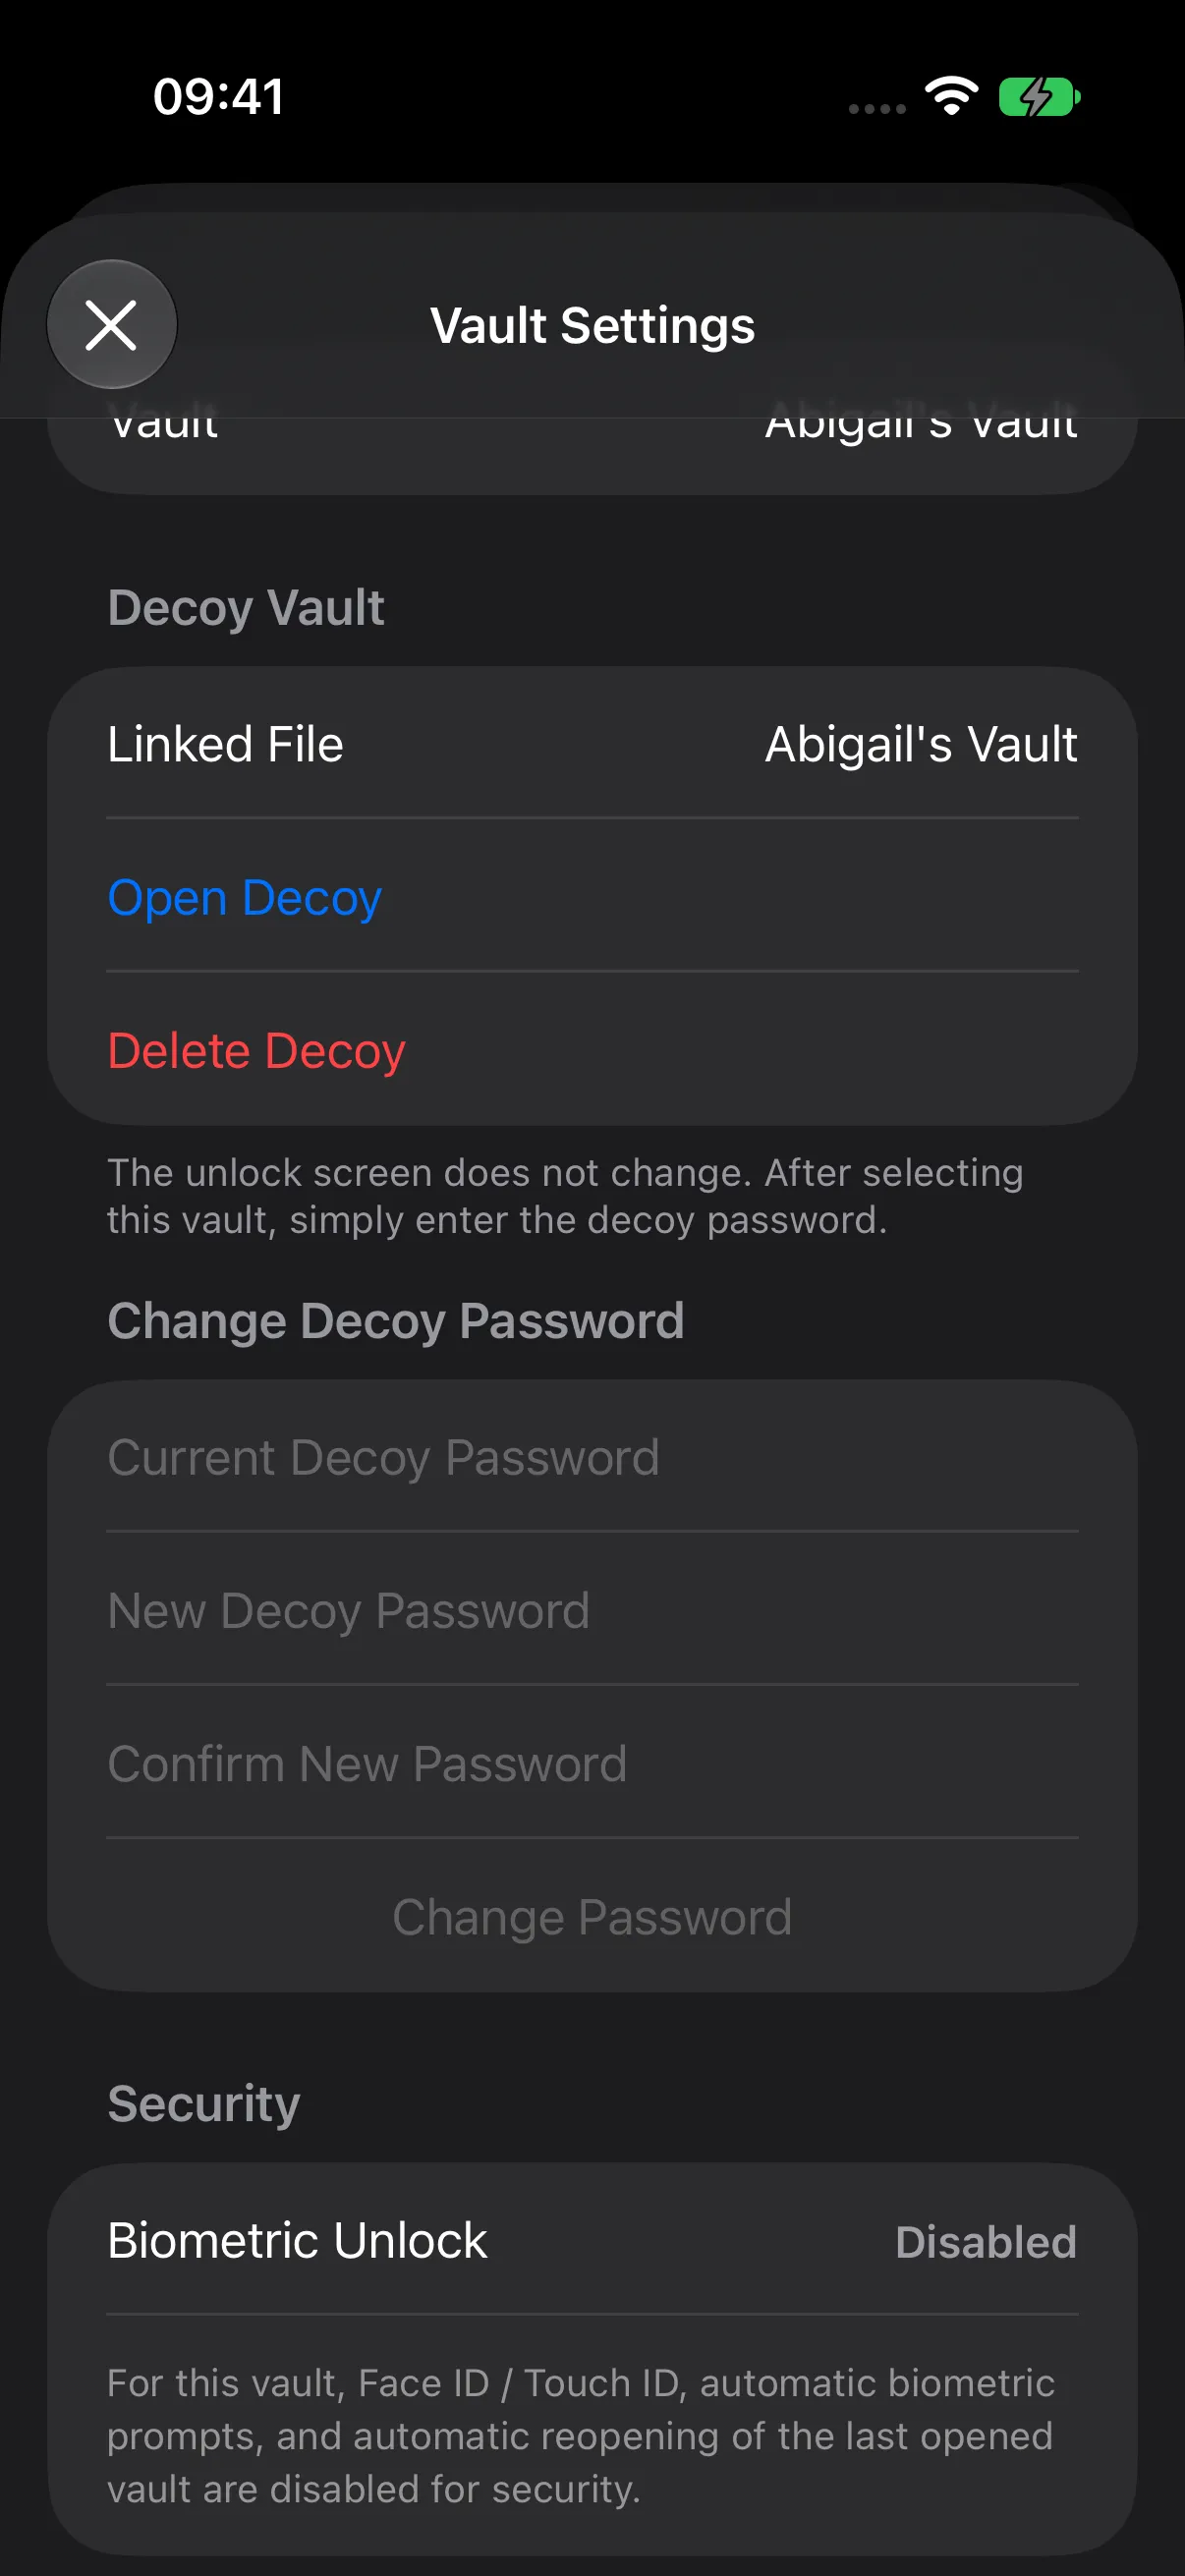
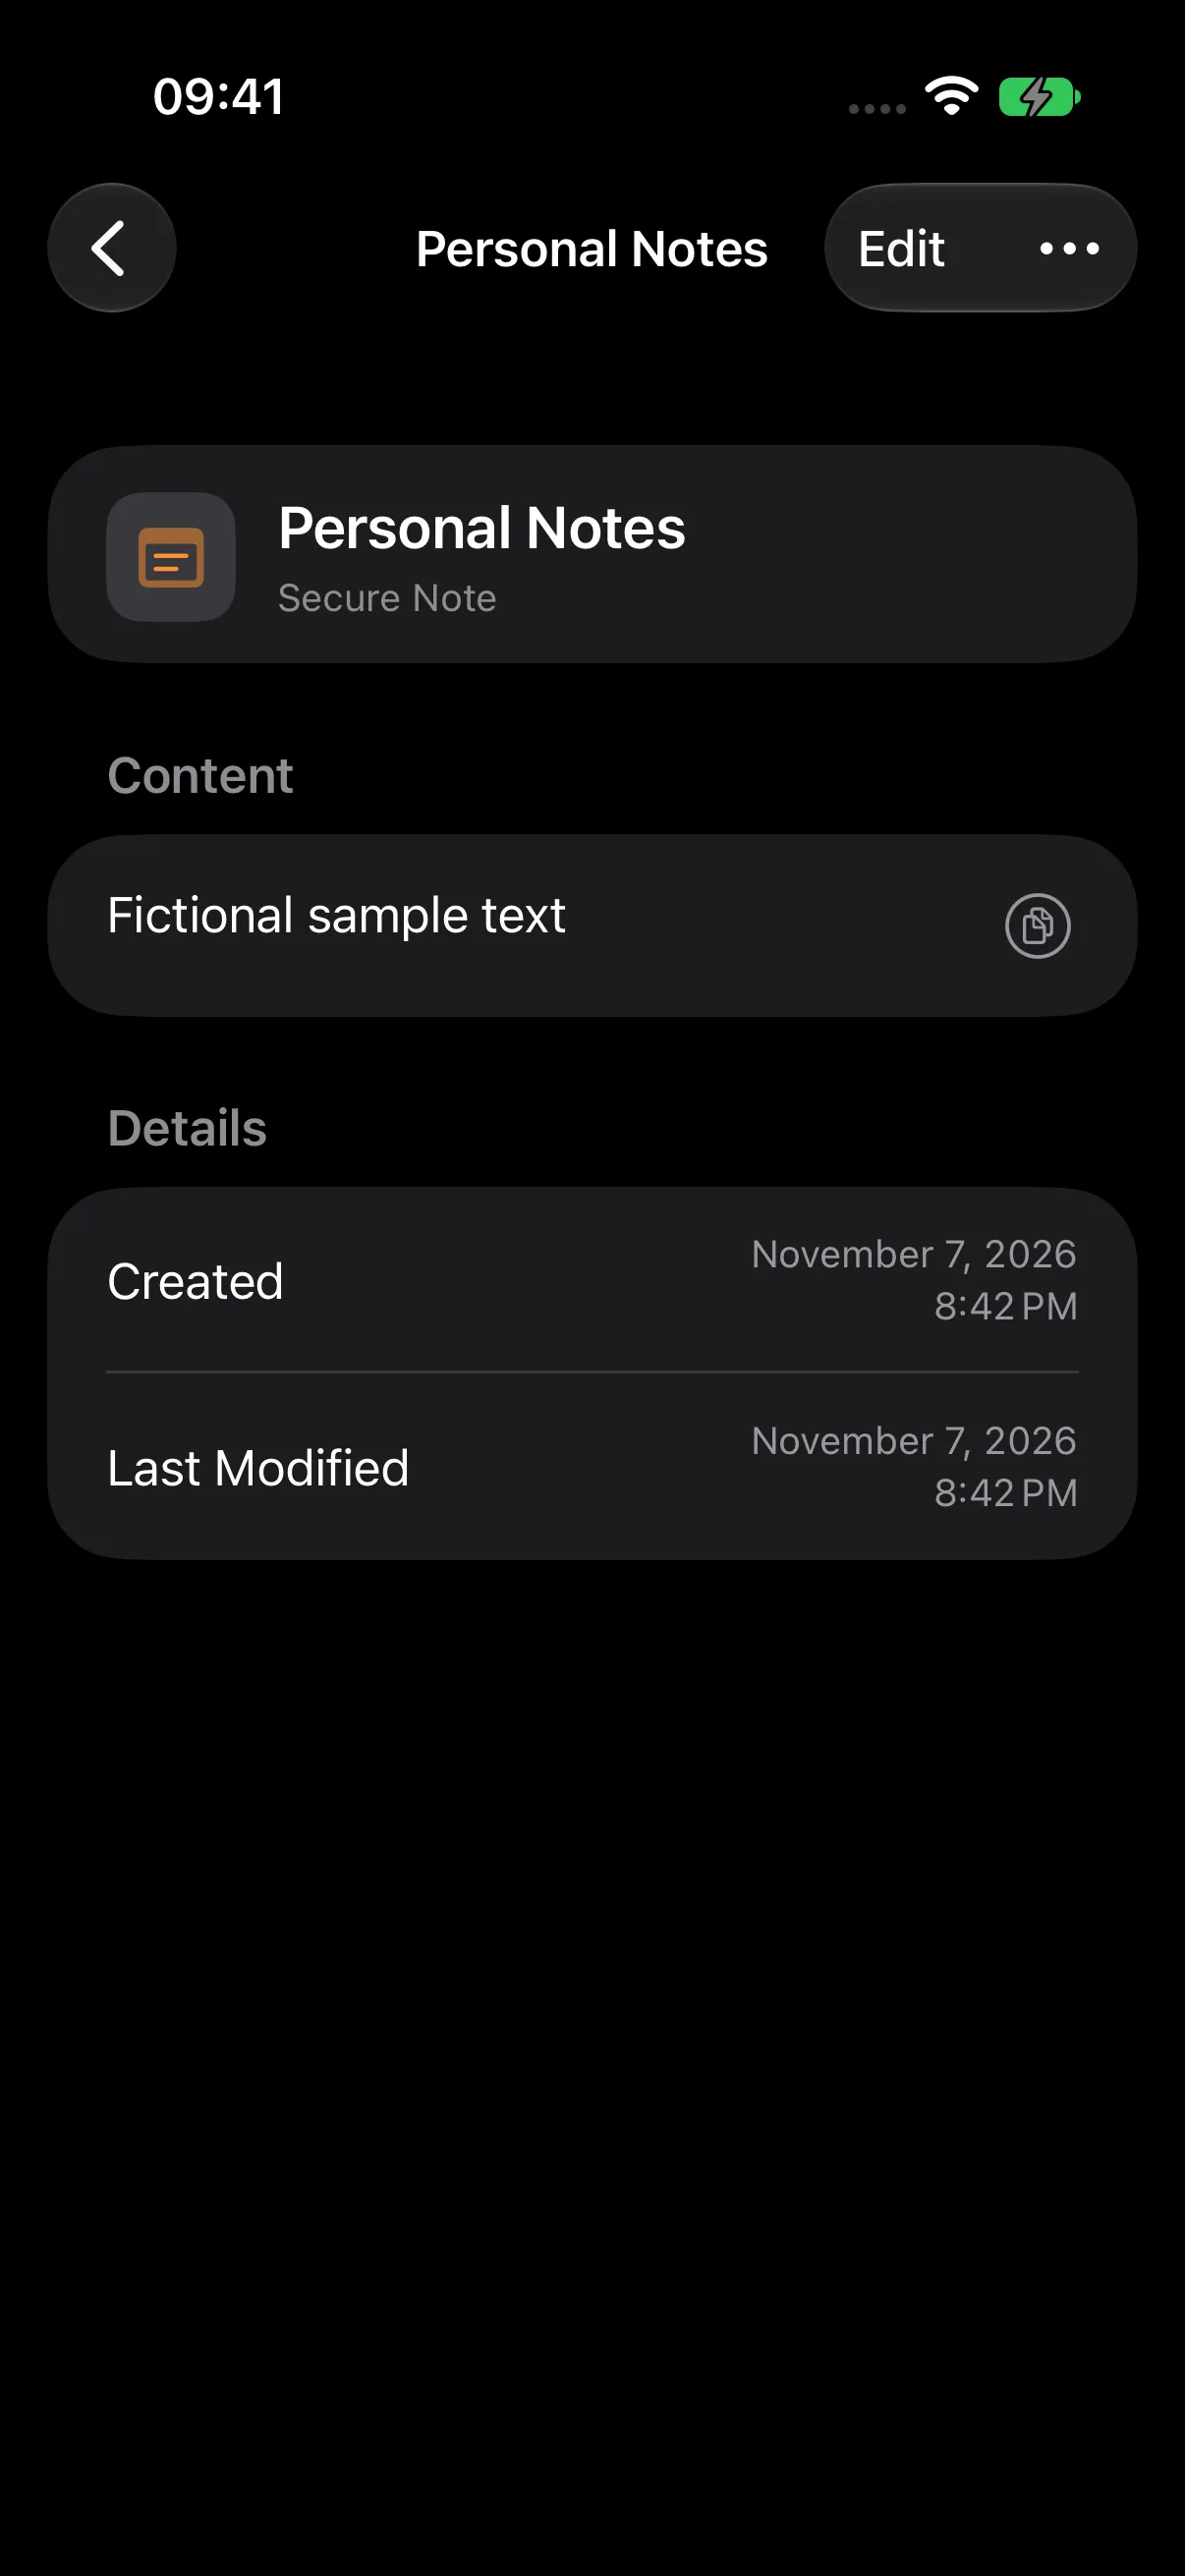
For example, open the empty decoy with its password and use Notes > Add (+) > New Note to create Personal Notes.
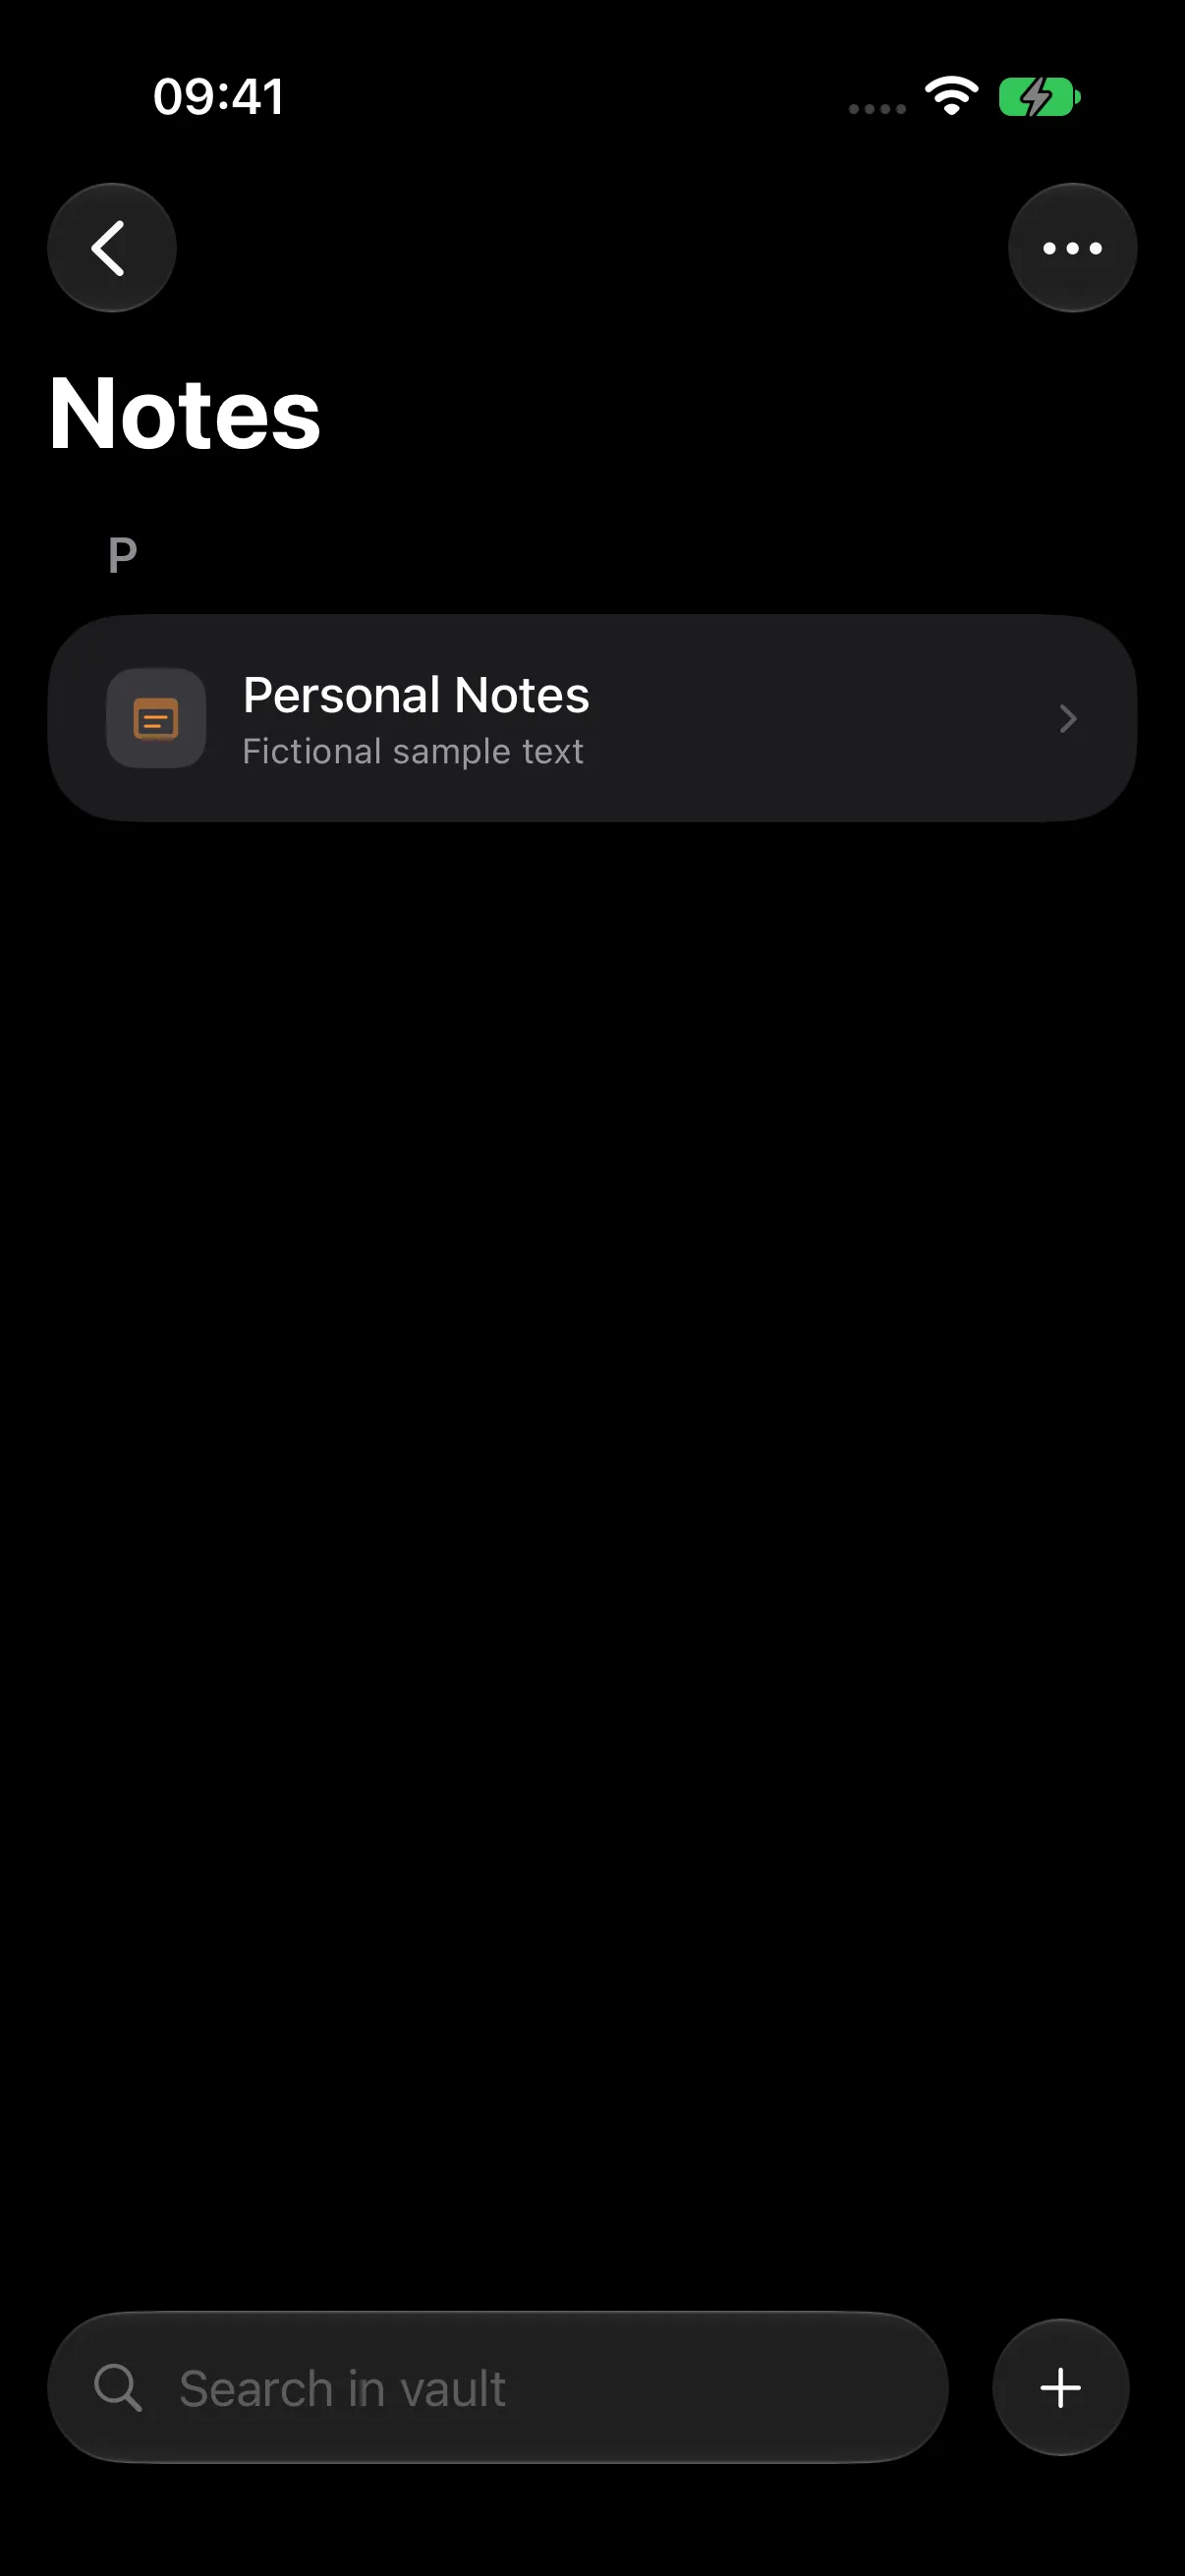
Enter your content and save. Open the note to read or edit it.
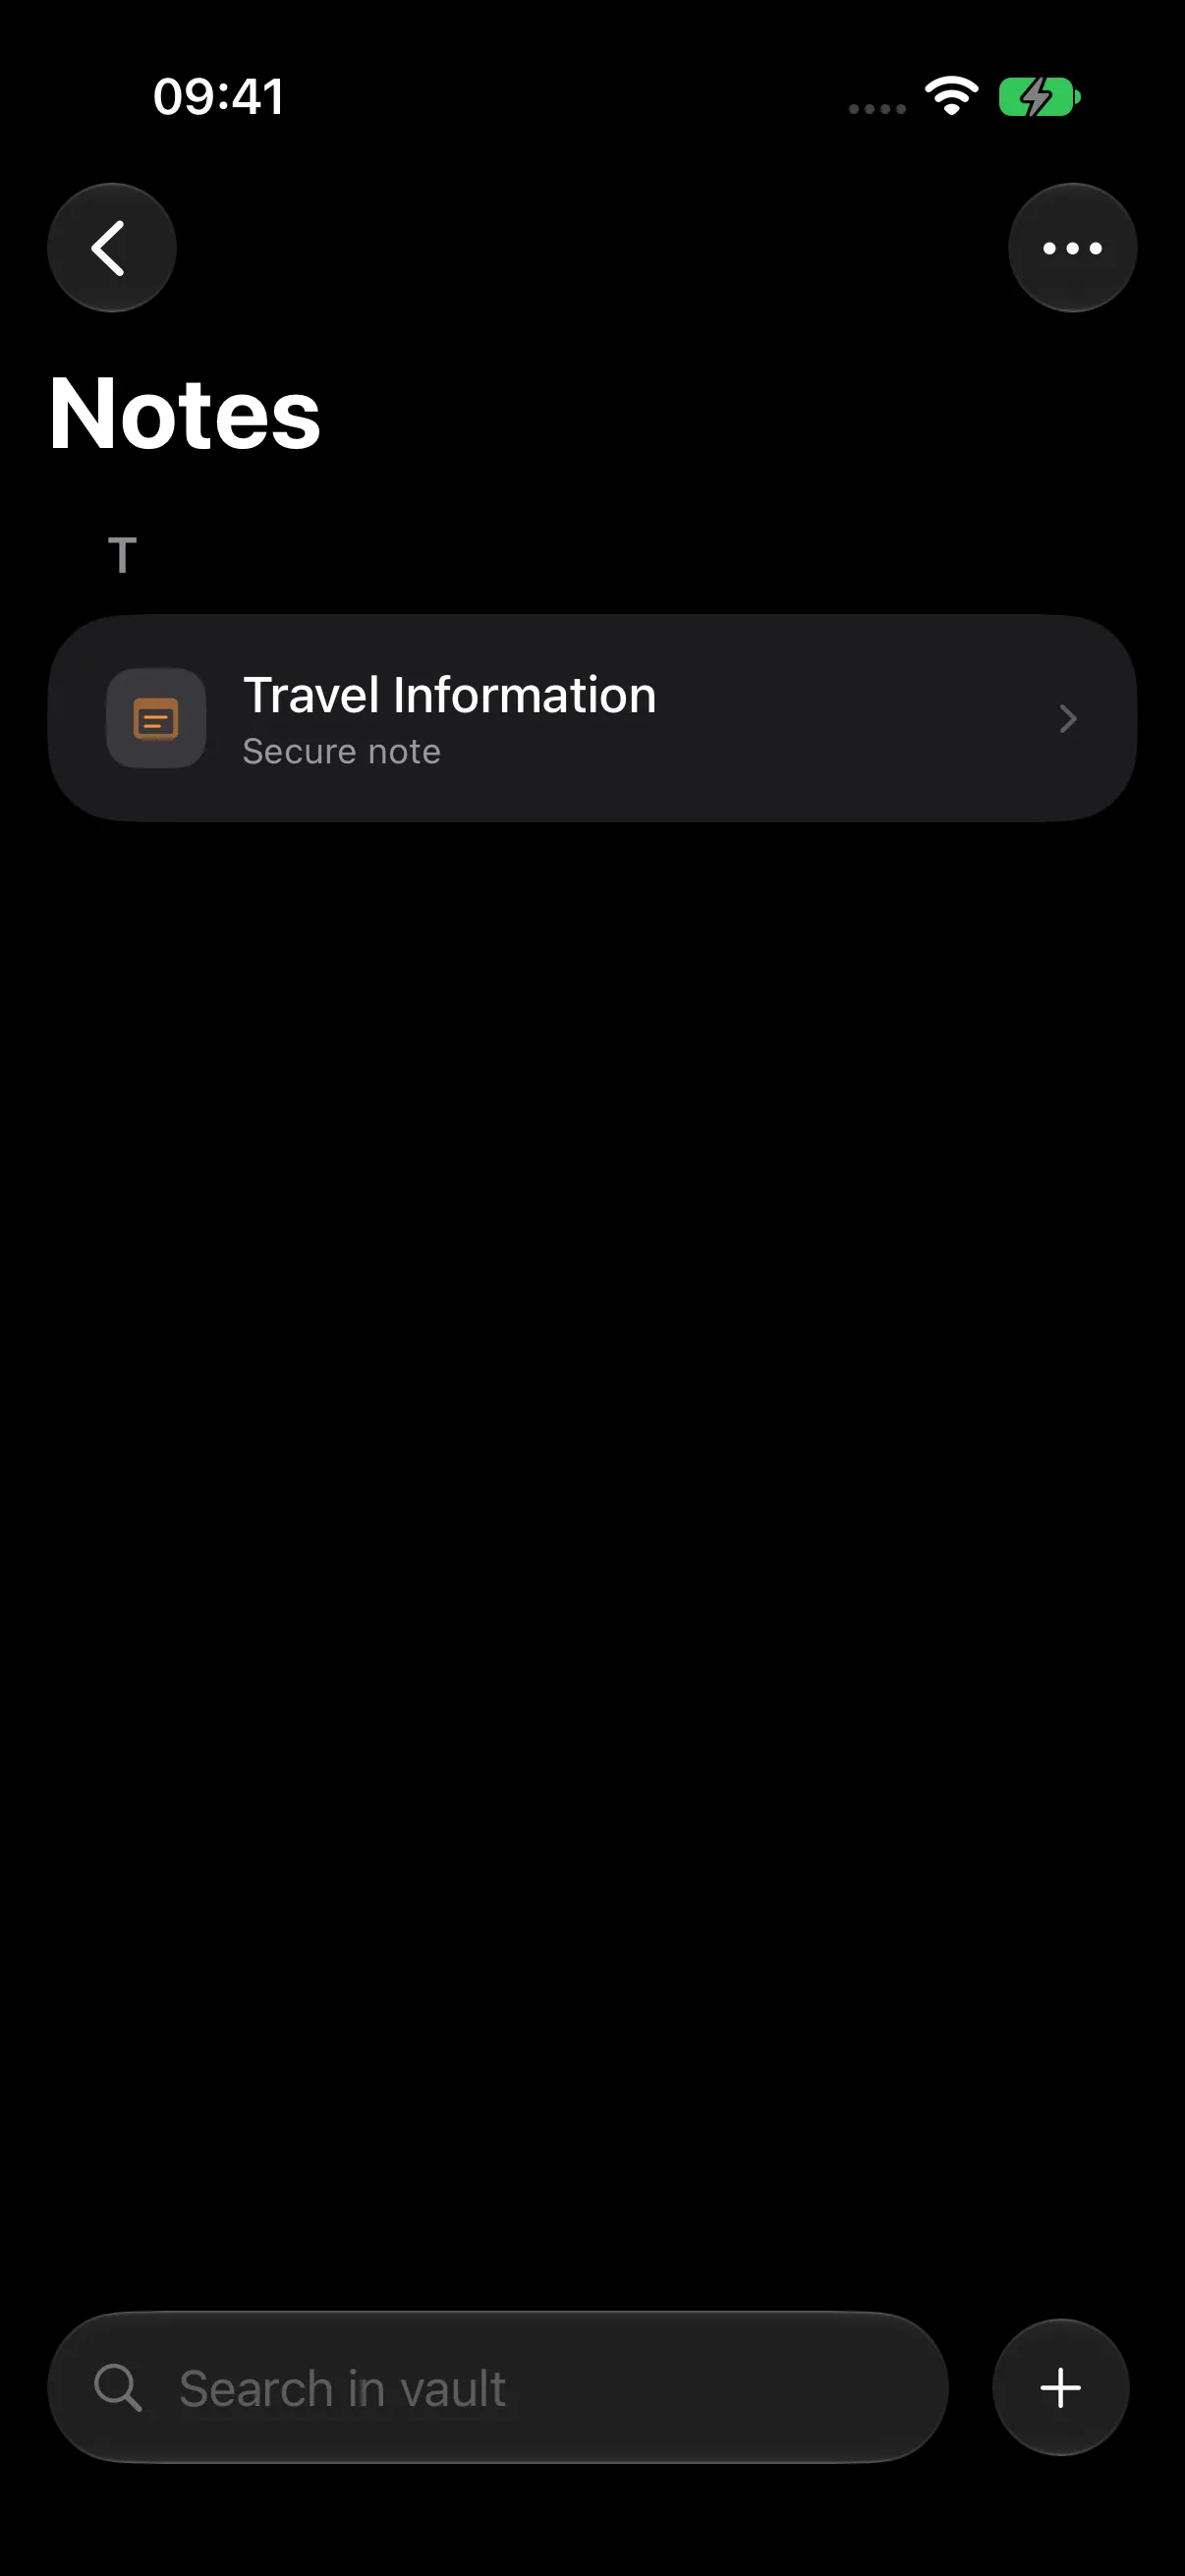
Lock the vault and reopen with the primary password to return to your primary notes, such as Travel Information in this separate example.
Manage Your Decoy
Unlock the primary vault, then open Settings > Vault Settings > Decoy Vault > Manage.
Change the Decoy Password
Enter Current Decoy Password, New Decoy Password, and Confirm New Password, then tap Change Password. Keep the new password securely and use it for the next decoy unlock.
The primary vault keeps its own password.
Delete the Decoy
- Open decoy management from the primary vault.
- Tap Delete Decoy.
- Read the confirmation.
- Choose Delete to remove the linked decoy database and its association, or Cancel to keep it.
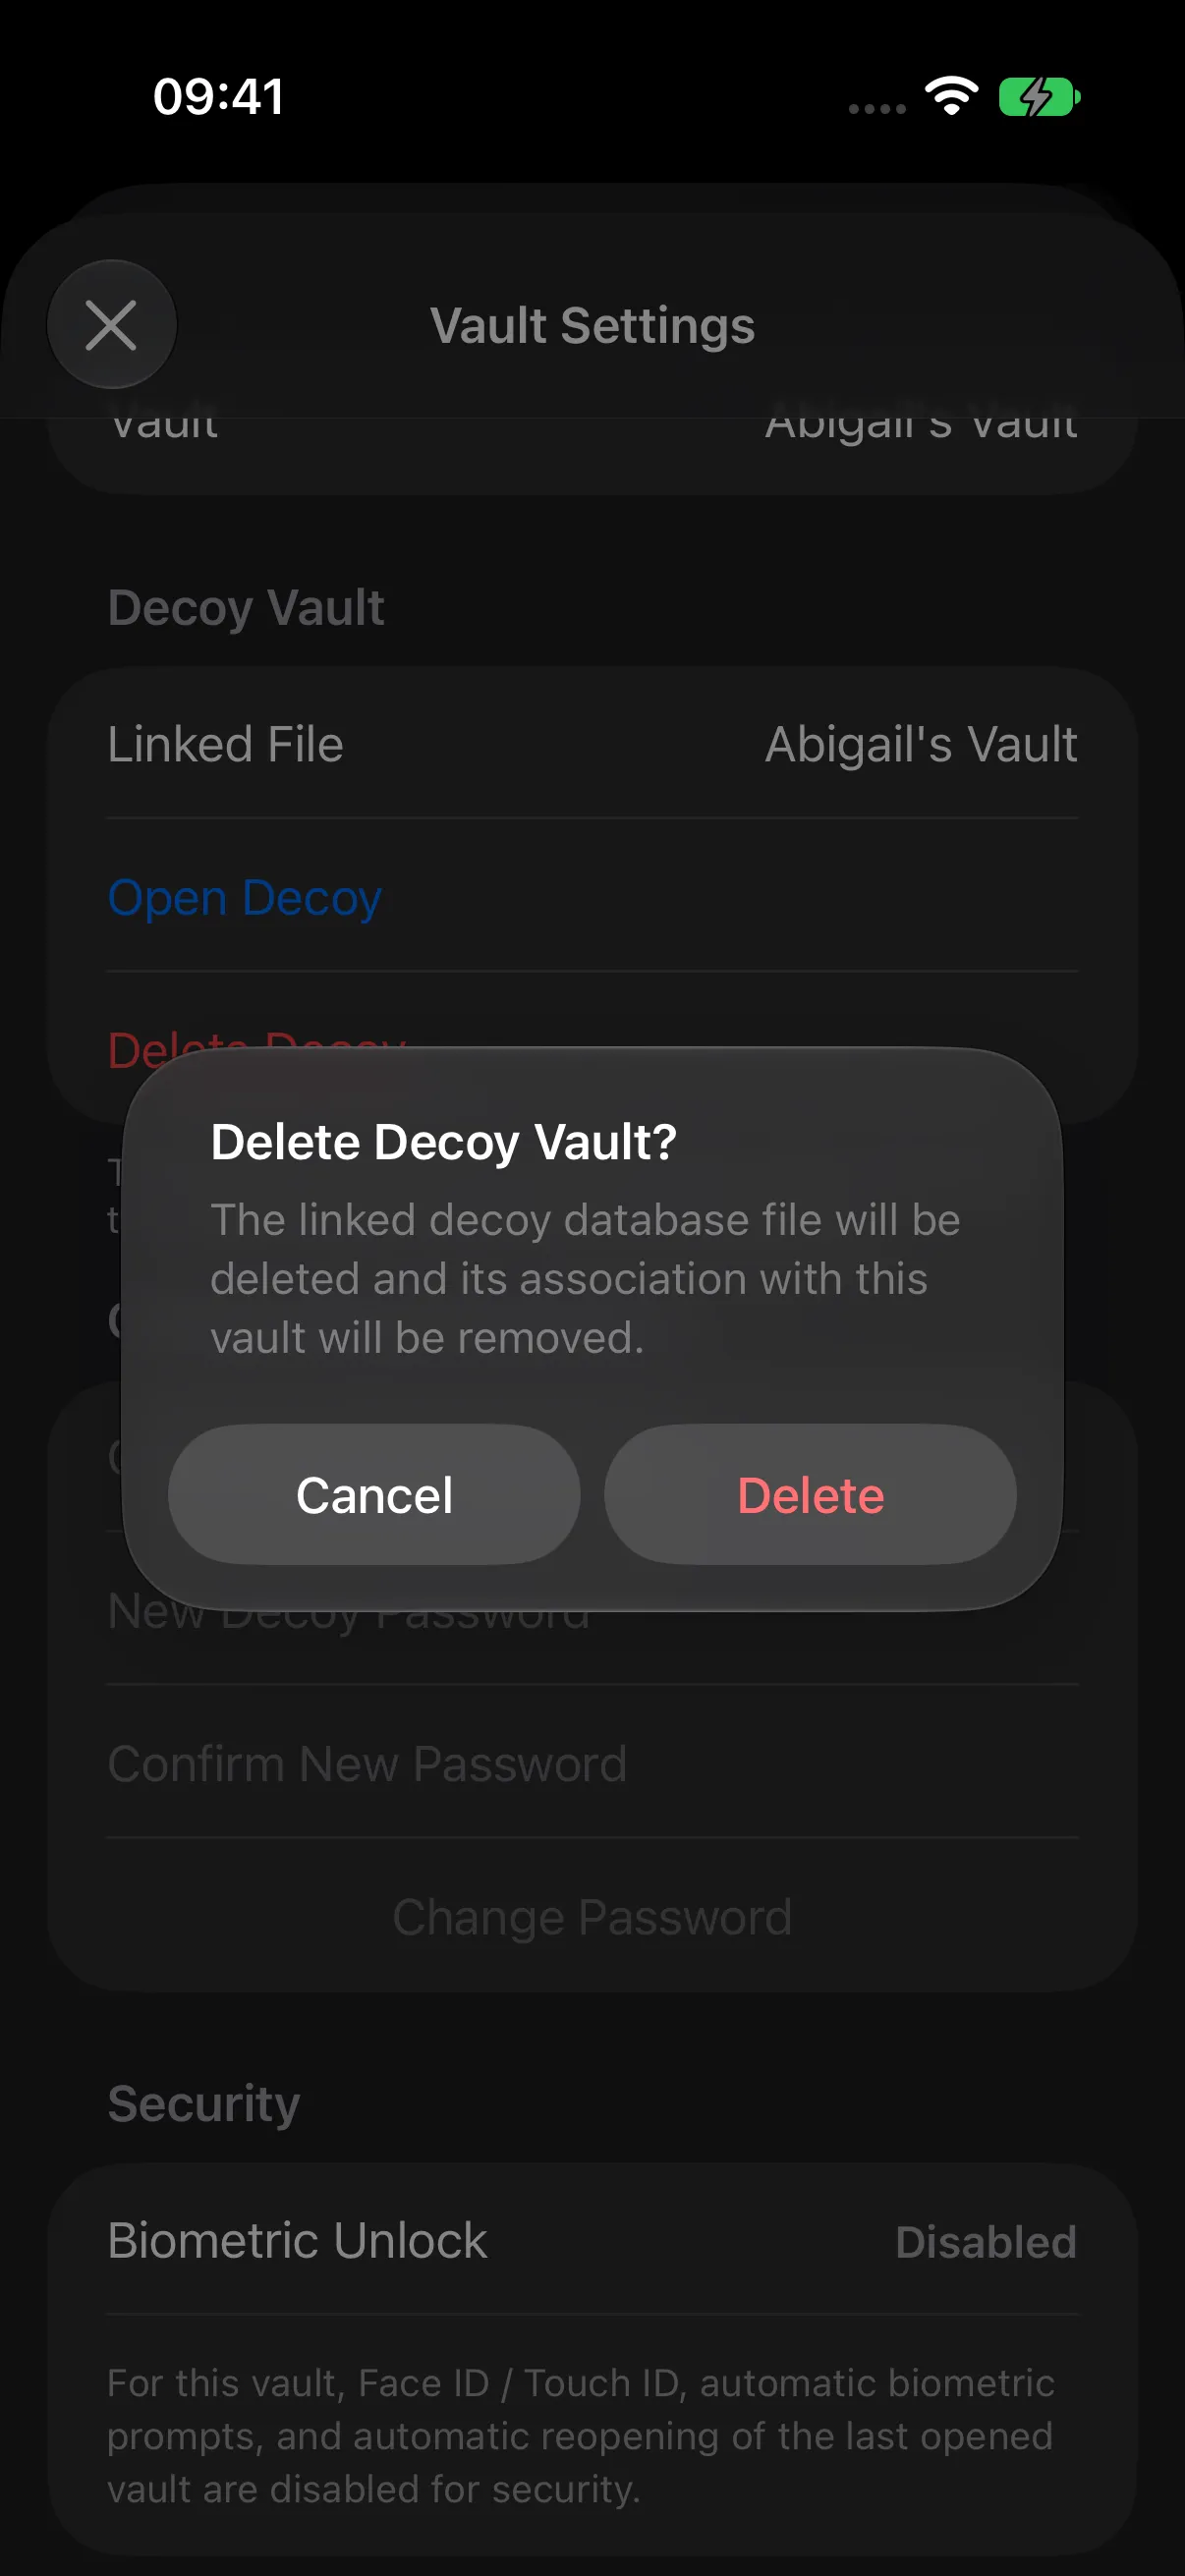
The primary database is retained.