Getting started
with Talos.
Your passwords, codes, and private files, together in an encrypted vault. Learn to set up Talos, organize your information, and make its features part of your everyday routine.

CHAPTER 04 13
Groups & tags
Give your entries a home and organize them with colored labels.
In this chapter 9 topics
Use groups to give your vault a folder structure and colored tags to connect related records. In this example, organize Northstar Mail inside Abigail’s Vault.
Groups and Tags at a Glance
| Groups | Tags |
|---|---|
| Folders that can contain subgroups. | Labels that can span several groups. |
| Each entry belongs to one group. | Each entry can have several tags. |
We will create a Work group, then give the entry an Important tag in red and a Work tag in blue.
Step 1 — Create a Group
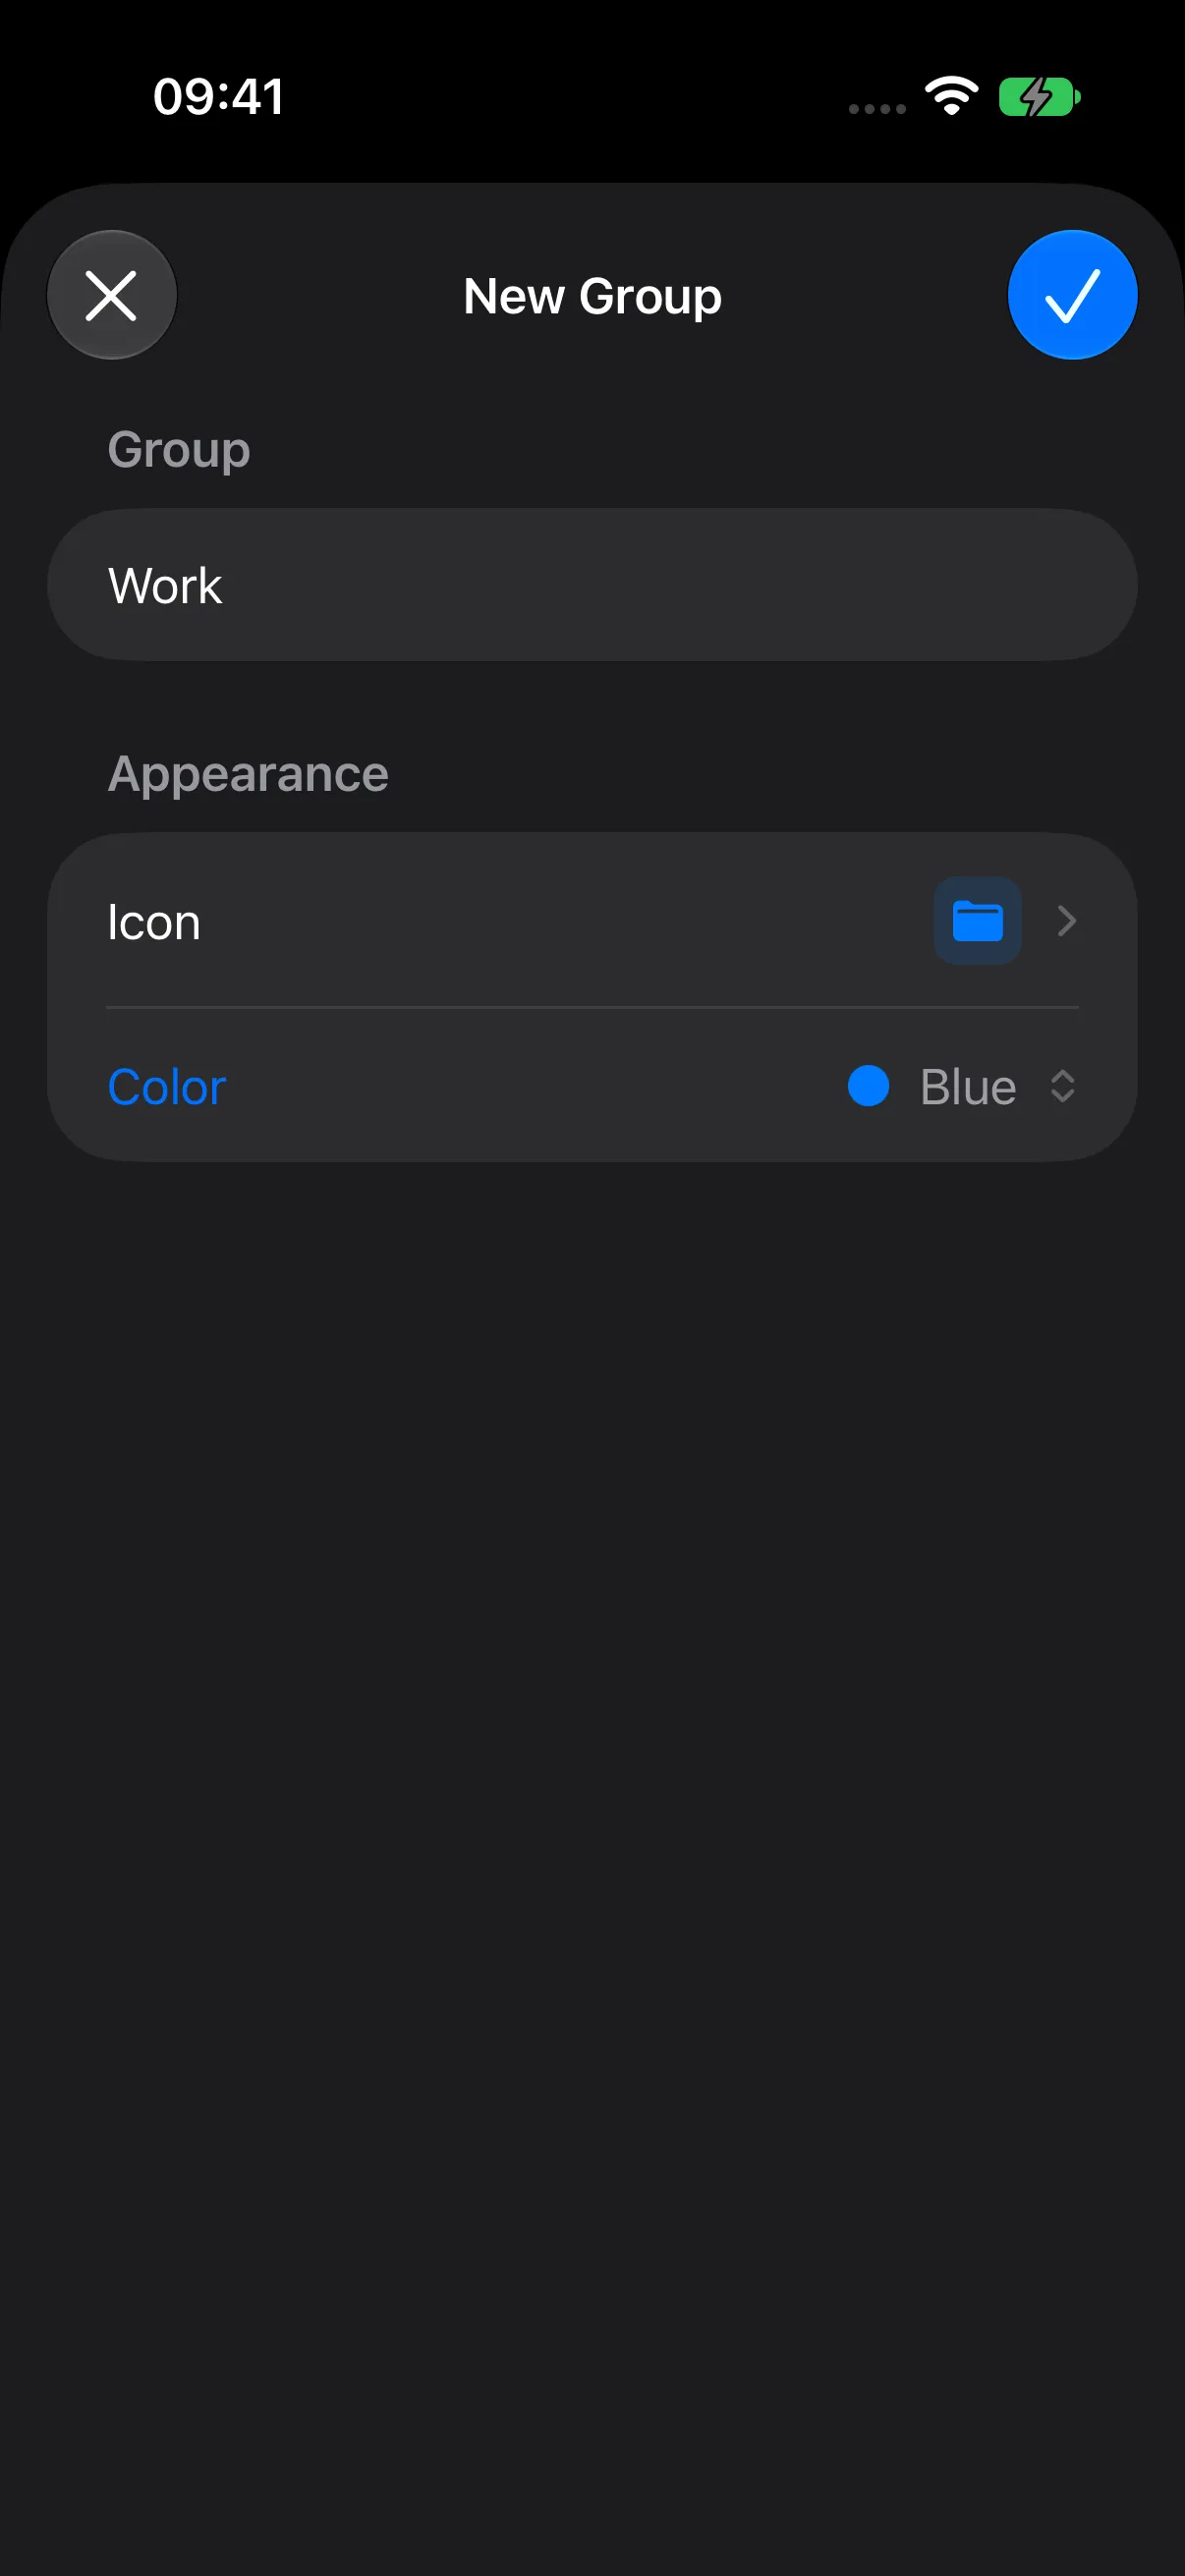
- On Vault Home, tap Add (+) > New Group.
- Enter Work in Group Name and choose its appearance.
- Tap the Save checkmark.
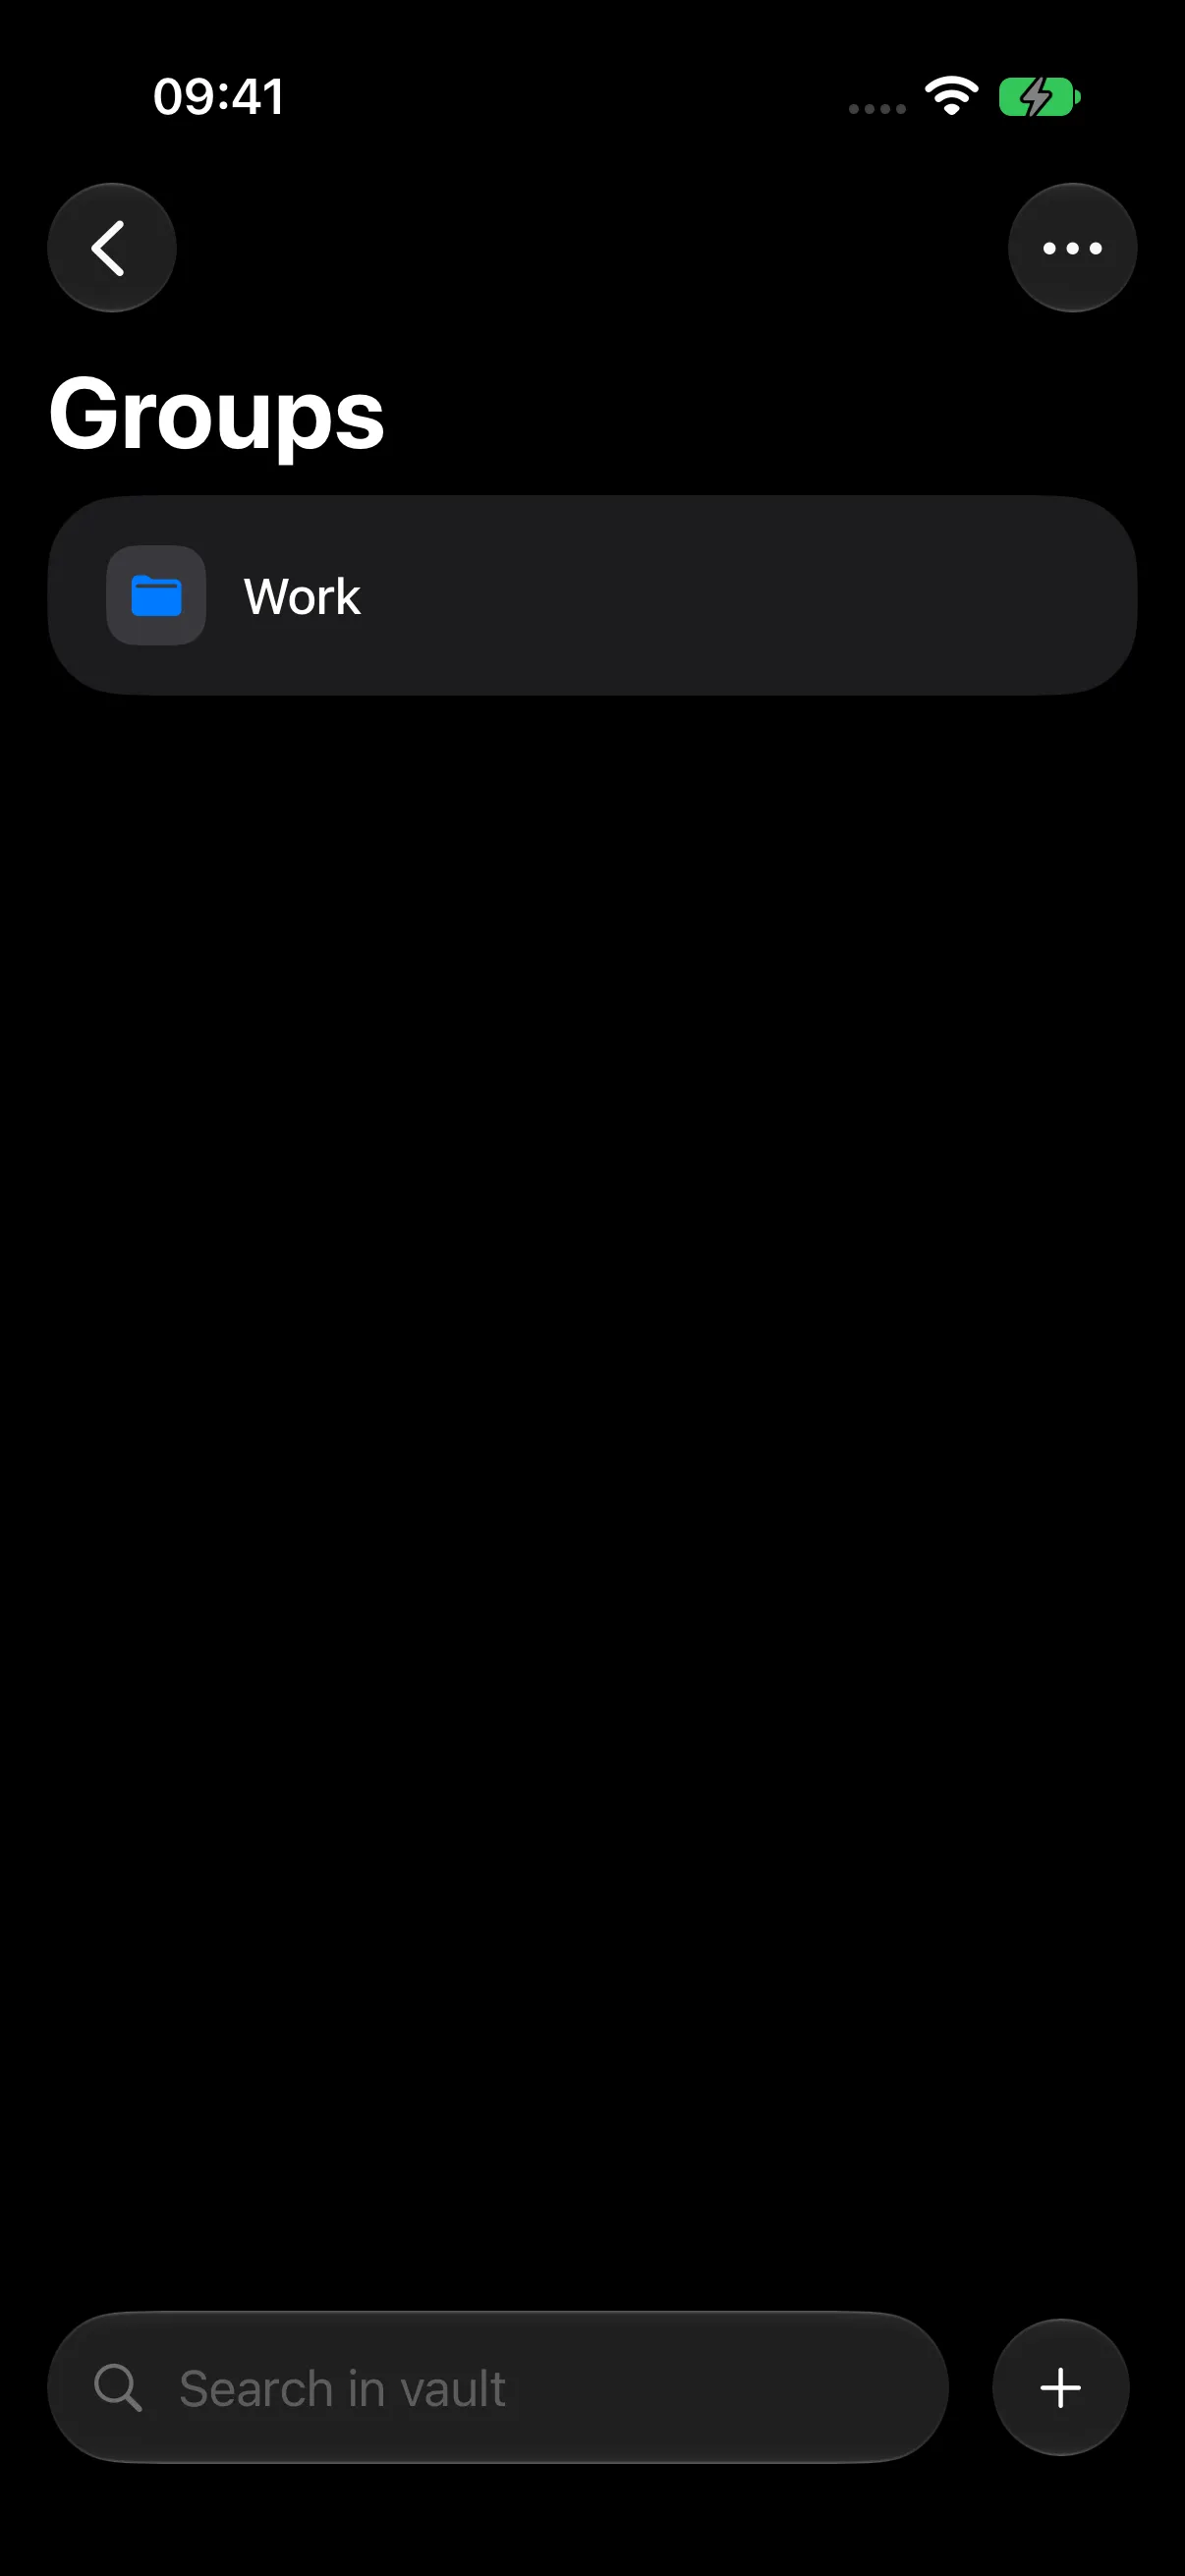
Open Groups to find your new folder.
Step 2 — Move an Entry into Work
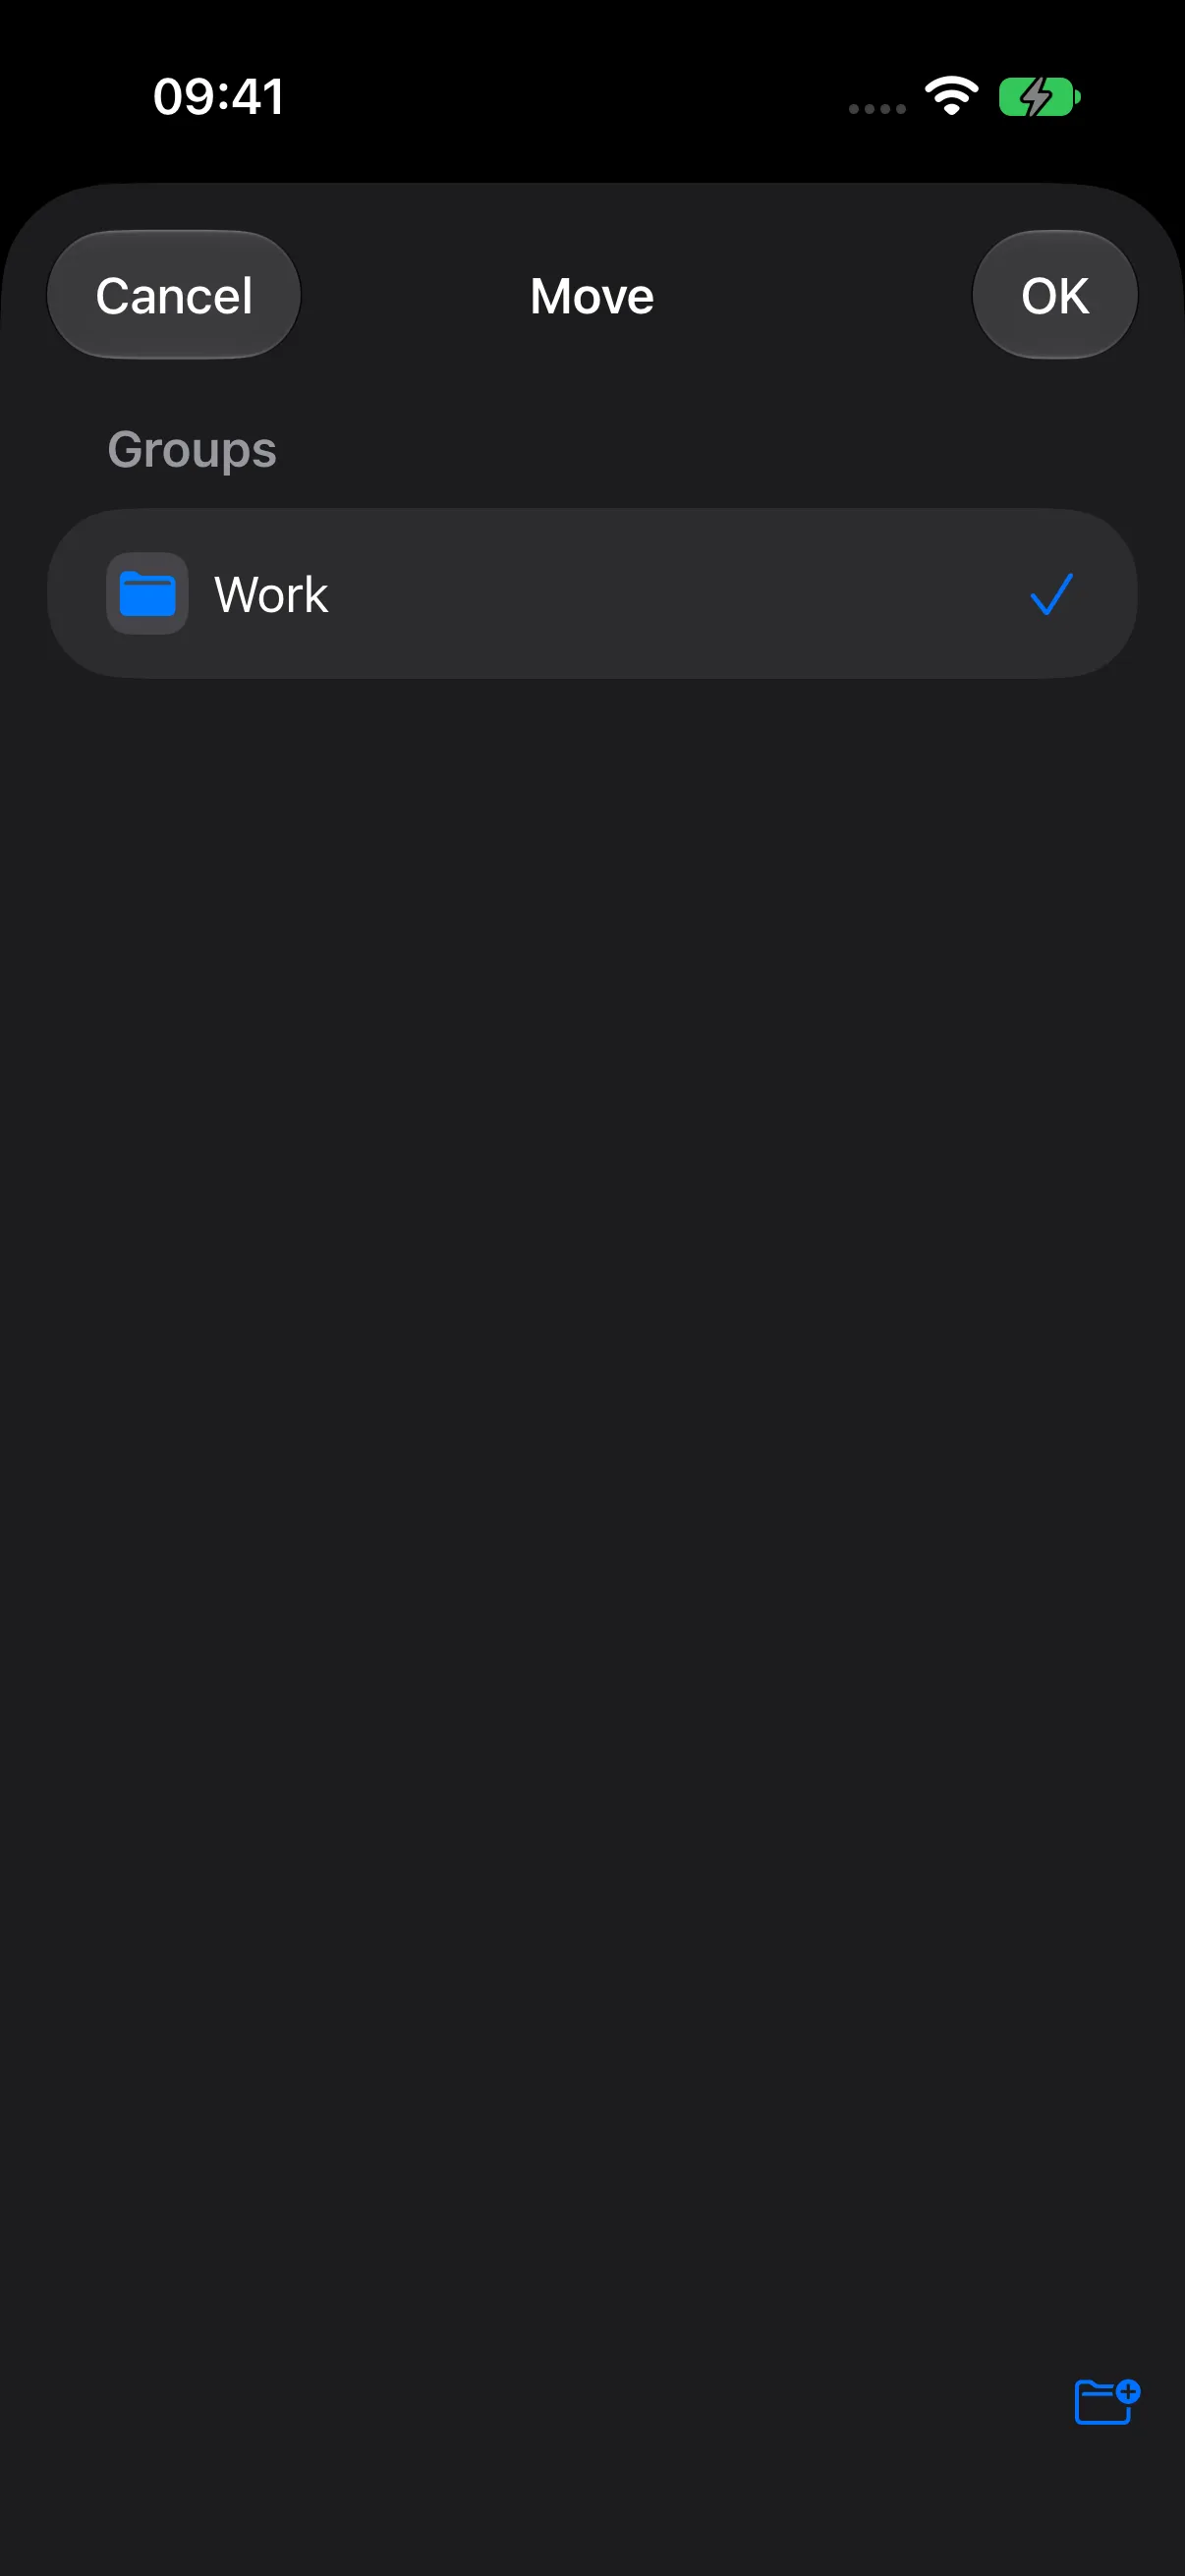
- Open All, then Menu (…) > Select.
- Select Northstar Mail. In the one-entry example, you can use Select All.
- Tap the Move folder button at the bottom left.
- Select Work and tap OK.
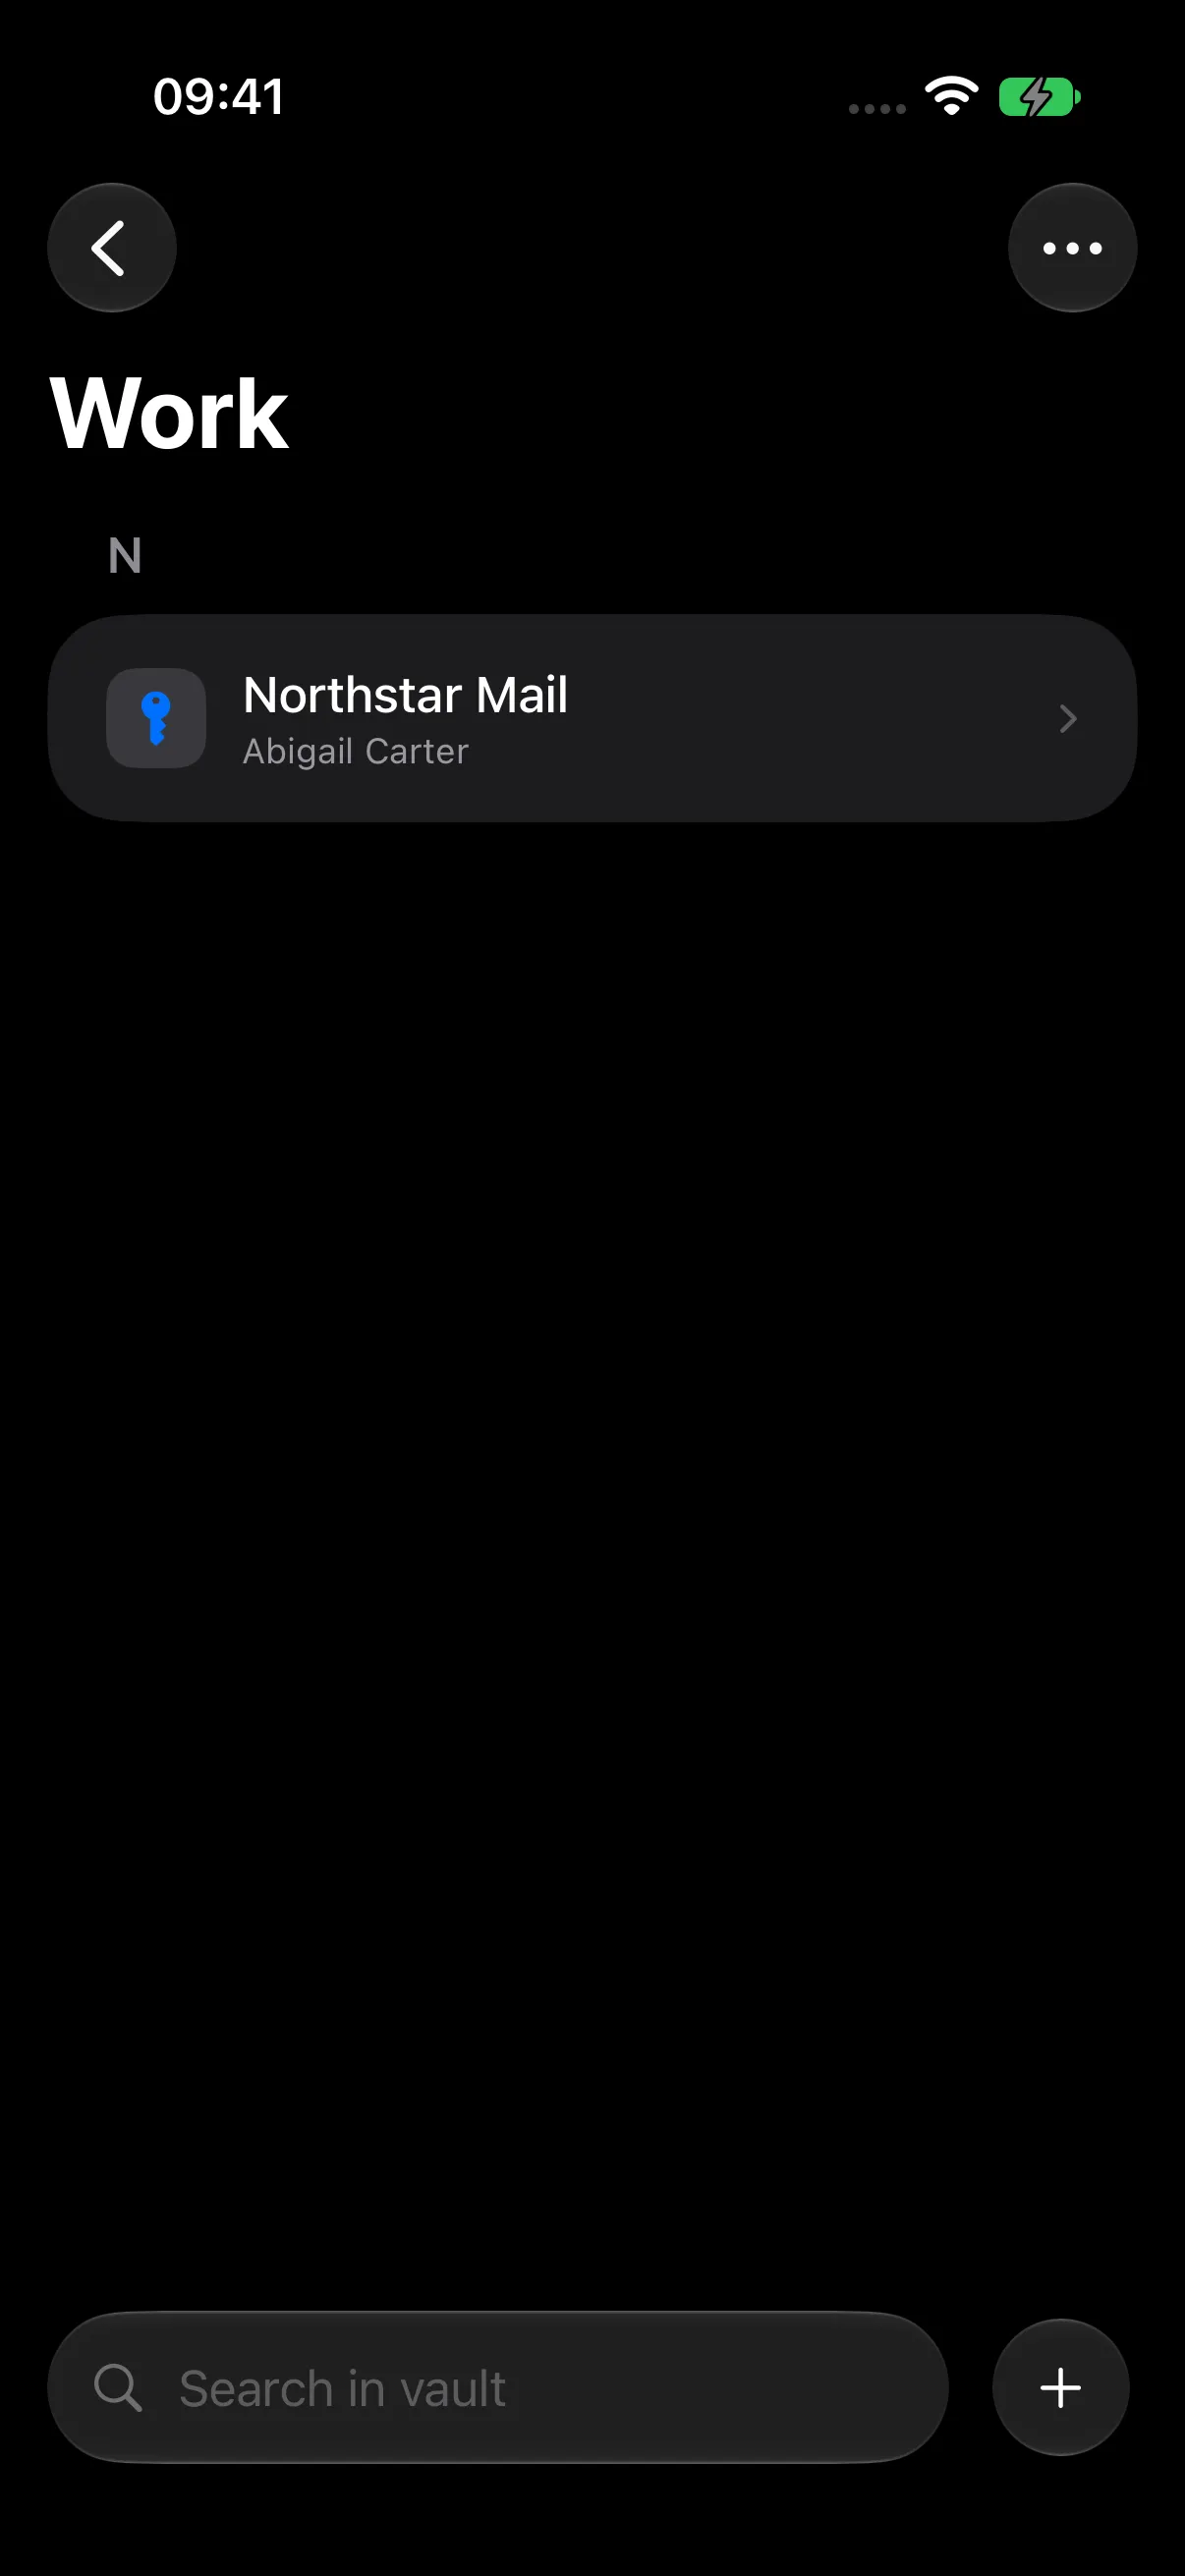
Open Groups > Work to see the entry in its new location. It also remains available through All.
When creating a new entry, use its Group picker to choose its starting folder.
Step 3 — Add Important in Red
- Open Northstar Mail, tap Edit, and find Tags.
- Tap Manage Tags.
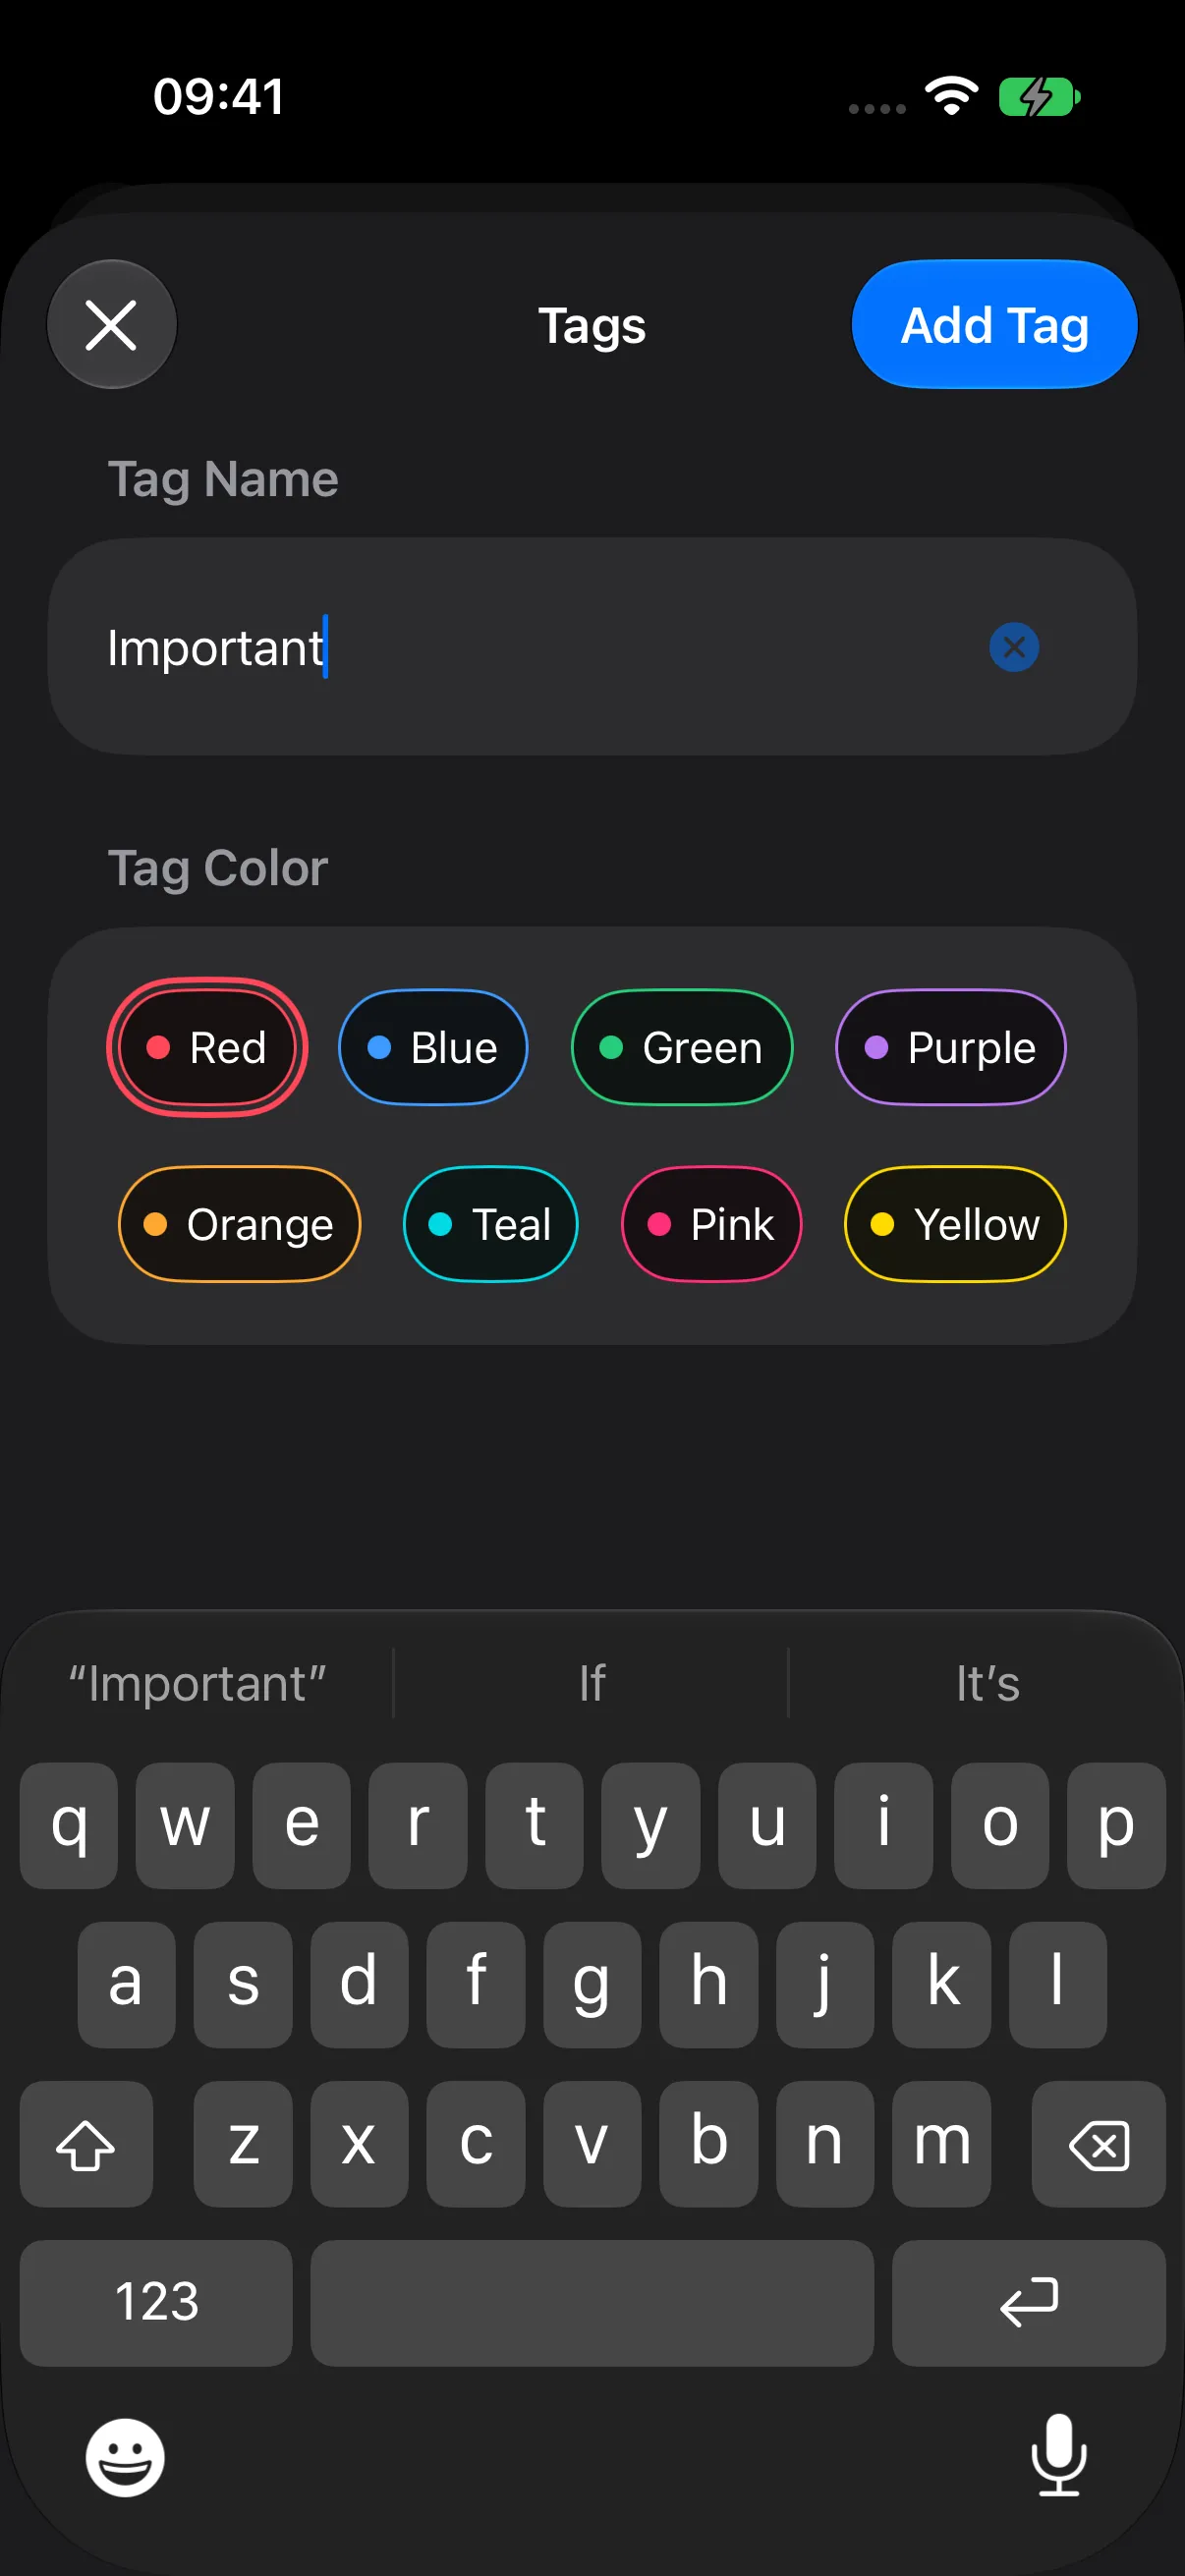
- Enter Important in Tag Name.
- Choose Red under Tag Color.
- Tap Add Tag. The label appears under Added Tags.
Step 4 — Add Work in Blue
Enter Work, choose Blue, and tap Add Tag. Both labels now appear under Added Tags.
Choose from Eight Colors
| First row | Second row |
|---|---|
| Red, Blue, Green, Purple | Orange, Teal, Pink, Yellow |
The selected color has a matching double outline. Tap an added tag to open Change Color, choose a new color, and tap Save.

Use consistent names across your entries. Talos keeps a shared color for each tag name within the vault, helping you recognize the same label wherever you use it.
Step 5 — Save Your Organization
- Close Tags with its close button.
- Review the red Important and blue Work labels in Edit Entry.
- Tap the entry’s Save checkmark.
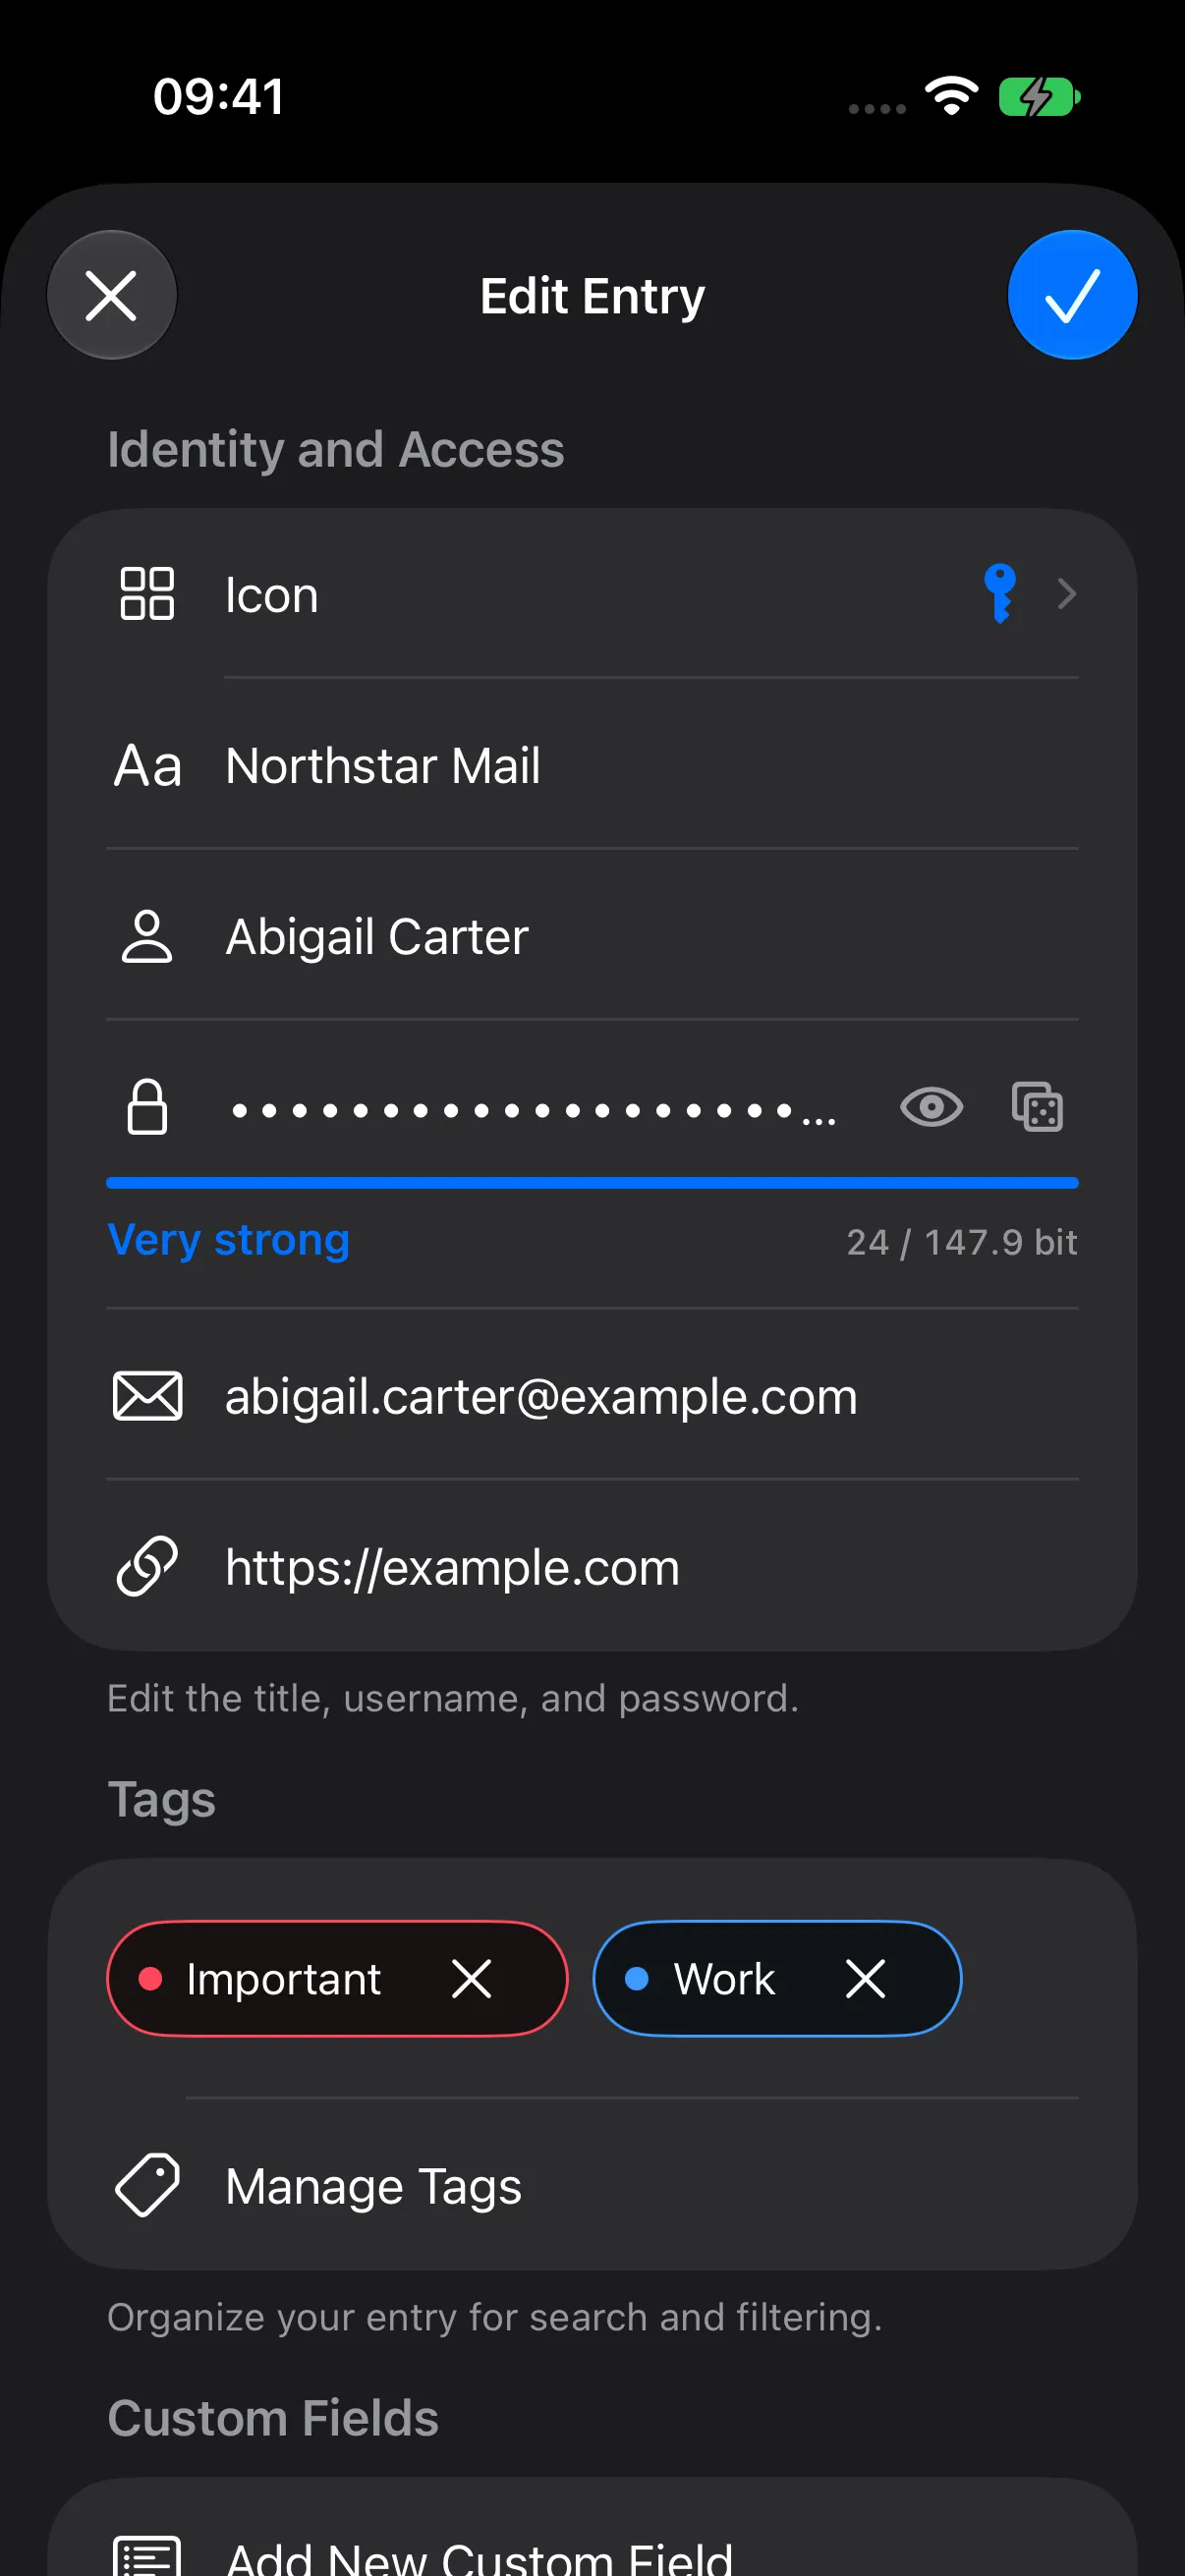
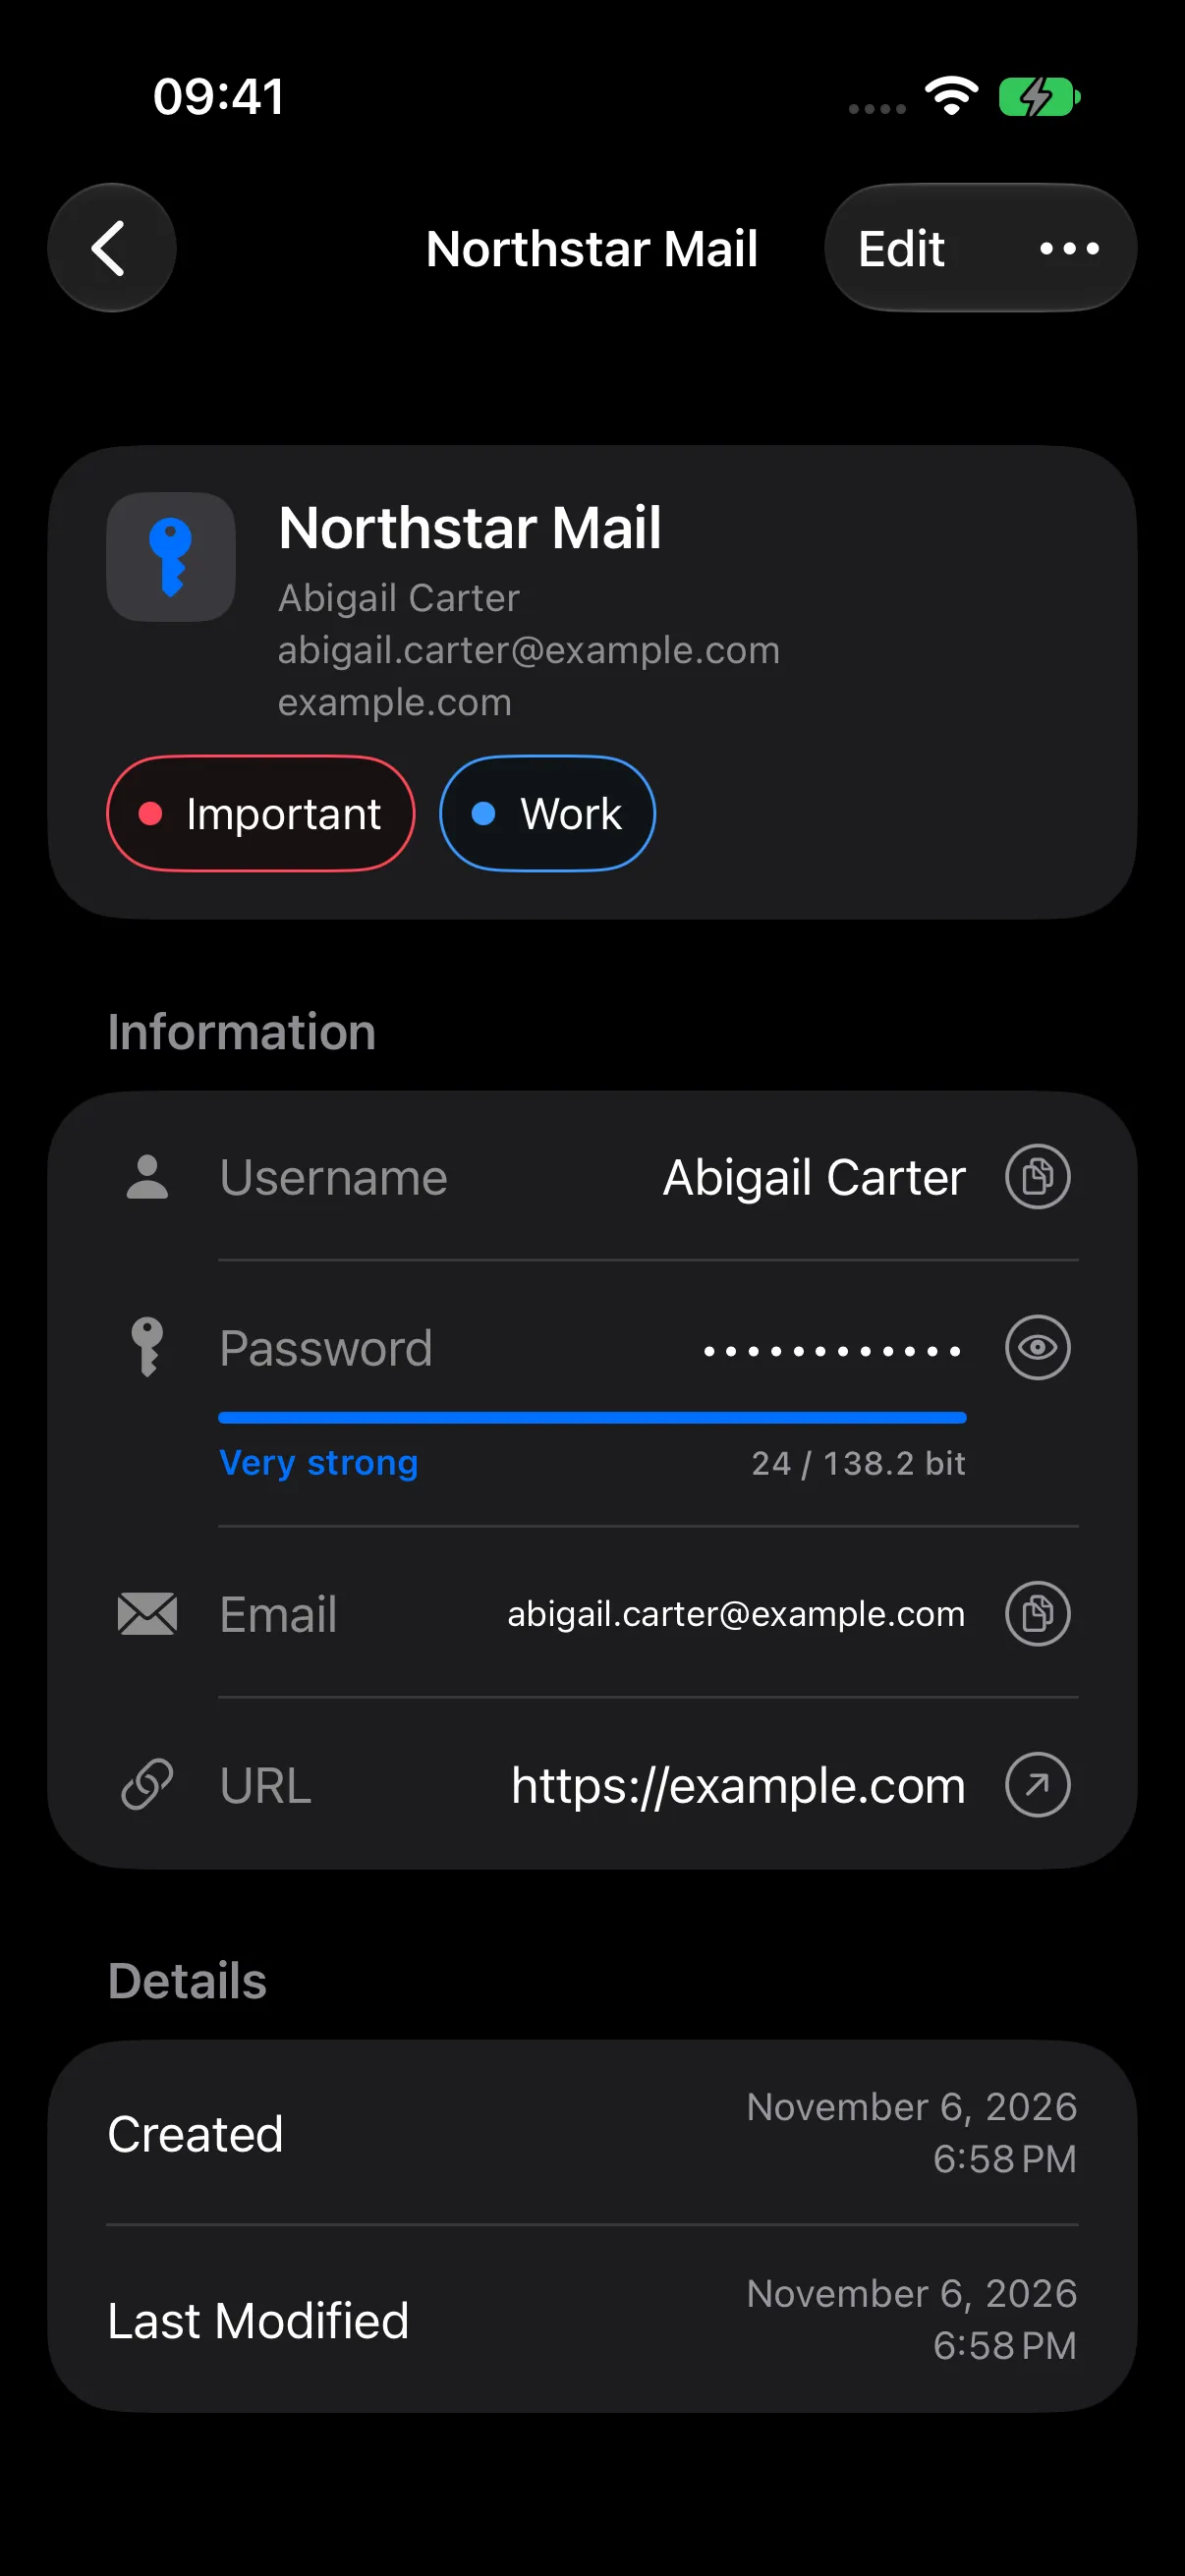
The saved detail screen shows both labels beneath the account heading.
Update Your Tags
- Remove a label from an entry: in Edit Entry > Tags, tap the label’s ×, then save the entry.
- Attach it again: open Manage Tags, enter the same name, choose its color, tap Add Tag, close the sheet, and save.
- Change its color: tap the added tag in Manage Tags, save its new color, then save the entry.
Groups and tags work independently: moving an entry preserves its labels, and editing its labels preserves its folder location.
Next Steps
Continue to Search Your Vault, or return to Create Your First Entry.